It's always an exciting time when you get to that point in any car build where you can finally turn the key and hear the engine roar into life for the first time. This is the culmination of all that hard work, blood, sweat and tears and it can be incredibly satisfying. I also find that it gives new life and enthusiasm to the project too, which can be important if your project has been stretching on a bit and you're starting to get low on motivation.
This is the final part of our Project Panhard series, where we are detailing the planning, wiring, configuration and tuning of a Toyota 86 that’s been fitted with a 1UZFE VVTi Toyota v8 engine.
Click Here to Signup for a Free 6 Part Tuning Lesson

In the past three instalments we’ve covered the planning, parts installation and wiring, and if you’ve missed those you can see them here Project Panhard Part 1, Project Panhard Part 2 & Project Panhard Part 3. In this post you’re going to learn how we approached configuring the MoTeC M150 ECU and tuning the engine.
Being faced with a freshly installed ECU with no start map can be daunting for a novice tuner. There's a lot of work to be done and it's hard to know where to start. As part of our Practical Road Tuning and Practical Dyno Tuning courses we developed the HPA 10 Step Process that can be applied to exactly this situation. The 10 Step Process breaks down the tuning job into smaller bite sized jobs that are each relatively quick and easy to complete. With each step in the process being small and easy to manage, they can be ticked off the list quickly and easily and you can quickly progress through to a complete and properly calibrated ECU. The other important benefit of the 10 Step Process is that you won't overlook or miss out any critical steps that can come back to bite you later.
The very first step in the process is to configure the ECU to suit the engine and a key part of this is selecting the correct ref/sync mode for the engine and this created a small hurdle to cross - MoTeC didn't have a ref/sync mode for the Toyota 1UZFE engine. The ref/sync mode takes information from the crankshaft position sensor and the camshaft position sensors and tells the ECU what the engine speed is, what cylinder is firing, and the position of each camshaft which is critical to the variable cam control function in the M150 ECU.
The solution was relatively straightforward as the M1 ECU includes an 'Input Capture' function which acts like a sort of built in oscilloscope, capturing the waveforms from the ref, sync and cam position sensors. The resulting file could then be emailed to moTeC so their engineers could produce a ref/sync mode to suit the engine.
While we are at it, we also needed to configure the ECU to suit the injectors fitted to the engine. The M1 is quite particular here and one of the early jobs we had done was to send the factory 1UZFE injectors across to MoTeC to be characterised. The result is a file that we could simply select in the ECU that defines all of the injector's characteristics meaning that regardless what the battery voltage is or what the fuel pressure is, the ECU knows exactly what pulse width to provide to achieve a specific quantity of fuel. This is an important part of any ECU that uses a volumetric efficiency or VE fuel model.
With the ECU configured we could move on to testing the inputs and outputs. This means making sure that all of the inputs and outputs to the ECU are correctly configured and wired to the correct place. For example this is the ideal time to confirm that the injectors and coils are all functioning properly and that they are wired to the correct cylinder. Taking the time to do this now will avoid frustration later when the engine either won't start or is impossible to tune.
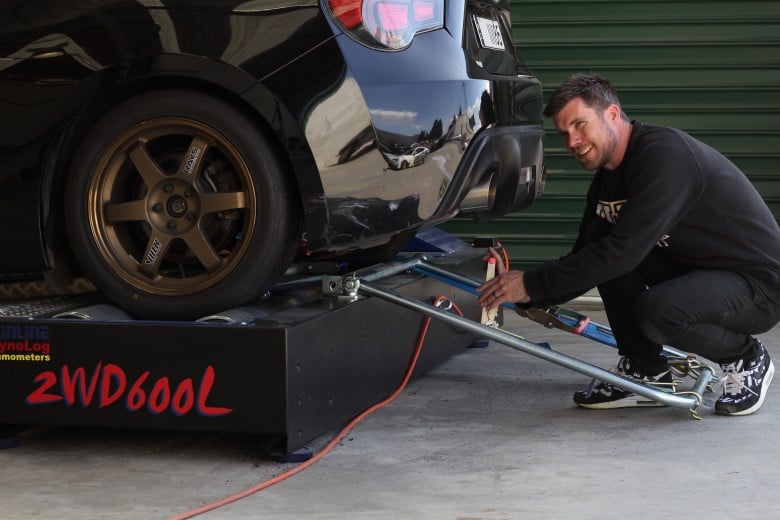
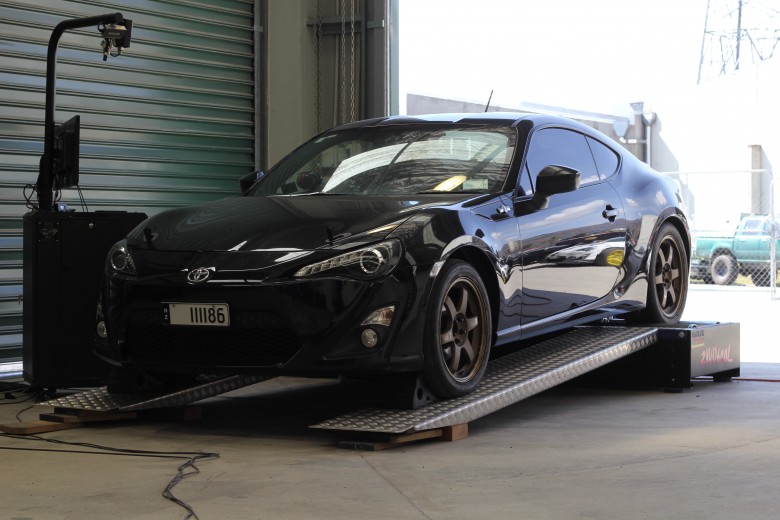
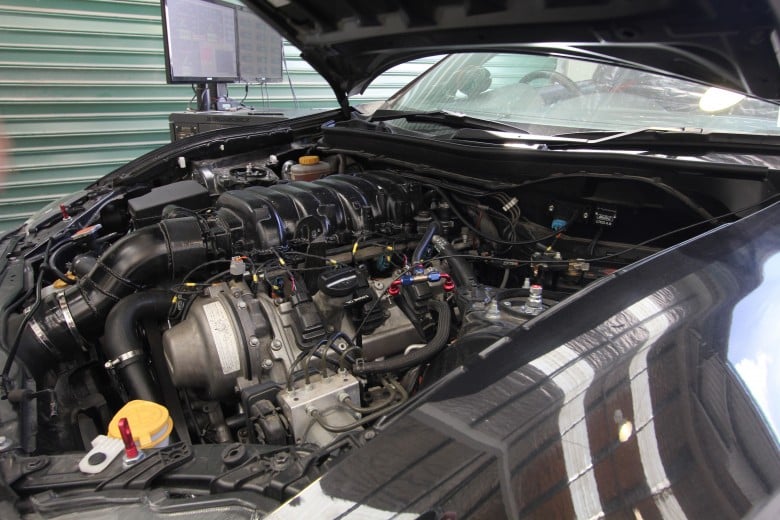
Once we could finally start the engine, we could check for leaks and make sure the engine was mechanically healthy. It was also a chance to sit back and enjoy that V8 rumble that you won't hear emanating from too many Toyota 86's! There was still work to be done though so we couldn't rest too long. It was time to load the car onto our Mainline dyno and see what the engine was capable of producing.
Many tuners prefer to head straight to the wide open throttle parts of the engine mapping and I can understand why. This is the fun part where we finally get to see what the engine is made of. Tuning a naturally aspirated engine at wide open throttle is also actually quite straightforward so the process doesn't take long. This is all great if you own a drag car, but for a street car you're likely to spend less than 5% of your time at full throttle, so what happens the rest of the time?
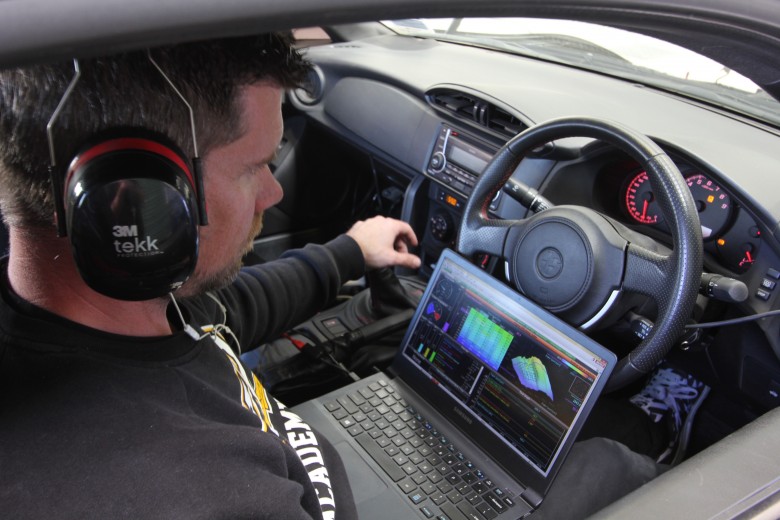
Before we ever go near wide open throttle, the 10 Step Process takes us through tuning the fuel and ignition tables in steady state. This is where we use the dyno to apply load to the engine so we can hold the engine rpm constant while we vary the throttle position. Doing this allows us to move very accurately through the fuel and ignition maps and tune each individual zone. It's a time consuming process but the upside is that when it's done correctly we can be sure that regardless of the engine rpm or throttle position, the engine will have the correct amount of fuel and correct ignition timing to make the most power and torque, while offering optimum economy and reliability.
So how did it all pan out in the end? The final number was 178 kW at the rear wheels on our stingy Mainline rolling road. Now I can already see people shaking their heads and asking 'Why so low', but this is exactly what the owner was expecting. Firstly it's the comparison to a stock FA20 that's really important. On our Mainline a stock 86 lays down around 110 kW so straight away the 1UZFE is up over 60% in peak power but more important is the wide and flat torque curve that only a V8 can produce. Particularly for drifting this is going to mean that the V8 will be easier to drive, and able to smoke the rears in just about any gear.
There are a couple of other considerations too that went into the engine choice. While the GM LS swap would be another obvious choice, the owner is a Toyota man through and through so any other badge on his engine was not an option. Here in NZ the 1UZFE engine is also incredibly common and can be had very cheaply. This is still an important consideration for any engine that's going to be beaten on pretty hard just in case the worst should happen.
So this brings us to the end of our Project Panhard build series and there's only one thing left to do and that's to head to the track and see what the car can do. We will be sure to keep you updated with some great sideways videos in the coming months.
If you are interested in learning how to tune click here to take our free 6 part tuning lesson. It's a great starting point for those who are looking for a career in tuning or just want a better understanding of how it all works.


