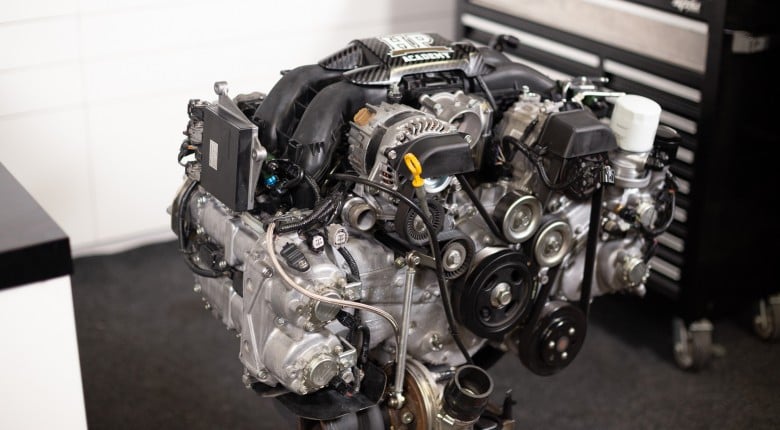
As you may be aware, we’re no stranger to the Subaru FA20 engine here at High Performance Academy and we’ve had one fitted to our Toyota 86 project car since the day we took ownership when it was brand new. As with all good things, the life of our FA20 recently came to an end. You may be picturing a horribly impressive death at the race track involving holes through the block and fire, but this was not the case. It went in a relatively subtle way whilst we were preparing to deliver you one of our live webinars. We ended up simply bending one of the connecting rods. What does this mean for you? Well, you now get to read about our rebuild.
In this article: The Breakdown and Diagnosis | The Rebuild | Conclusion
The Breakdown and Diagnosis
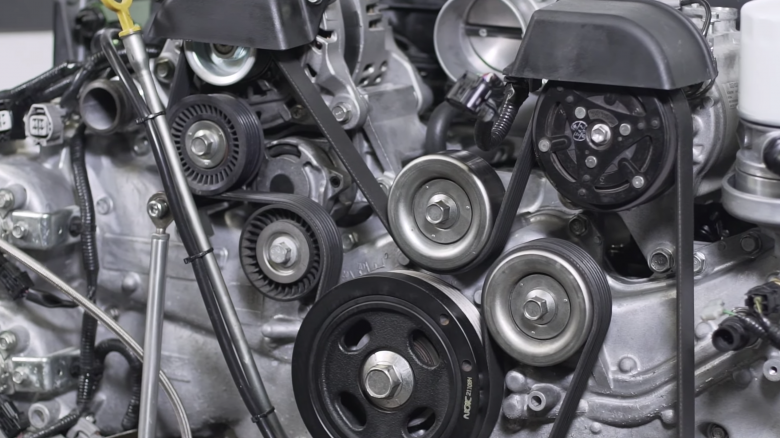
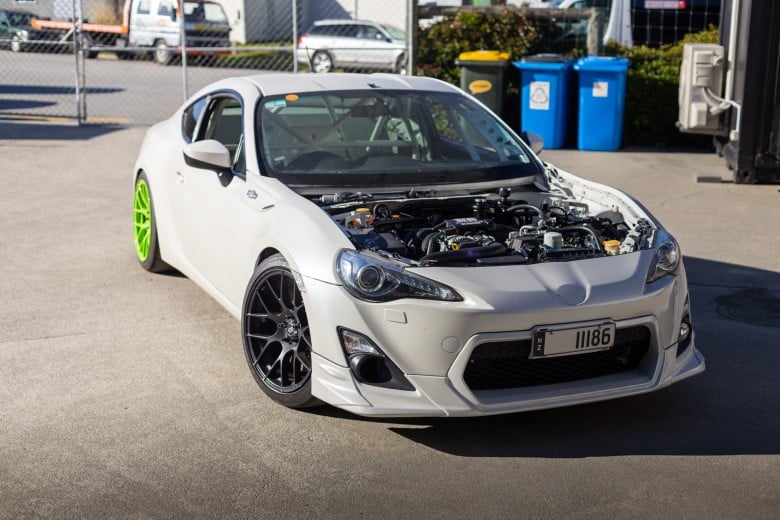
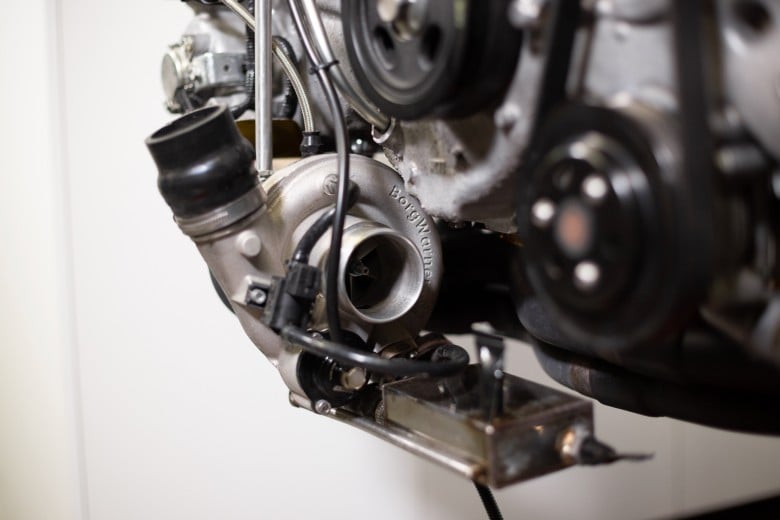
Our FA20 has not lead an easy life, far from it. It’s been running about double the factory power with the help of a turbo kit and E85 fuel for the last 5 years. Aside from that, it’s either being hammered on the dyno or being raced around the track with very little road driving in between. All things considered, it’s perhaps a miracle it’s held up so well!.
A bent rod isn’t always going to be the end of the world though, and if the issue is picked up early, it doesn’t end up doing too much damage. It becomes evident pretty quickly in the FA20 as the engine will start to produce a knocking sound, a bit like a run bearing.
A bent rod isn’t always going to be the end of the world though, and if the issue is picked up early, it doesn’t end up doing too much damage. It becomes evident pretty quickly in the FA20 as the engine will start to produce a knocking sound, a bit like a run bearing. Eventually you will get to see the process of us building an all singing, all dancing FA20 engine with a closed deck block, forged pistons and aftermarket connecting rods, however, life’s too short and we needed the car back up and running quickly. In the meantime we decided to putt the original engine with the bent rod back together to get us through.
Although this engine is running a high 12.5:1 compression ratio and a turbo, the pistons haven’t shown any weakness or problems at the power level we’re operating at. As we’re just looking for an interim fix until we have our FA20 race engine built, the pistons will be left as is. It is only the conrods that have let us down so that’s where we’ll focus our efforts.
The plan is to strip the engine, leave the short block assembled but remove the pistons and rods. The FA20 gives us a helping hand here in that we are able to do this without needing to break the crankcase apart like you’d need to do with a EJ20 for example. Then, a set of forged H-beam Brian Crower connecting rods will be fitted. These will be more than capable of handling the power we’ll be running the car to and will deliver peace of mind, knowing that they will be safe and reliable.
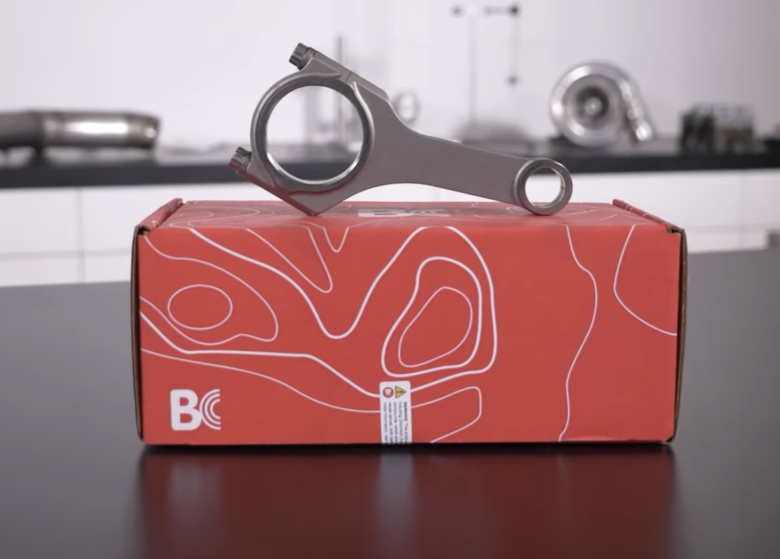
BC Brian Crower Connecting Rods
The FA20 makes it relatively straightforward to swap out the factory rods for the Brian Crower forged H beam rods. This is due to the fact that while in most engines a press fit is used between the wrist pin and the small end of the connecting rod (allowing the wrist pin to float in the wrist pin boss), the FA20 factory wrist pin is a full floating design.
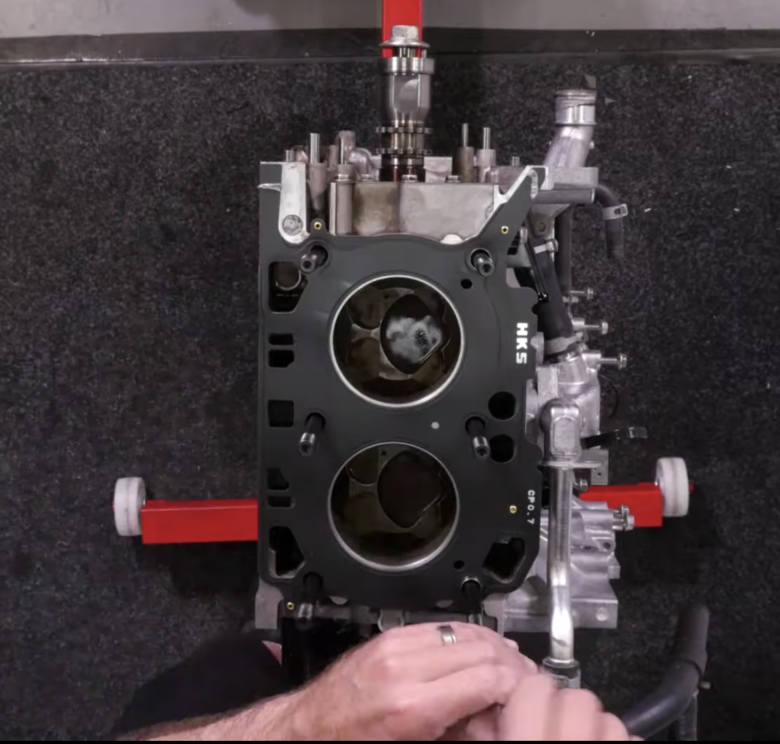
Along with this, a new set of big end connecting rod bearings, HKS head gaskets, slightly stiffer valve springs, and a set of ARP head studs will be fitted. This is all to future proof the car in case we want to raise the boost pressure at a later point to see what the pistons can really handle!
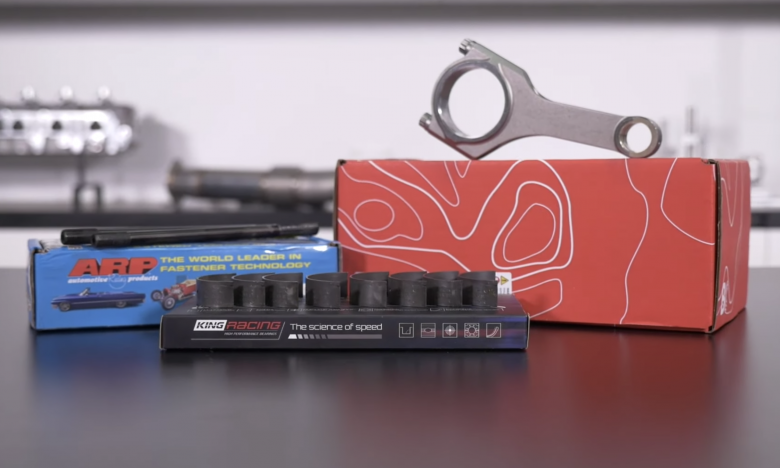
FA20 ARP studs, BC Rods, and King engine bearings.
While the engine was still a complete long motor, a few assumptions were made as to what was going to be found inside. As we caught it early, we were expecting the damage to be solely a single bent connecting rod. To confirm this, we began the strip down.
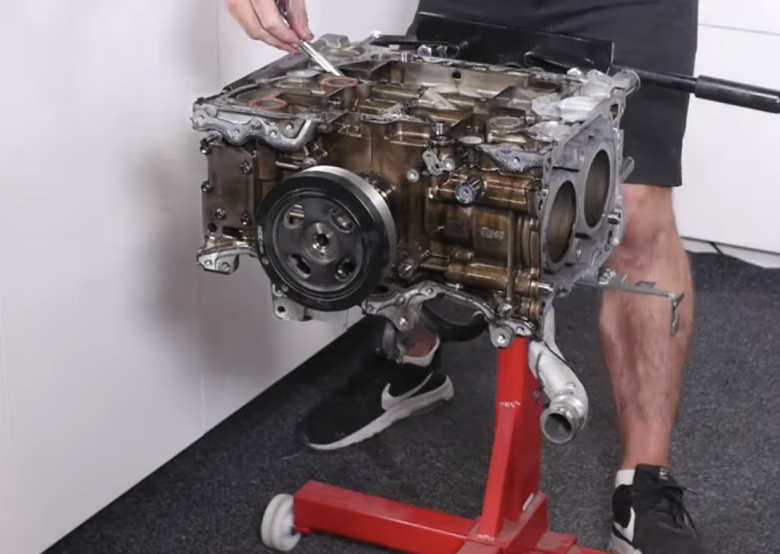
Stripped FA20
After the engine was stripped down, it became apparent that our assumption was correct - Number three rod was quite badly bent. Because the bent conrod ends up being slightly shorter than it should be, this allows the bottom of the piston skirt to contact the bottom of the bore at bottom dead centre which resulted in the audible noise while the engine was running.
Of course if we’d continued to run the engine under high load and high rpm we’d most likely have ended up with the rod snapping and punching a hole in the block. It’s always a good idea to stop and investigate when you hear something that’s not quite right rather than crossing your fingers and hoping.
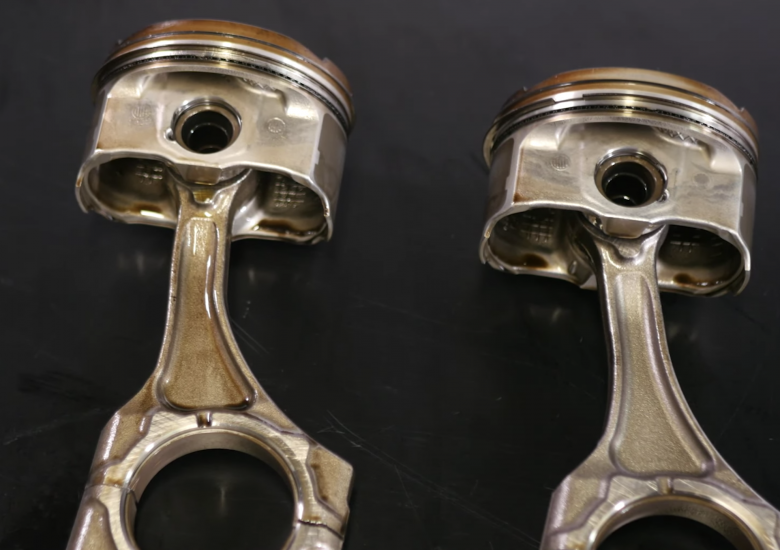
Before continuing on with the process, we also carefully inspected the piston and made sure that there wasn’t any damage to the block or the bottom of the piston skirt. As the engine was shut off as soon as we knew something was wrong, we were fortunate here and got off pretty lightly.
The Rebuild
In order to get our rebuild underway and fit the new Brian Crower rods into the factory pistons, we needed to overcome a bit of an issue. This is that the small end of the factory connecting rods are tapered towards the top of the piston which matches the taper in the piston wrist pin bosses. As you may have figured out, the Brian Crower connecting rods won’t fit in their current state. As you can see in the next image, the solution was to have our machinist taper the top of the Brian Crower connecting rods to match the factory ones.
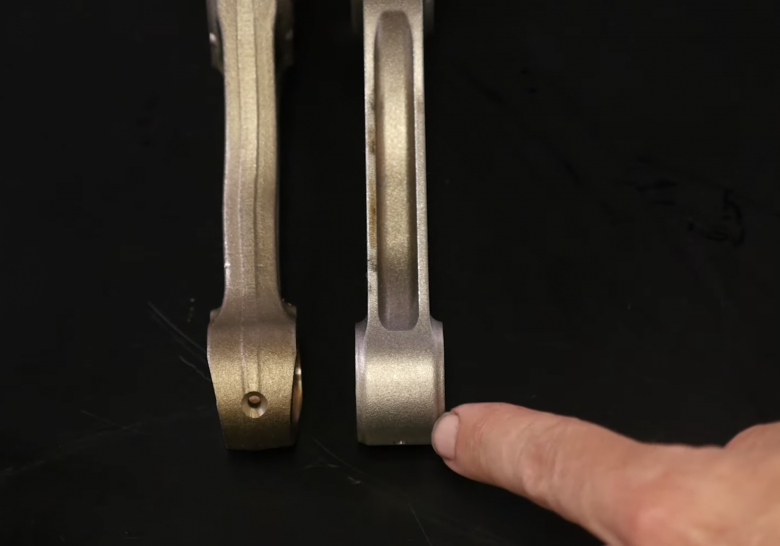
Rods before being machined.
A consideration you need to keep in mind when modifying the connecting rods like this is the effect on the clearance between the small end of the connecting rod and the wrist pin. In our case, the small end bushing did need to be honed to get back to the clearance required. As it turns out, Brian Crower do now actually supply these rods modified as an off the shelf component which will save time and money if you’re considering the same upgrade.
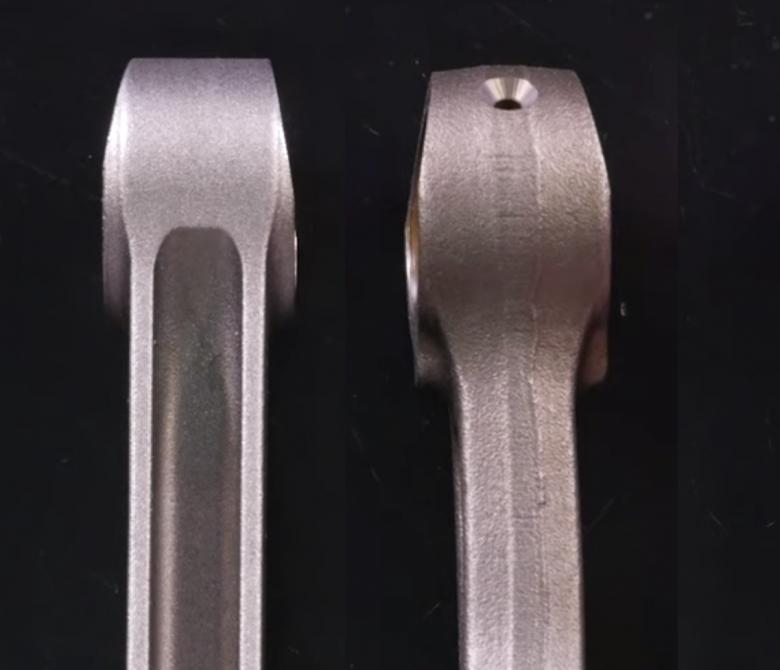
Rods after machining.
The next part of the assembly is to check the bearing clearances. As we are only fitting new connecting rods and haven’t taken the crankshaft out of the engine, our main bearings are untouched. However, as is often the case, our big end bearing clearance wasn’t where it should be. We had roughly 1.1 thousandths of an inch and we were looking for 1.7 - 1.8.
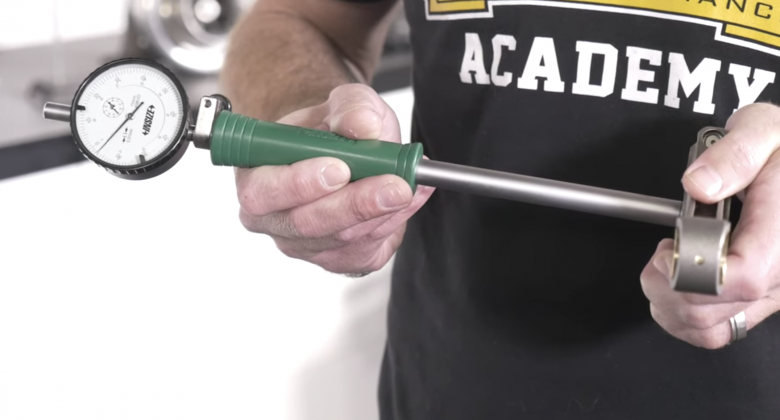
Double checking clearances.
You may be wondering, what options are available in this case, and your choices will depend on the specific engine you’re building. In many modern performance engines the oil clearances are essentially factory blue printed by using graded bearing shells on each journal. This gives you a little flexibility to mix and match different thicknesses of shell in order to get your clearance spot on. Unfortunately this isn’t an option for the FA20 as graded bearing shells aren’t available from Subaru.
Option number two would be to choose an undersize bearing shell and then have the journal ground by our machinist to achieve our target clearance. This would require us to strip the engine block bare and then send the crankshaft off to be machined which we would rather avoid if possible.
Upon further inspection we found that the Brian Crower rods had the big end tunnel honed to the smallest size of the factory tolerance range. Because of this, we were able to have the big end honed slightly to get our bearing clearance where we wanted it. It should go without saying that the finished bore size must still remain within the factory tolerance range to ensure that there is sufficient crush on the bearing shells.
With the bearing clearance sorted, we are ready to assemble the engine. At this point, it’s a good idea to find a copy of the workshop manual to guide you through some of the more finicky processes such as the torque settings for any factory fasteners. Like with many things, Google is your friend here. The only time you may come unstuck is if you have an engine that’s not that popular for modification, or perhaps a brand new engine where access to the workshop manual isn’t as easy.
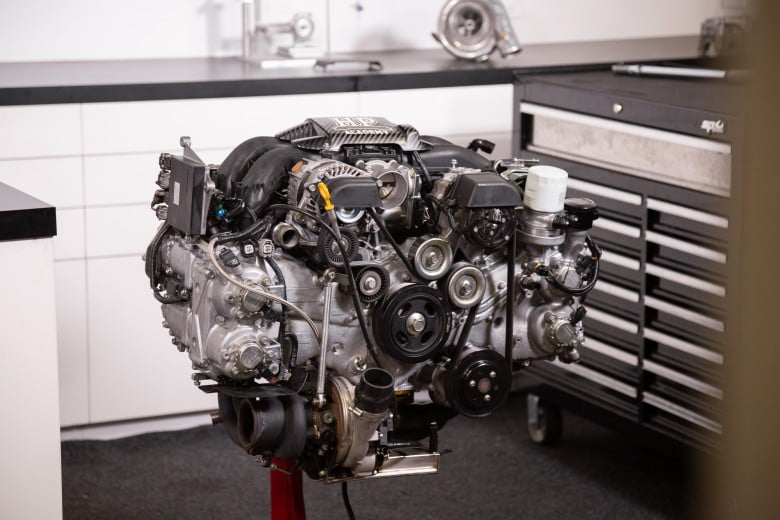
All stitched up and ready to roll.
Now for the exciting part, the start up. As we haven’t replaced the piston rings or had the engine block honed, there is no breaking in process required. However we will still need to spin the engine over and gain oil pressure before allowing the engine to start for the first time. We will also be running the engine up to full operating temperature with a mineral based engine oil and then dumping it. This is simply to flush out any assembly lubricant that was used during the assembly process. We then fill it up with Motul full synthetic 300V oil and we’re ready to hit the dyno!
Conclusion
So there you have it, an overview of the process we went through in order to get our FA20 back up and running and out on track in a way which should see us avoid having to do it all again for the same issue. A little pain to the wallet now in regards to going for aftermarket rods for less pain later on paying for them after using stock rods again anyway!
Want to learn more about Performance Engine Building? Come along to the next FREE lesson.
