Did you know most composite repairs, including fibreglass, FAIL simply because the damage was never fully removed?
Repairing damaged composite parts correctly is critical if you want strength, durability, and a professional finish. In this video, you learn how fibreglass composite repairs are carried out using wet lay techniques, focusing on proper damage removal, backside reinforcement, correct material selection, and finishing for paint or wrap.
Using an aftermarket fibreglass bumper from a Mazda RX-7 race car, this module explains how to identify delaminated laminate, prepare the repair area safely, and rebuild strength using chop strand mat and polyester resin. You also learn why correct surface preparation, resin choice, and layer thickness matter for long term reliability in motorsport applications.
𝗦𝗧𝗘𝗣 𝗕𝗬 𝗦𝗧𝗘𝗣 𝗣𝗥𝗢𝗖𝗘𝗦𝗦:
Step 1: Prepare a suitable workspace and wear correct PPE.
Step 2: Clean the part and identify cracked or delaminated fibreglass.
Step 3: Grind out damaged laminate from the backside.
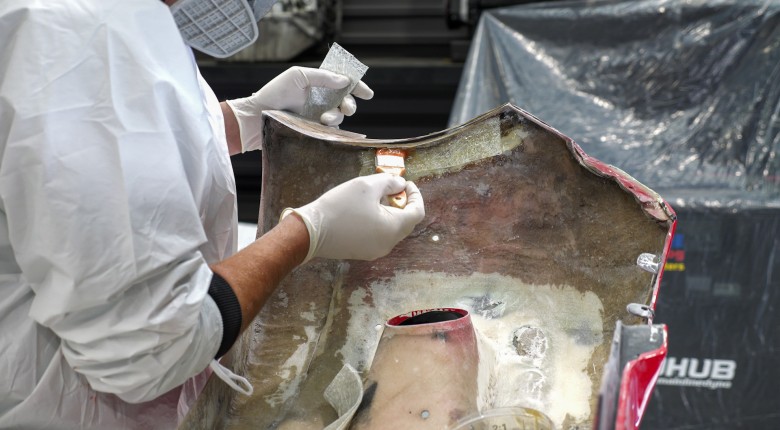
Step 4: Tape the front surface to prevent resin bleed-through.
Step 5: Prepare chop strand mat and mix polyester resin.
Step 6: Wet lay multiple layers on the backside repair.
Step 7: Allow the repair to cure past peak exotherm.
Step 8: Grind damaged laminate from the front side.
Step 9: Fill voids and wet lay the front side proud.
Step 10: Allow full cure, then grind and DA sand to shape.
Step 11: Apply body filler and prime for final finishing.
This is a practical, workshop focused look at composite repair techniques used on real race car components, taken directly from High Performance Academy’s Motorsport Composites Fundamentals course linked above.
--------------------
𝗧𝗜𝗠𝗘𝗦𝗧𝗔𝗠𝗣𝗦:
0:00 - Fibreglass Repair Overview
0:09 - Fibreglass vs Carbon Fibre Repairs
0:31 - Dust Control And PPE
1:03 - RX-7 Fibreglass Bumper Damage
1:23 - Cleaning And Preparation
1:34 - Identifying Delamination
2:08 - Backside Damage Removal
2:24 - Taping The Front Surface
3:06 - Chop Strand Mat Selection
3:46 - Polyester Resin And Catalyst
4:13 - Wet Lay Lamination Process
4:37 - Initial Cure Time
4:48 - Front Side Damage Removal
5:08 - Filling Voids And Low Spots
5:23 - Front Side Lamination
5:33 - Final Cure And Shaping
5:49 - DA Sanding Control
6:11 - Body Filler And Finishing
6:37 - Priming And Surface Prep
6:47 - Key Repair Principles
7:29 - Motorsport Composites Course