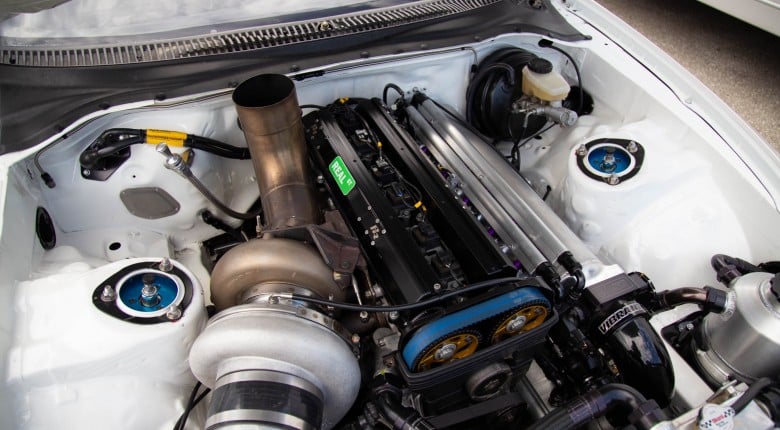
If you are an enthusiast just getting started with automotive wiring, especially if you follow people on social media building professional harnesses, it can be easy to fall into the trap of thinking that you will need to invest thousands of dollars into your harness for your car to be able to perform the way you want. As you will discover in this article if you are building a harness for a street or club level car, this really is not the case.
In this article: Why Not A Factory Harness? | Wire | Sheathing | Boots | Connectors | Tools | Concentric Twisting | How Much Time and Money?
Why not a factory harness?
If you are building a purpose-built race car from the ground up then replacing the factory harness is a no brainer as by the time you remove everything from the stock wiring harness that is no longer necessary and modify the rest to suit your new components, it will be quicker and cheaper to start from scratch while giving you the ability to create a more reliable, lighter harness. This type of application would be suited to Professional Level harness construction techniques.
If you are an enthusiast starting with a car that already runs and the intention to keep it for street or club use, then most of the factory harness (aka the body harness), will be absolutely fine. However, in the case of an engine swap, there would be no way of using the factory harness to wire up to the new engine so you will need something to interface between that factory body harness, and the new engine harness you will be constructing. This type of application would be suited to Club Level harness construction techniques.
Regardless of what you are constructing your wiring harness for, moving away from a factory harness can bring many benefits:
- Simplicity: When you are trying to diagnose and fault find in the pits with a factory harness, and you don’t have the factory documentation, it can be somewhat tricky. Not only will a purpose-built harness be more straightforward in its construction, but if you create your own documentation to go along with it, fault finding is made much easier. Then, once you have located the fault if your Autosport or DTM connectors can enable you to rectify that fault more quickly as they can be removed with a half twist or easy pinch and pull compared to often brittle old factory connectors.
- Flexibility: If you are swapping out a factory ECU mounted in the engine bay for an aftermarket standalone and want to mount it in the cabin, the construction of a purpose-built harness will allow you to do so.
- Reliability: The connectors on a factory wiring harness are not designed to be removed and inserted multiple times. Over time, they will lose their ability to grip correctly causing issues and potential failures.
- Remove human error: If you are using Autosport connectors, they will have a coloured band which relates to the keyway, meaning that it is physically impossible, for example, to connect the fuel sub-harness to the ignition sub-harness. On top of this, labels can be added to your cables to make it even easier to determine at a glance what a specific connector is for.
Now that you know the reasons to make the switch to a purpose-built wiring harness let’s look at the materials required. There are a few different options available for each of the materials you will need to use, where the choice is influenced by your budget and what you are trying to achieve
Wire
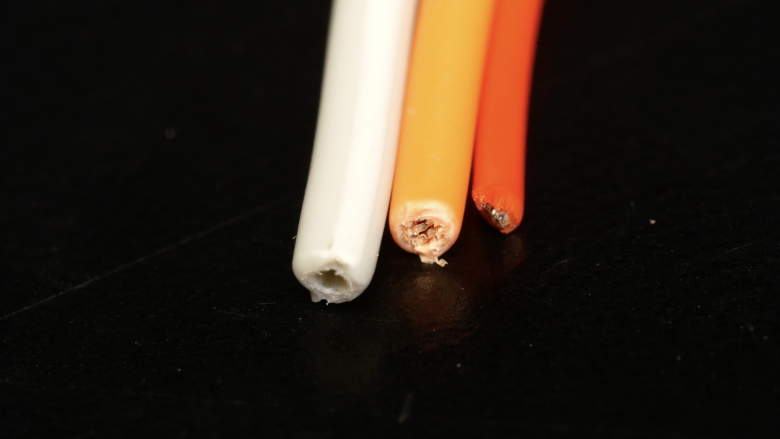
Shown above on the left is PVC, then TXL in the middle and lastly Tefzel insulation on the right. The main difference between these is the outside diameter of the wire, but despite this, the cross-sectional area of the conductor strands is precisely the same, meaning all three can handle the same current flow. When you go from the smallest wire, Tefzel, to the biggest, PVC, you have almost double the total cross-sectional area which, when you consider that the main trunk of your wiring harness could consist of upwards of 40 wires, you can see that using PVC will lead to a very bulky harness. This aside, PVC is not a wire you will want to use as it does not hold up to heat well at all, with a maximum working temperature of only 85°C.
If you think that 85°C will be adequate, think again as when the harness is inevitably run through the engine bay, particularly if it is close to a turbocharger or exhaust manifold, you will be surprised at the temperatures it will be subjected to. This can lead to conductors shorting internally with no external signs of damage which can be very frustrating to fault find.
On the other hand, TXL, a good choice for club level harnesses, is rated to 125°C and Tefzel and a good choice for professional motorsport harnesses is rated to 150°C. If you have no budget constraints and you are trying to achieve a minimum weight, then Tefzel wire is your best bet. On the other hand, if budget is a limiting factor and you aren’t so focused on reducing weight, such as in a street/club level car, TXL is going to be the wire for you.
Sheathing
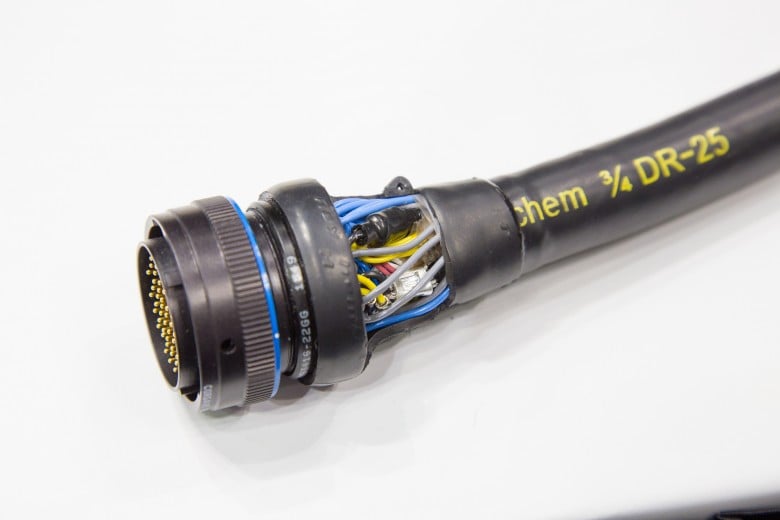
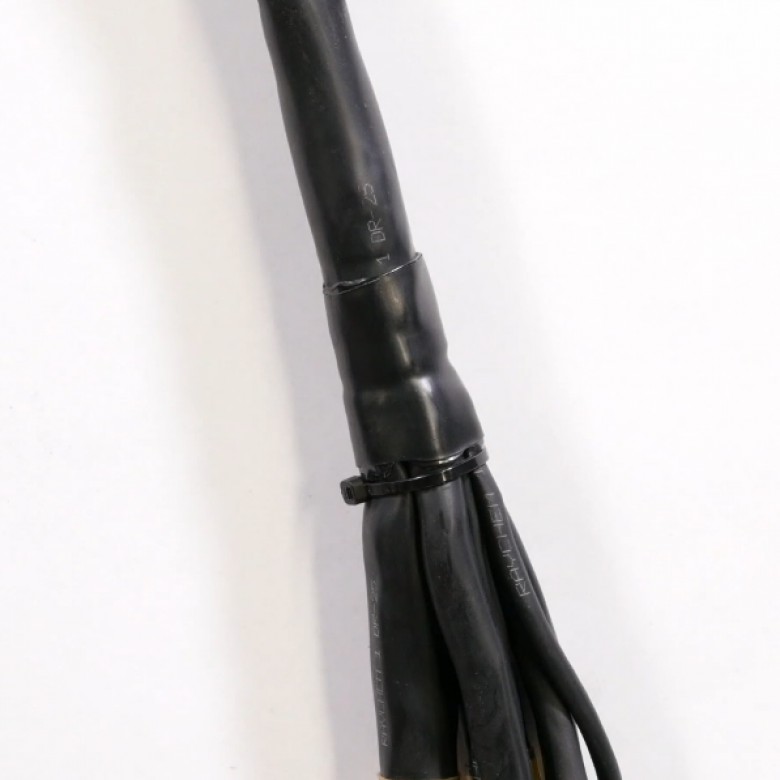
Now let’s look at a few sheathing options starting with Raychem DR25 as used on the cutaway example above. This is mainly used for professional motorsport wiring harnesses and when combined with heat moulded boots and a sealing epoxy resin the result is a harness that is impermeable to moisture as well as providing abrasion resistance. Raychem DR25 is quite a costly option and not essential at club level so if that is your aim, let’s look at a more cost-effective option.
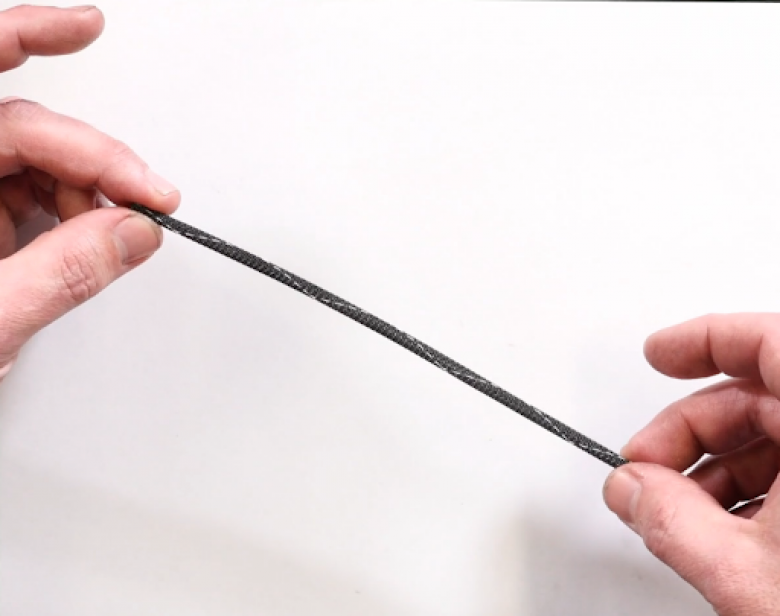
Expandable braid, as the name suggests, can expand to fit around the wires in your harness and comes in various sizes. This can be secured at branch points using something like SCL dual wall heat shrink to stop it moving and will give you a reasonably professional-looking harness. There are however some downsides to expandable braid.
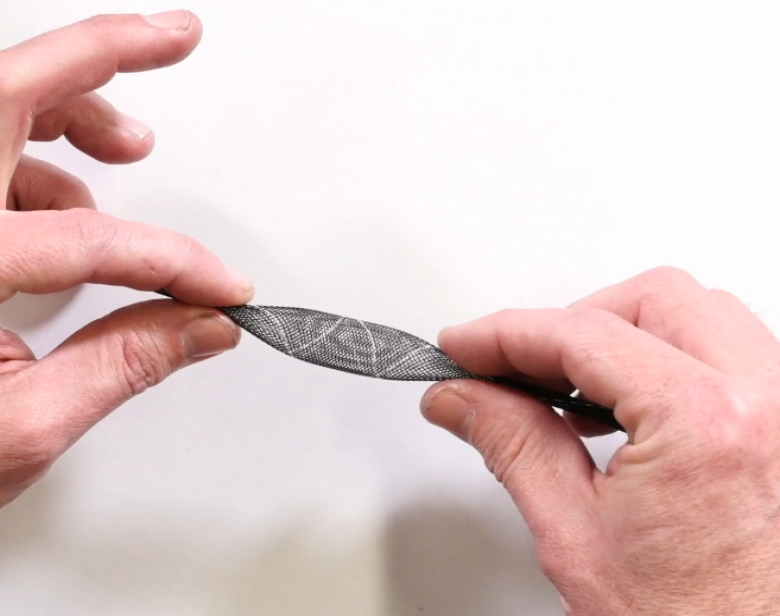
Firstly, as you might be able to guess by the fact that you can see straight through it, it offers no protection from moisture. Secondly, it can end up melting depending on what other materials you are using it in conjunction with. For example, when combined with SCL dual wall heat shrink, if you’re not careful with the heat gun you can end up melting a hole and requiring a resheathing of that harness section.
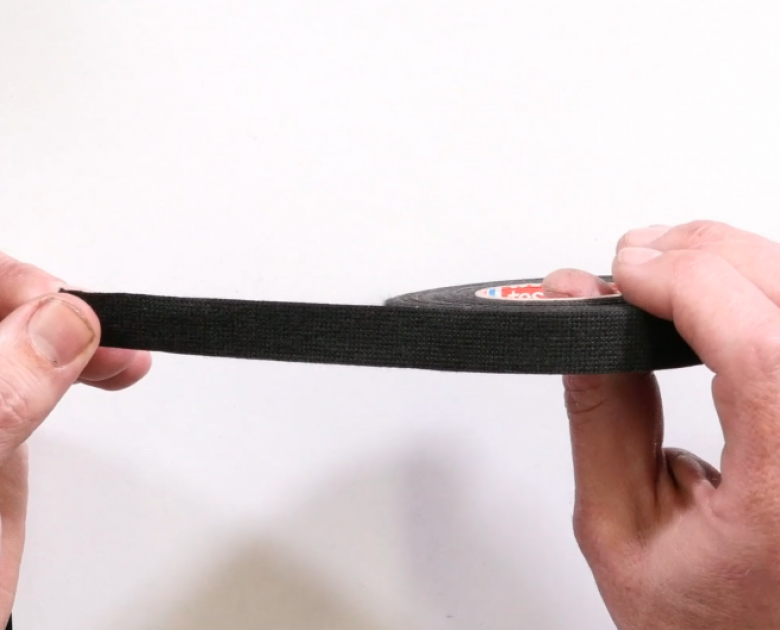
At the very entry-level end of the spectrum, another option is fabric looming tape, something we would not recommend. It does have its advantages in that it is very cheap and very easy to install as it can be wrapped around your harness without the need for connectors to be removed. However, these advantages are outweighed by the fact that it gives very little protection and will soak up the various fluids with which it comes into contact.
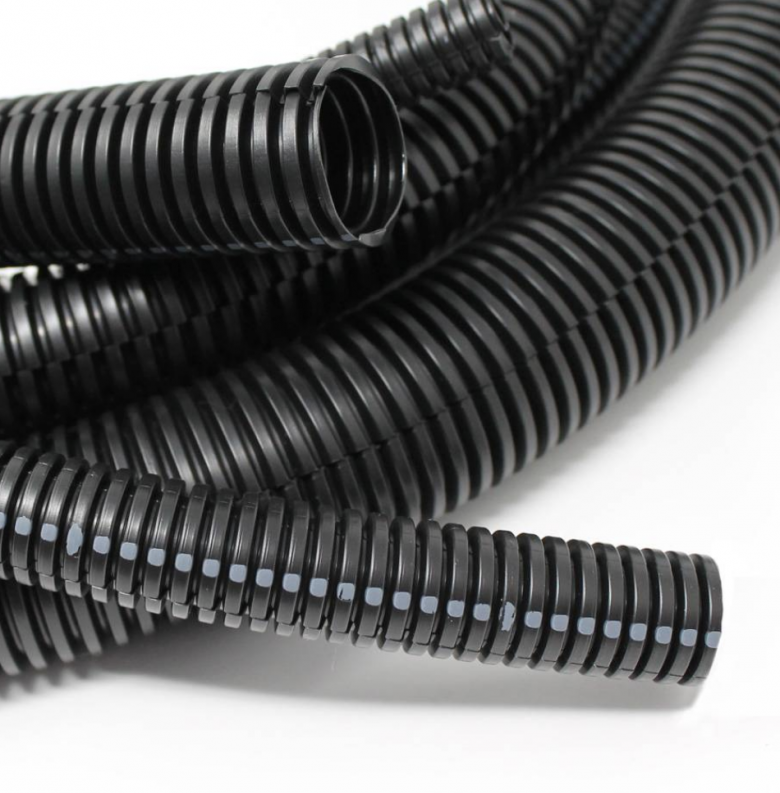
There is one more sheathing material that we will mention here, but only to advise you to avoid it 100% of the time, and that is split PVC convoluted tubing. Much like PVC wire insulation, PVC convoluted tubing can’t handle the temperatures it will be exposed to, it is challenging to work with and produces an unprofessional looking harness.
Boots
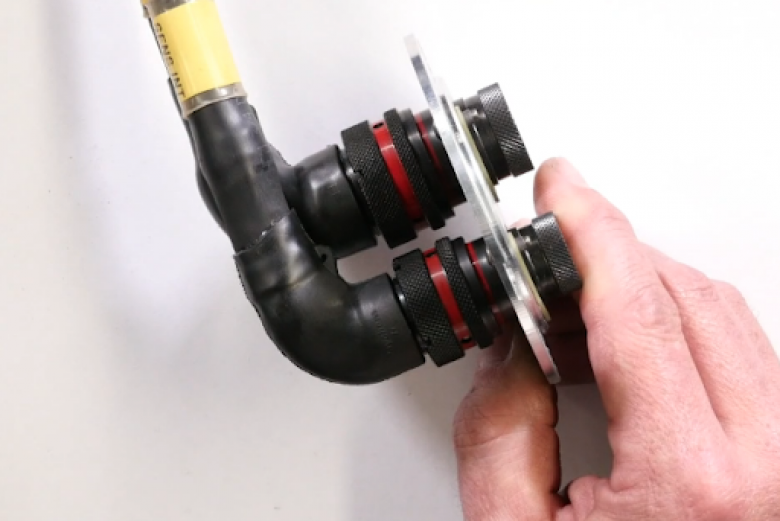
Moving onto boots, firstly we will look at a Raychem heat moulded boot which tends to be used in professional wiring harnesses and can be used on the back of connectors or on transition points in your harness, T intersections included. It is a heat recoverable boot which can be placed over your wires once everything is sheathed and terminated and then shrunk down into place with a heat gun which seals the ResinTech epoxy resin incorporated at both ends. Not only does this provide protection from moisture and dust but since it becomes rigid once shrunk down, it also provides great strain relief as well. The downside is these boots are pricey, and can quickly add up when you consider how many you will require for an entire harness.
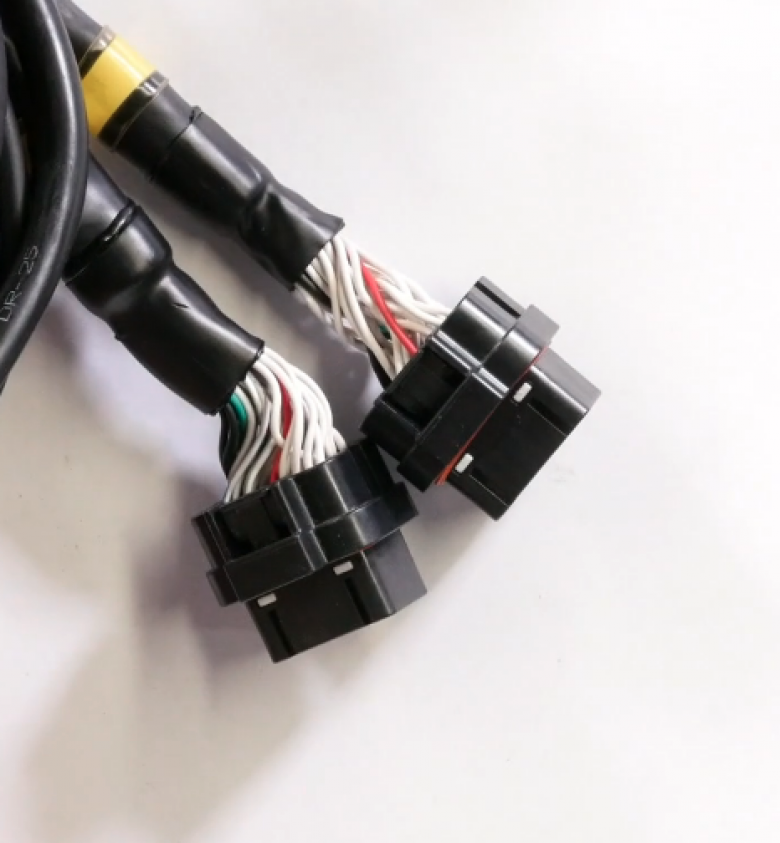
A cheaper option which is perfectly adequate for a club level harness is a section of SCL, a semi-rigid dual wall heat shrink. While this won’t provide quite the level of protection from dust and moisture as Raychem DR25, since it is semi-rigid it will still provide strain relief.
Connectors
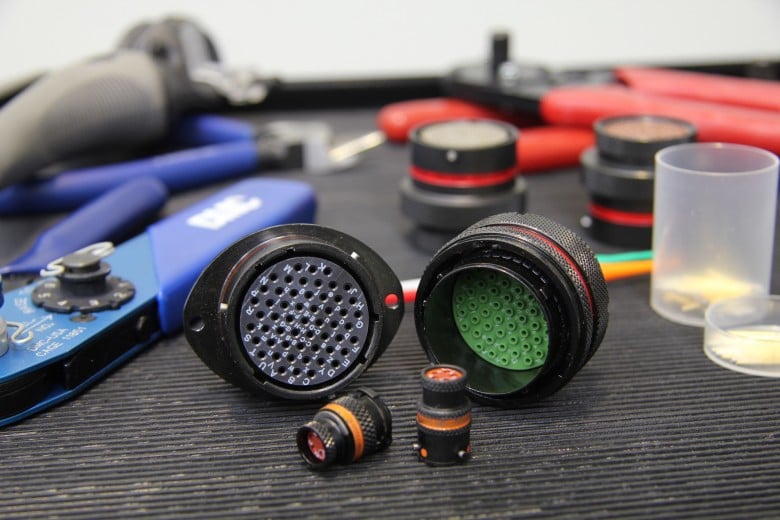
Finally, let’s look at connectors. If you’re looking at constructing a club level harness, AMP Superseal connectors, used by the likes of Haltech, MoTeC and many other ECU manufacturers are a good option as they aren’t exorbitantly expensive and a generic crimp tool will do a very good job of crimping the terminals.
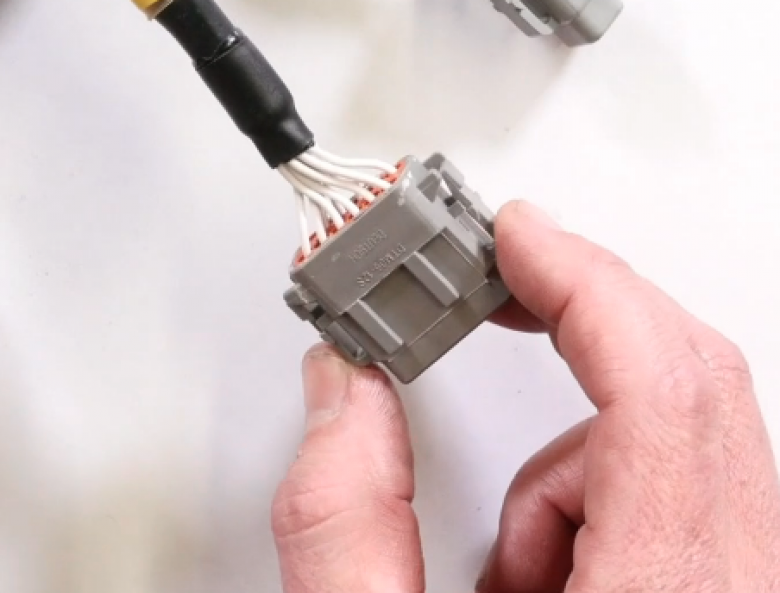
Another good choice of connector for a club level harness is the DTM, which also come in DT and DTP depending on your conductor size. Again, these are cost-effective and the crimp tool required won’t break the bank either
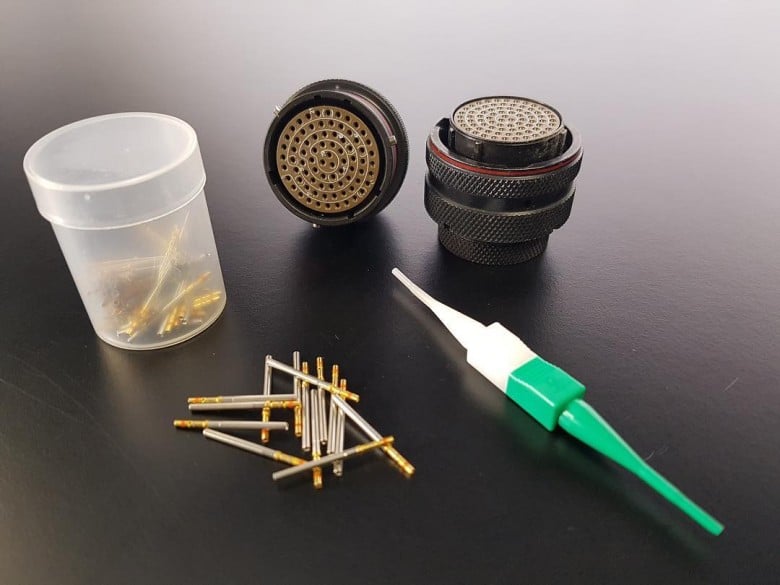
If you are building a professional motorsport wiring harness, on the other hand, you will require something like an Autosport connector. As we have already touched on, the Autosport keyway removes human error and they are incredibly easy to remove to enable servicing. The downside of these and also the reason you would only consider using them for a professional harness is that a single connector, such as their bulkhead connector, can cost you USD$300-500, and the tooling more again. Where required though, they are well worth the investment.
Tools
Like everything else when it comes to building a wiring harness, the tools you require will depend upon whether you are constructing a club level or professional wiring harness. If you are constructing a club level wiring harness, you will be able to get away with using a small range of generic tools. Comparatively, a professional harness is going to require decidedly more specialised tools
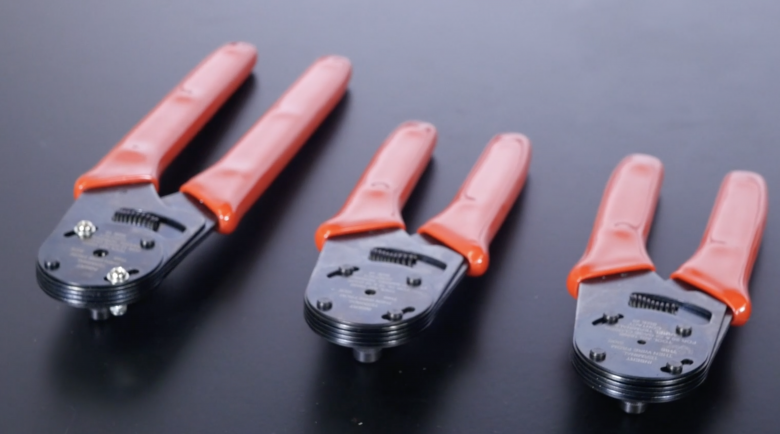
At the club level when it comes to crimping tools, you will likely still need a couple to cover the range of terminals you will come across but as an example, Delphi crimp tools are only around USD$50-$80 each.
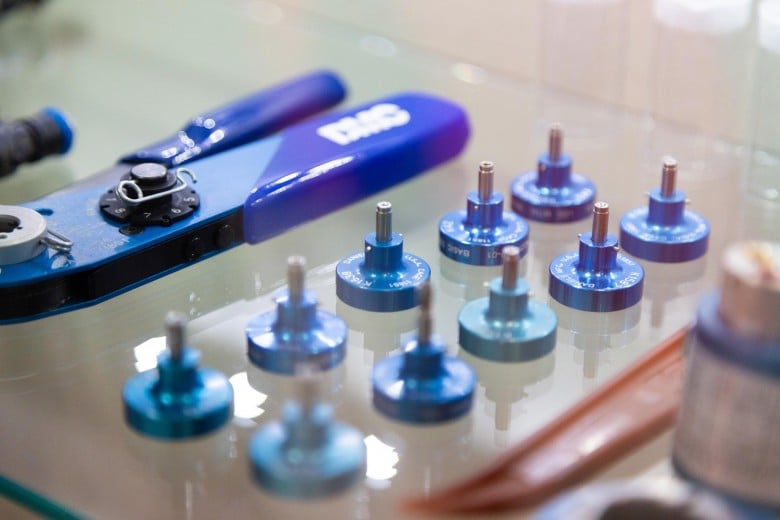
For a professional harness, things get much more expensive. The generic crimp tool that you will see most often used for this kind of application is from Daniels Manufacturing Corp. or DMC for short. On its own, however, this tool is not much use as it needs to be used in conjunction with a positioner which inserts into the turret at the end of the tool. A specific positioner will be required for each of the terminals you will be working with which can get quite expensive when you consider that each one costs around USD$50-80 and the tool itself is around USD$300-400+
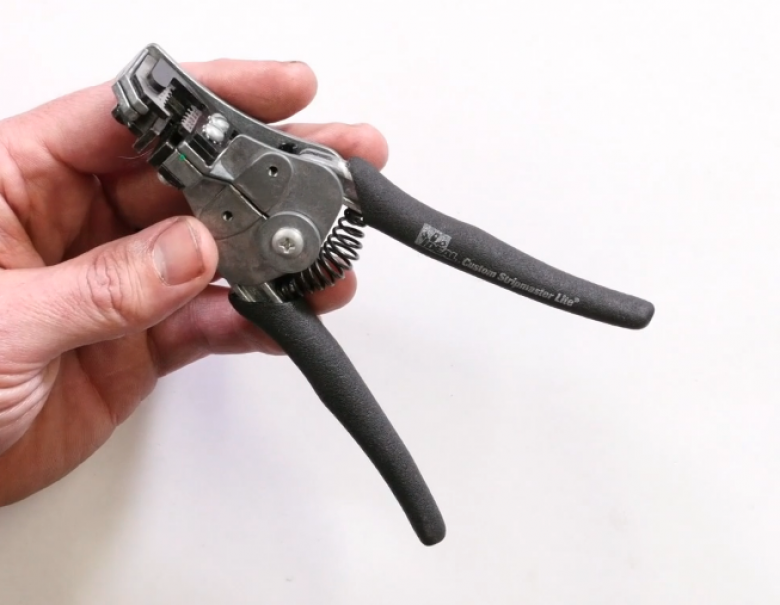
You will also need a set of wire strippers which vary a lot in terms of cost and functionality. The most important thing to consider when selecting this tool is that it is designed for the wire you have chosen for your harness. Many people will try to get away with using a pair of side cutters to strip the insulation of their wire which will sometimes work, but you risk damaging the conductors underneath which will inhibit their ability to support current flow and issues like that can ultimately cost you much more time and money than wire strippers.
Concentric twisting
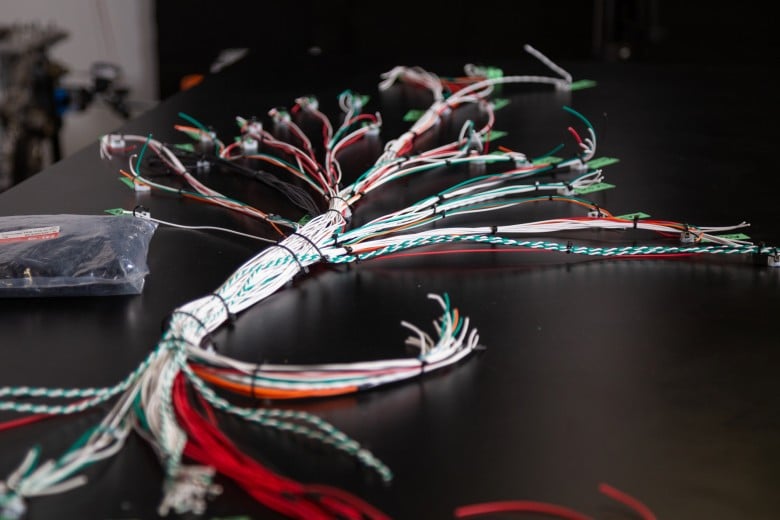
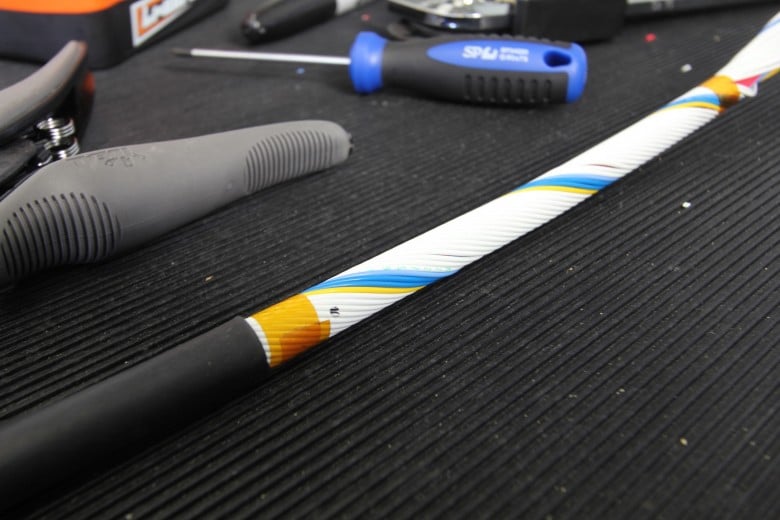
This is an area that can require a huge amount of time and is found in many professional level looms from Formula 1 to MotoGP and many tiers below. You may have seen photos on social media of beautiful concentrically twisted harnesses which, while nice to look at and necessary for certain applications, are generally only good for visual bragging rights on a street/club level car. Let’s have a look at exactly what is involved in this technique.
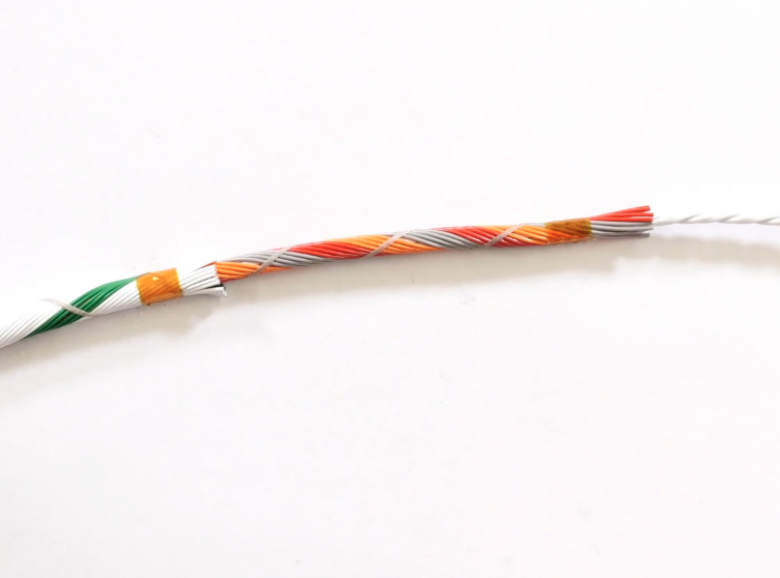
If you want to learn more about the construction of a concentrically twisted harness, check out this article.
Concentric twisting is met with mixed opinions as to whether or not it should be used. One of its main advantages is that it provides great flexibility with the alternating directions of twisted layers allowing it to bend almost back on itself with ease. This means that when you are routing the harness through the engine bay, an equal strain is placed on each wire, which means increased reliability. On top of this, it provides a minimal bundle size with a round profile which makes installing sheathing easier.
Looking at the downsides, it is incredibly time-consuming to construct as well as often requiring filler wires to make up the required amount of wires for the outside layer which can be counterproductive when at the level of motorsport that might require a concentrically twisted harness given minimum weight is often a high priority. Some people use this to their advantage and have the filler wires break out into a connector, making it easier to add functionality at a later point as otherwise, it is all but impossible to make changes to a concentrically twisted harness.
How much time and money will you need?
The time required to complete a harness build will depend on a number of factors such as how complex and long your harness is as well as what kind of engine you are building it for and how proficient you are. Obviously, the less experience you have, the longer it will take. To give you some idea, a club level harness constructed for a relatively standard four-cylinder engine will take roughly 20 to 30 hours whereas a professional harness could end up taking over 200 hours to complete.
When you consider the length of time a professional harness takes to complete, if you are planning on paying a professional to build your harness at around $100-150 an hour, you start to get an idea of what you might be looking at cost wise for. It is very hard to put a total cost estimate on a harness build given the range of applications out there, but if you look right at the top end of the scale, Renvale in the U.K who construct harnesses for the very top levels of motorsport produce sign sections of harness for £20,000. At the other end of a spectrum, you could build a club level harness for around USD$1000-1500, often including the cost of course material from the likes of HPA.
Conclusion
As you can see, although upon first glance professional and club level harnesses may look similar, there are a lot of differences between the two, not least of all in price! Although there is a lot to think about when designing your harness, the choice between the two types is a relatively simple one. Unless you are building a harness for use in the upper levels of motorsport or just want the professional appearance that comes with a professional harness and are not hindered by budget, a club level harness will get the job done.
Once you have decided which type suits your application, our practical club level and professional wiring courses will help you through the process of constructing your own.
NOTE: We are a participant in the Amazon Services LLC Associates Program, an affiliate advertising program designed to provide a means for us to earn fees by linking to Amazon.com and affiliated sites. You can find the same tools linked above without using our affiliate links, they're just there for your convenience.
