When it comes to automotive wiring, it’s important to correctly crimp your connectors as part of making a reliable wiring harness and to do this, you will need the right tool for the job. In this article, we will discuss some common crimping situations and show you how you can use a low-cost general-purpose tool to achieve a great crimp
In this article: What Tool Will You Need? | Multilock Connector | TE EconoSeal Connector | AMP SuperSeal 1.0 Connector
What tool will you need?
In the ideal world, you would have the manufacturer specified tool for every crimp terminal that you work with but with street and club level motorsport wiring, this isn’t necessary. Unfortunately, these tools can cost hundreds of dollars and it only takes needing to work with a relatively small amount of terminals for things to get very expensive.
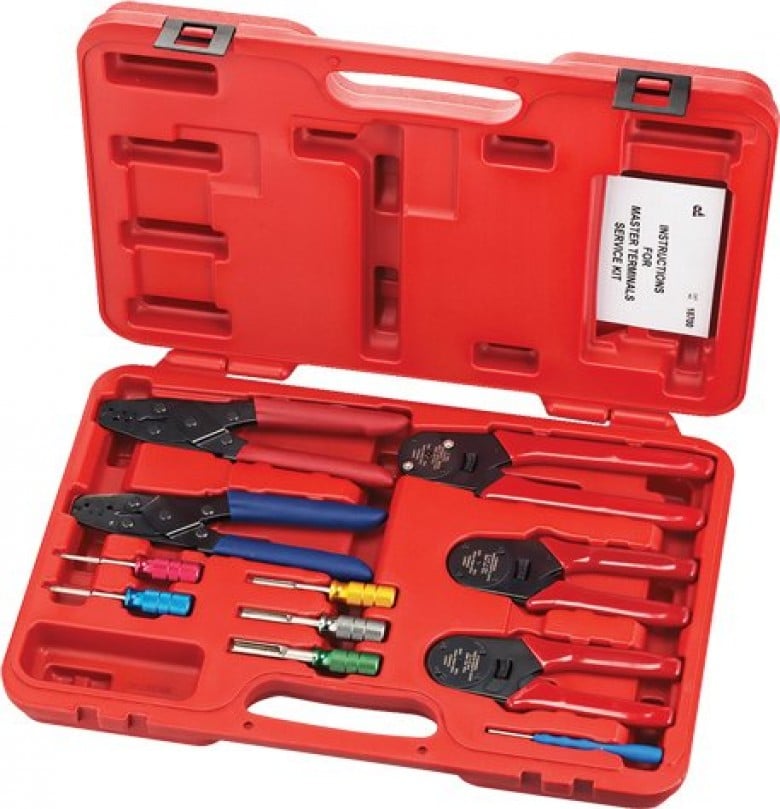
It is still possible to get a reliable result with a general-purpose tool like the one pictured below which is included within the Tool Aid 18700 Master Terminal Tool Kit. As shown, you will need multiple die sizes depending on the size of the terminal and wire you will be crimping. It also has two different styles of die.
The ones along the top have a “w” shape which is perfect for crimping the open barrel section of your terminal that makes the electrical connection to your copper conductor strands. The bottom dies have a round shape which will generally be used for crimping the open barrel section that contacts the wire insulation and provides strain relief although there are exceptions, as you will find out.
Multilock Connector
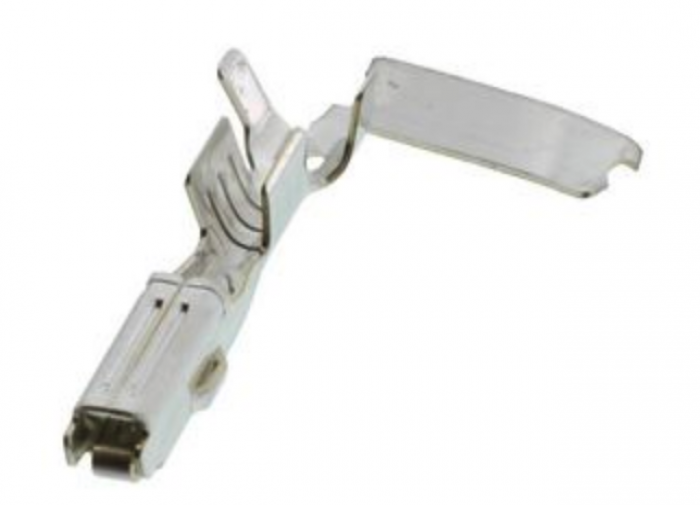
This Multilock terminal has two open barrel crimp sections. The right side makes contact with the conductor strands of your wire while the left side crimps onto the wire insulation to provide strain relief which means that any bending that occurs in the wire doesn’t put a strain on the crimped joint.
As is common when you are looking for terminals for OEM connectors, these Multilock terminals come in more than one size. In this case, there is a smaller size which suits 24 to 20 gauge wires and a larger size for 18 and 16 gauge.
Before performing the crimp, you will need to strip back a section of the insulation around your wire. The length to be stripped is critical and can be determined by looking at the length of your open barrel crimp section that will make contact with the copper conductor strands.
You need to be able to see these strands to ensure you have made full contact so you know you’ve achieved the best electrical continuity possible but not so much that the larger open barrel crimp has no insulation to grip.
When it comes to determining which size die with which to perform the crimp, this will involve a bit of trial and error. You will probably have to perform a few crimps to determine which gives the best result for your wire size and terminal combination. When you start to close the tool around the terminal, there should be just enough resistance to hold it in place before you squeeze down and complete the crimp. Once you have completed the crimp, do a visual inspection to make sure the tabs have folded over nicely. If all looks good then you can perform a tug test by holding the terminal and pulling on the wire. You need to exert a fair amount of force here so you can be sure it will stay in place. If your crimp fails failed the tug test you would go back in with a smaller die size to complete the crimp.
Next, you will need to crimp the strain relieving section of the terminal. As a general rule of thumb, you will use the next size die up from the one used to crimp the insulation section of the terminal. We mentioned at the start of this article that you will generally use the round die for this task. The Multilock connector terminals are one of the exceptions to this as since the tabs are quite long and would butt into each other and lead to a failed crimp if the round die was used. One thing to watch out for when crimping the insulation section is that the crimp is narrow enough to fit into the connector body.
TE EconoSeal Connector
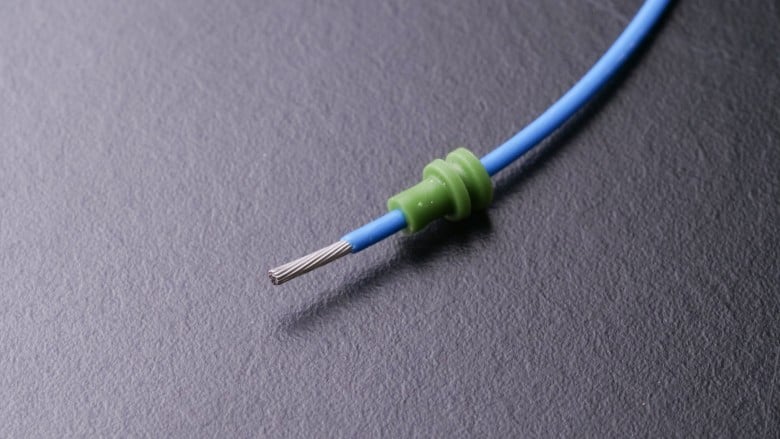
The process for this connector is similar however there are a couple of differences. In this case, the terminal includes an integrated wire seal which is installed onto the wire. When you crimp the terminal, the strain relief section crimps around the wire seal which creates a seal around the connector body when it is inserted. Installing this seal onto your wire before you strip it will make your job easier as there will be no chance of copper conductor strands being pushed back in the opposite direction. Sometimes a silicon-based lubricant will be handy here.
From here, just like with the Multilock terminal, you will crimp down the two sets of tabs, following the same process of making sure you use the right size die to complete a reliable crimp. Unlike the Multilock terminal, this time you will crimp the strain relief tabs around the rubber seal and you will do so using the round die.
AMP SuperSeal 1.0 Connector
Again, the crimping process for this terminal is much the same as the previous examples. The terminal, however, looks a little different. The tabs for the strain relief section are triangular and are offset from one another.
The reason they are shaped in this way is so that unlike the Multilock terminal, you can crimp them using the round die and they won’t butt up against each other. This is important with the AMP SuperSeal connector as when the terminal is inserted into the connector, it has to fit through a round hole.
Conclusion
As you can see, it is entirely possible to get good reliable crimps using a multipurpose tool and in fact, this is often the tool we reach for the most when performing crimps on street and club level wiring harnesses. It is only when you get to the professional level of motorsport where the wiring harnesses are subjected to much harsher conditions that you will want to use the manufacturer specified tools.
NOTE: We are a participant in the Amazon Services LLC Associates Program, an affiliate advertising program designed to provide a means for us to earn fees by linking to Amazon.com and affiliated sites. You can find the same tools linked above without using our affiliate links, they're just there for your convenience.
