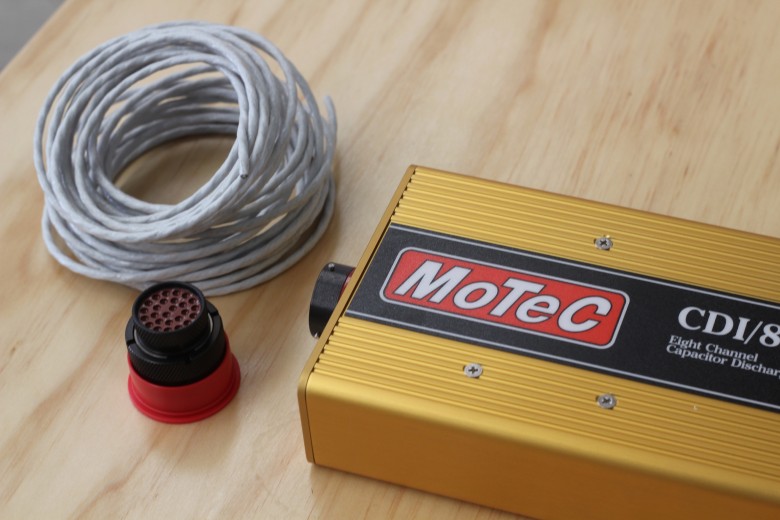
In our previous wiring article we started to cover one of the most feared aspects of any automotive project – the wiring. If you missed Part 1, you can check it out here.
Wiring is a pretty broad topic and there was no way I could do justice to the topic in one article. Actually, I’m going to struggle to do so in two, but hopefully these articles will offer some useful pointers and take some of the fear out of your next wiring job.
In this article: Grounding | Eliminating Interference | Planning and Organising | Wire Wrap
This article we’re going to look at a few more aspects such as shielding inputs, the importance of grounding, and protecting your wiring harness.
Grounding
If I had to come up with the one single problem that I’ve repeatedly seen the most trouble from when it comes to automotive wiring, it’s poor grounding. Everything the ECU does is dependent on the accuracy of the voltage input it sees from all its sensors and if the voltage the ECU receives fluctuates then it can cause all sorts of nasty problems.
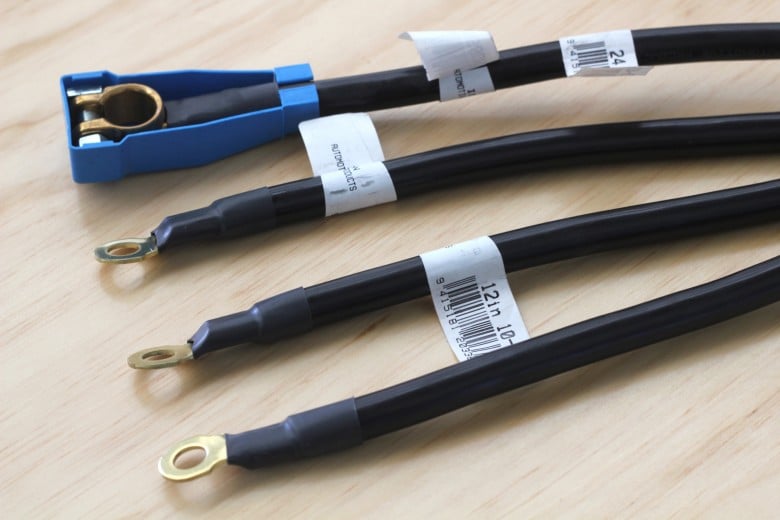
When we talk about voltage, most people don’t consider that the voltage measured is always relative to something called ground or zero volts (also often called earth). It’s crucial that the ground reference throughout the entire car is consistent, and this involves properly grounding the ECU to the engine block, the engine block to the chassis, and the battery to the chassis. A common trap here is when reassembling a car after painting. It’s critical to scrape the paint away underneath any earth straps to ensure they make proper contact with the chassis. Paint is a very poor conductor.
Don't Get Caught Out With This 👇
A common trap with grounding is when reassembling a car after painting. It's critical to scrape the paint away underneath any earth straps to ensure they make proper contact with the chassis. The paint is a very poor conductor.
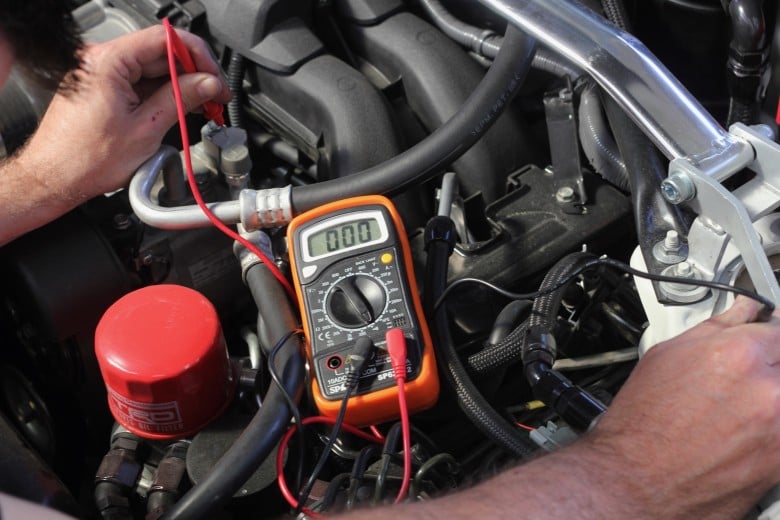
If you suspect your car has a grounding issue, a good test is to use a multimeter on the ohms setting to measure the resistance from the engine block to the battery negative, chassis, and ECU power grounds. If everything is grounded properly you should be seeing less than 1 ohm of resistance. If you’ve got more than this then it’s time to check the condition of your earth straps and your ground wiring.
Eliminating Interference
The engine bay is an electrically noisy place and this can be a huge problem when the ECU needs to receive clean signals in order to do its job properly. When I use the term ‘noise’, I’m talking about EMI or electromagnetic interference, and while there are many sources of EMI, the engine’s own ignition system is often a culprit.
The most critical inputs that all of the ECUs calculations are based on are those that tell it what the engine RPM is and which cylinder is firing (collectively these inputs are often referred to as trigger inputs). If the ECU is receiving noise on these inputs it can cause all sorts of issues including misfires and poor running.
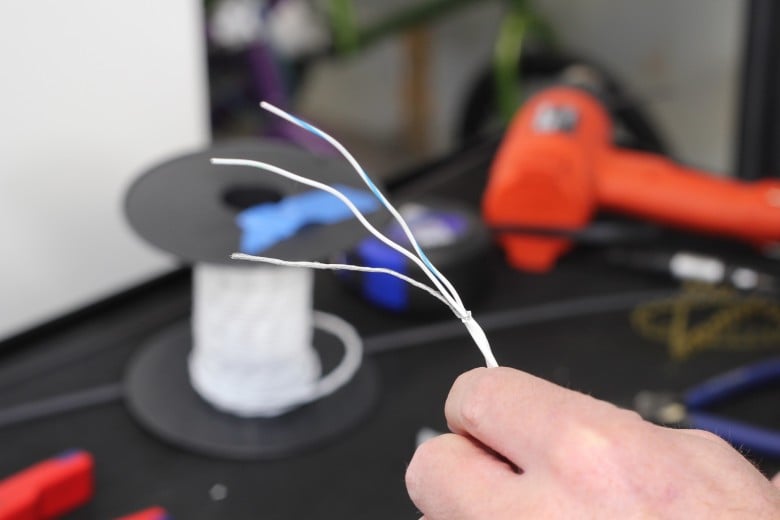
To help reduce the chance of EMI effecting the signals to the ECU it’s essential to use shielded cable for these important trigger inputs. A shielded cable includes twisted conductor wires that are connected to the sensor and a shield that surrounds the conductors. The shield acts by picking up the electromagnetic interference and conducting it through the shield to ground, preventing the interference reaching the conductors.
When using a shielded cable it’s important to make sure that the shield is properly grounded at the ECU. This is referred to as a shield drain as it harmlessly drains any EMI to ground. It is, however, important to drain your shielded cable to the correct place on your ECU. The ECU wiring diagram will have dedicated terminals for this job.
Planning and organising
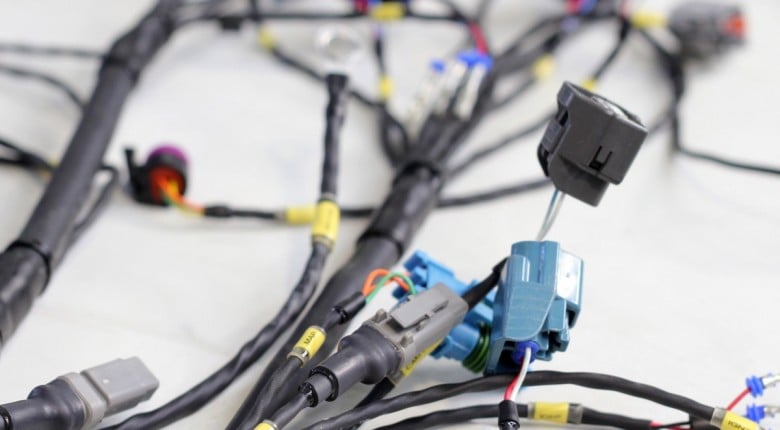
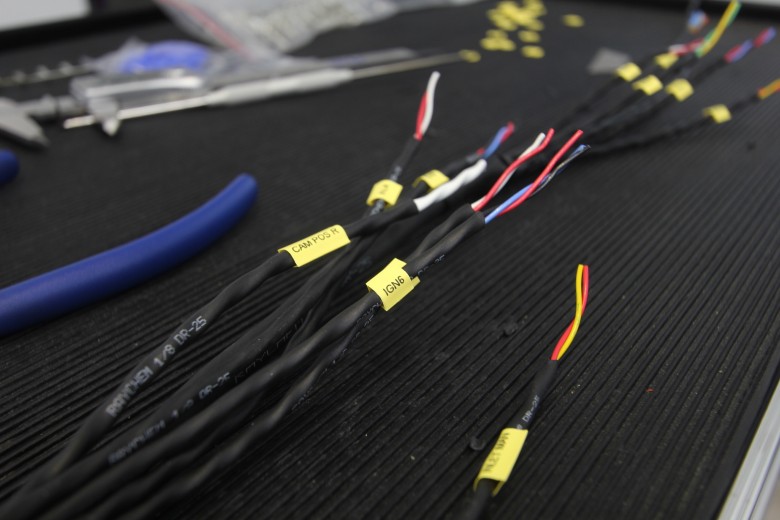
For a wiring harness to do its job properly it’s pretty obvious that every connector needs to be plugged in to the correct spot, right? While it might be obvious, when we’re dealing with a complex harness with many similar connectors, sometimes mistakes can happen and that’s why it’s so important to label your harness. But how?
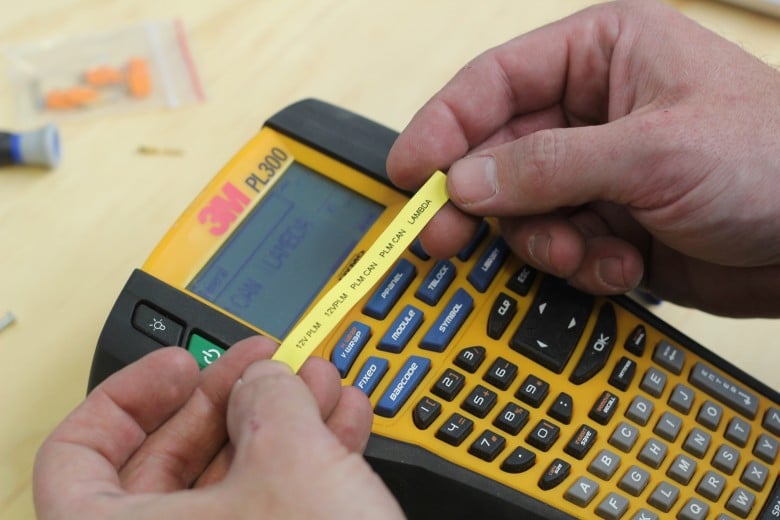
In a proper mil-spec harness you’ll usually see small yellow or white labels with the connector name printed on them, but have you ever wondered how this is done? These labels are actually printed onto a roll of heat shrink tube using a thermal printer. The printer prints your labels and then you simply cut them to length, install them and then shrink them down on your harness. As delivered, these labels aren’t very robust though, so they are normally covered with a length of clear heat shrink.
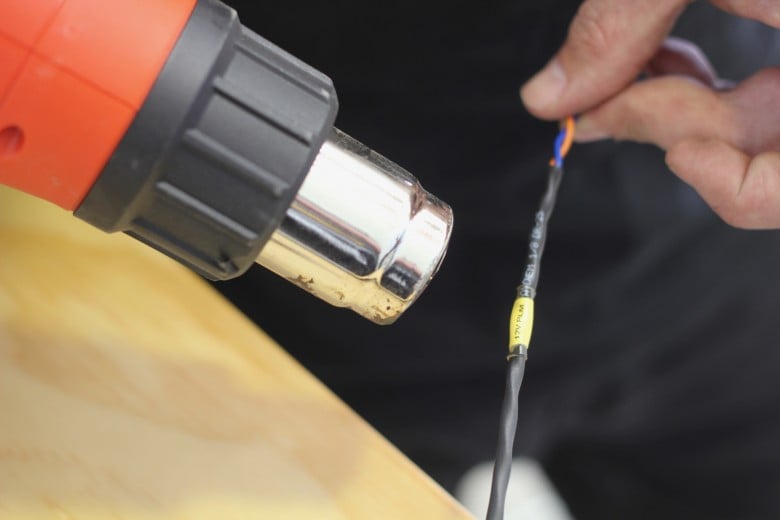
Just a few years ago these label printers were pretty expensive and hard to justify for a home enthusiast, but these days basic models can be purchased for as little as US$150. For a one-off project, many of the wiring suppliers or harness builders will also print off labels for you – for a cost, of course.
Wire Wrap
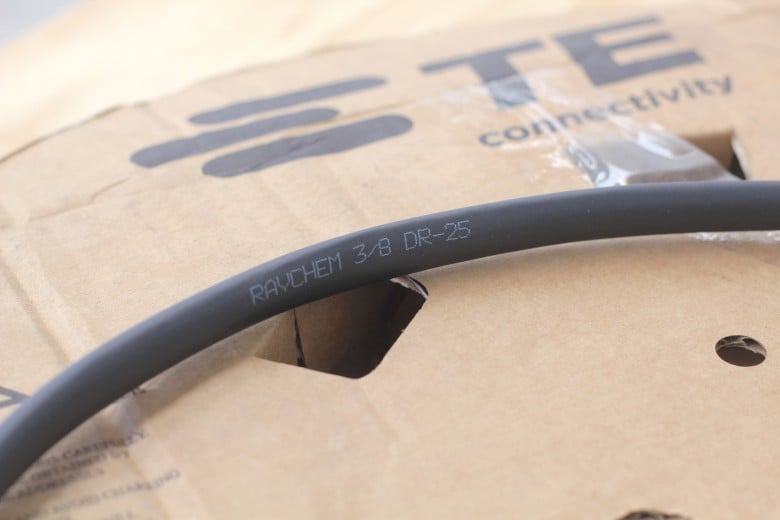
Protecting your wiring harness is almost as important if you want it to last. A car is a harsh environment to keep your harness alive – there’s intense heat, corrosive chemicals and abrasion to consider just to name a few. At the pointy end of the spectrum, Raychem DR25 is the choice of most professional harness constructors. This is a heat shrink tube that offers an attractive and reliable way of covering your harness, and it’s resistant to most of the nasties that the automotive environment has to offer.
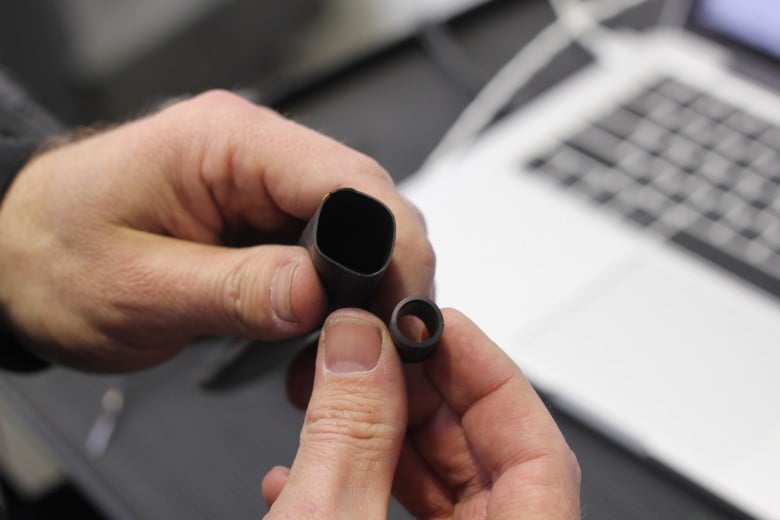
DR25 can be difficult to use over a harness that isn’t concentrically twisted though. It has a shrink ratio of 2:1, meaning that once recovered after heat shrinking it is half its original diameter. This can make it hard to get over a harness that isn’t concentrically twisted, and in this situation once shrunk down it can also reduce the flexibility of the harness.
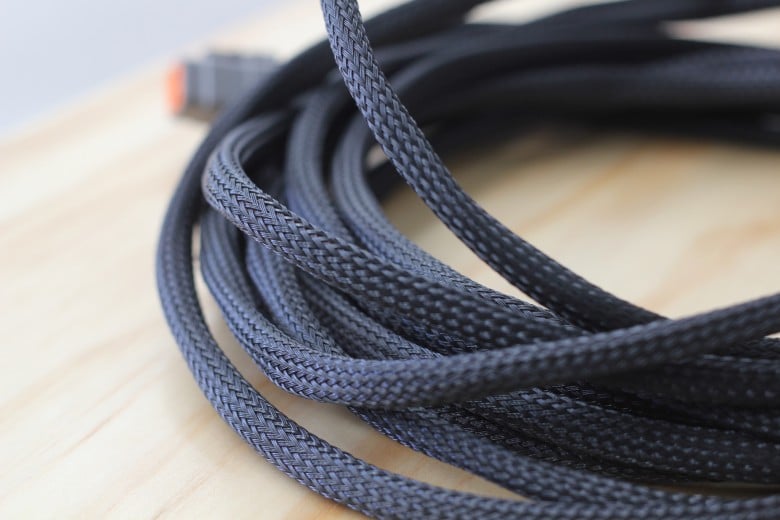
A couple of steps down from DR25 is the fabric braided weave that’s quite common in many entry-level harnesses. This is a much easier product to install over a harness that hasn’t been concentrically twisted and it also tends to maintain good flexibility in the loom as it isn’t shrunk onto the wires like DR25. Fabric braided weave, however, needs to be secured at each end using a heat shrink tube to prevent it becoming frayed, and care is needed when installing this as the melting point of the fabric braid is quite low.
But Wait, There’s More
These two articles are really just a small example of what goes in to producing a reliable wiring harness. There’s a lot more to it that I simply can’t do justice to in this space, but hopefully you’ve picked up some tips and some new information that you can apply to your next project. I guess more than anything I want to show that wiring doesn’t need to be scary, and that producing a quality harness is well within the scope of most home enthusiasts provided you’re careful and can show good attention to detail.
Want to learn more? Why not begin with our Wiring Fundamentals course.