If you are new to the world of engine building, the process of selecting the necessary tools can be overwhelming. In this article, you will learn the tools you will need based on the assumption that you will be working alongside an engine machinist to complete your build. Machining is not a task that will be done by the majority of home enthusiasts and even some workshops.
In this article: Basic Mechanic’s Toolset | Torque wrench | Torque angle gauge | Ring file | Ring squaring tool | Ring compressor | Plastigauge | Micrometers | Bore gauge | Balancing equipment | Burette | Dial gauge and magnetic base | Deck bridge | Rod bolt stretch gauge | Degree wheel
Basic Mechanic’s Toolset
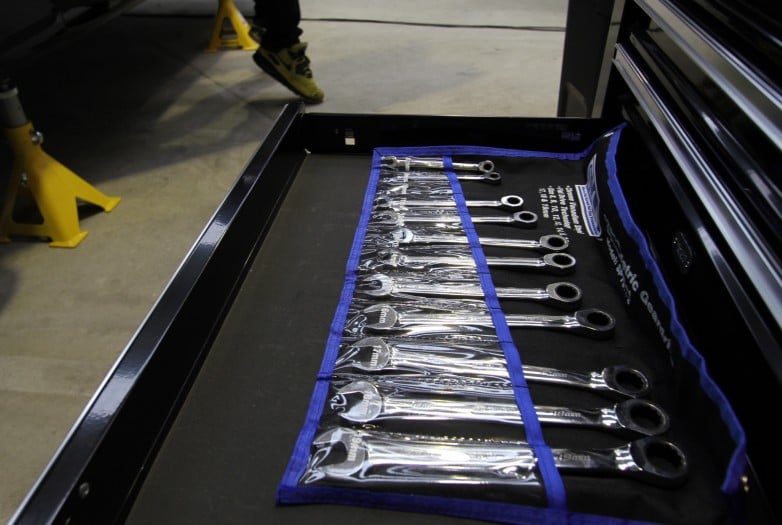
It is probably safe to assume that if you are keen to get involved in engine building, you probably know your way around a car to a certain degree and possess a basic toolset. What we are talking about here is a set of good quality sockets, extensions, spanners, screwdrivers, pry bar and we could go on...but you get the picture.
We recommend you shop at and support your local performance tool retailers, but you can also find toolkits here.
Torque Wrench
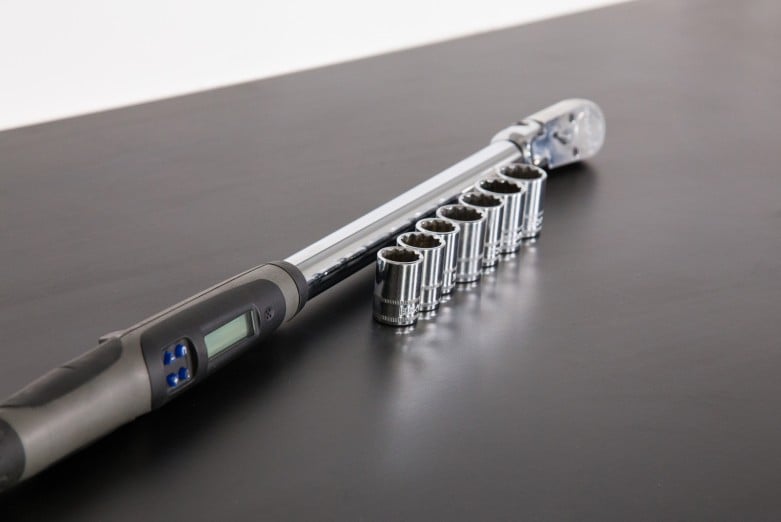
You can purchase an expensive digital torque wrench from the likes of Snap-on but it is not necessary to have something with all the bells and whistles like that. Especially since you will most likely require more than one as each individual torque wrench is unlikely to cover the full range of torque that you require for your build. Each build is different but you will most likely require a ½ and ⅜ inch drive.
Although having a digital torque wrench isn’t essential, if you can afford it, they do have the added benefit of being able to measure torque angle which means you won’t need a separate torque angle gauge. Although it is by no means impossible to complete your build with the help of a separate torque angle gauge, they can be tricky to use at first.
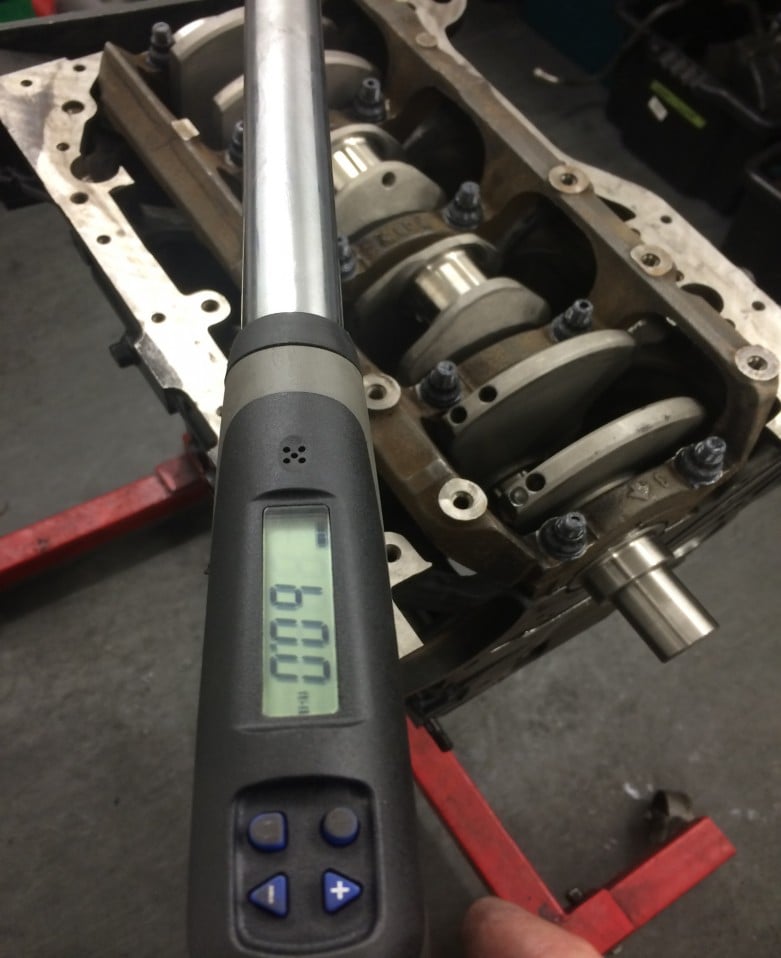
Another consideration is whether the torque wrench is dual signal. Some will only beep at you once the required torque is reached which can be easily missed if there is a lot of background noise. It is a good idea to look for one that also vibrates so you are less likely to miss the signal.
Once you have purchased and started using your torque wrench, you must have it calibrated regularly (about once every year) to ensure that it is accurate. This is especially important when you are using it for fasteners where they must be tightened to a specific torque.
We recommend shopping at and supporting your local performance tool retailers, but you can also find torque wrenches here.
Torque Angle Gauge
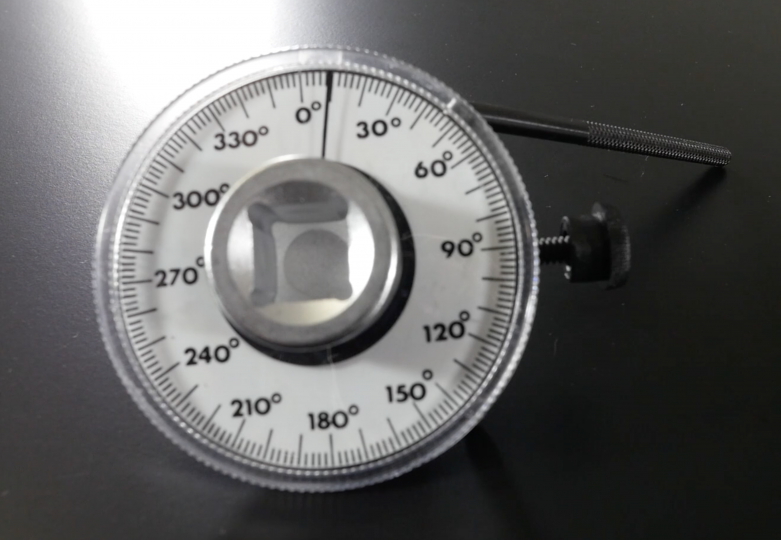
Unless you have a digital torque wrench, you will require one of these. A torque angle gauge has a degree wheel so you can set and measure the degrees of rotation by connecting one end to the torque wrench and the other to your socket. As previously mentioned, they can be tricky to use and one of the main things is to ensure that it doesn’t rotate whilst in use as if it does, you will get a false reading.
We recommend shopping at and supporting your local performance tool retailers, but you can also find torque angle gauges here.
Ring File
Particularly if you are fitting rings that come with an aftermarket forged piston, you will often be dealing with file fit rings which as the name suggests, come with a gap that is too tight and will need to be filed to suit your application. There are a few options when it comes to choosing a ring file.
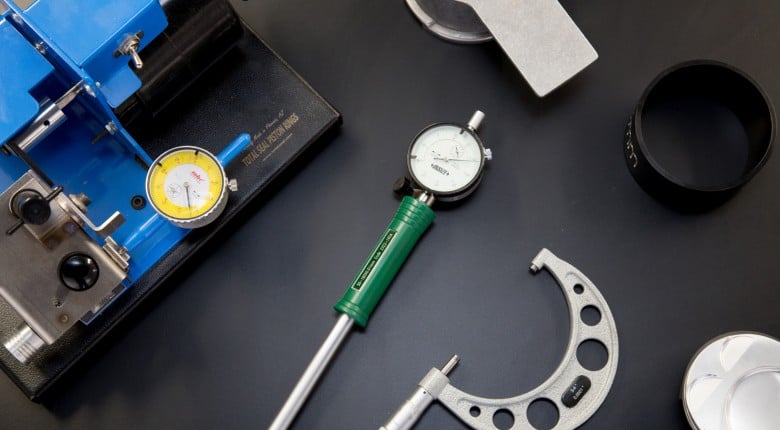
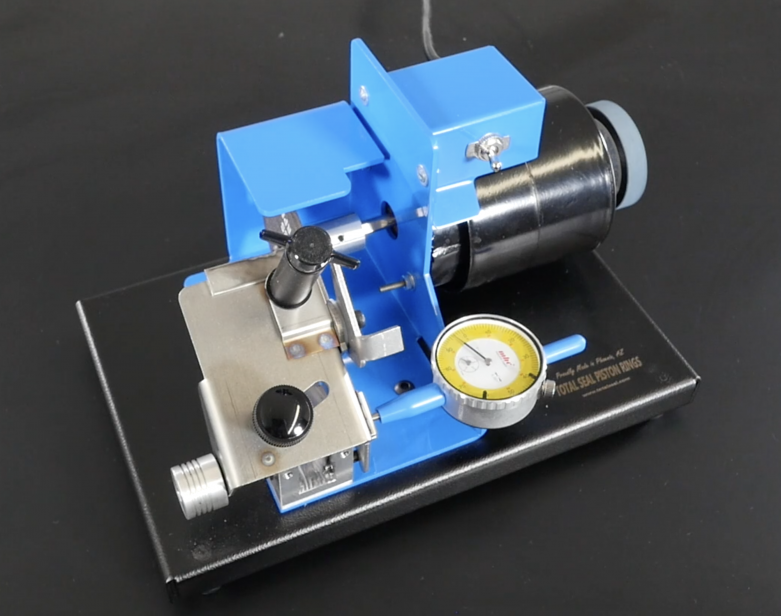
At the top of the price range is an electric ring file which enables you to file your rings very accurately so that not only is the gap correct but the ends are perfectly parallel. This is done with the help of a dial gauge which lets you see exactly how much material has been removed. If you are considering engine building as an occupation or will be building several engines, these are worth considering but otherwise, it’s probably not worth the expense as they will set you back about USD$400
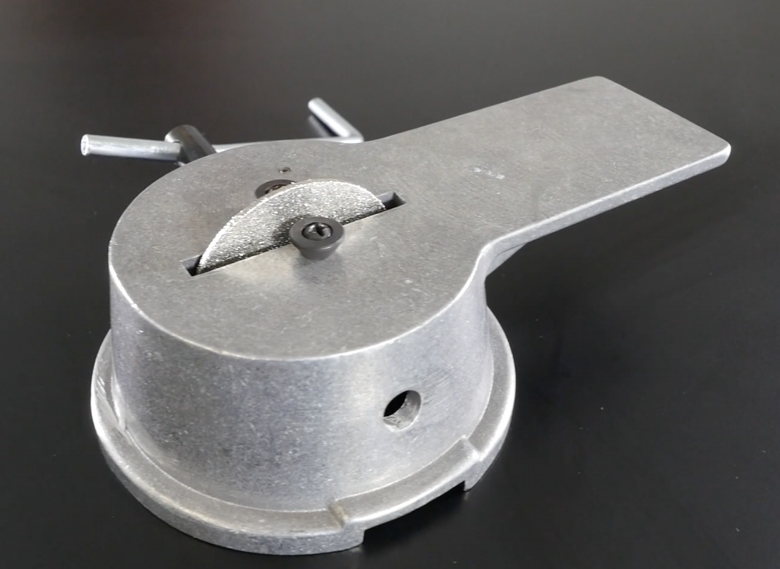
If you are looking for a cheaper option, manual ring files like the one shown above are available for as little as USD$20-50. They have a bed with 2 little dowels to locate the ring against and then a grinding wheel which is turned by hand. These can be very effective but more care needs to be taken as there is nothing to consistently locate the ring against to ensure the ends are parallel and you also can’t tell how much material you are removing.
We recommend shopping at and supporting your local performance tool retailers, but you can also find manual ring files and electric ring files here.
Ring Squaring Tool
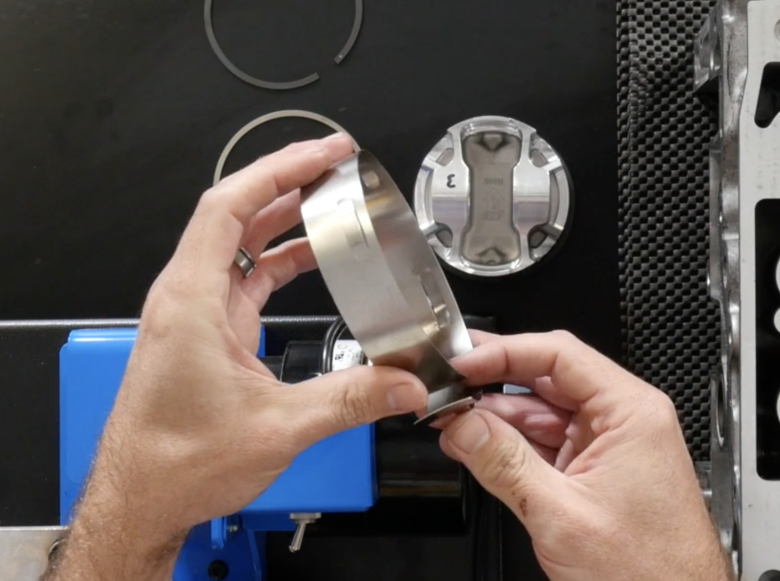
This is used for squaring your rings in the bore before measuring your ring end gaps. You need to get the ring located a little way down from the top of the bore to avoid any taper and also make sure that it is square. You simply compress the tool, place it on top of the ring and then press down so it will move down the bore until the pockets around the outside located on top of it. These are very cheap, so there isn’t any reason not to purchase one; however, you can get away without it. If you fit the second compression ring or oil control ring onto your piston, you can then place the piston upside down in the bore and press down on the ring. This will only work if you have flat top pistons.
We recommend shopping at and supporting your local performance tool retailers, but you can ring squaring tools here.
Ring Compressor
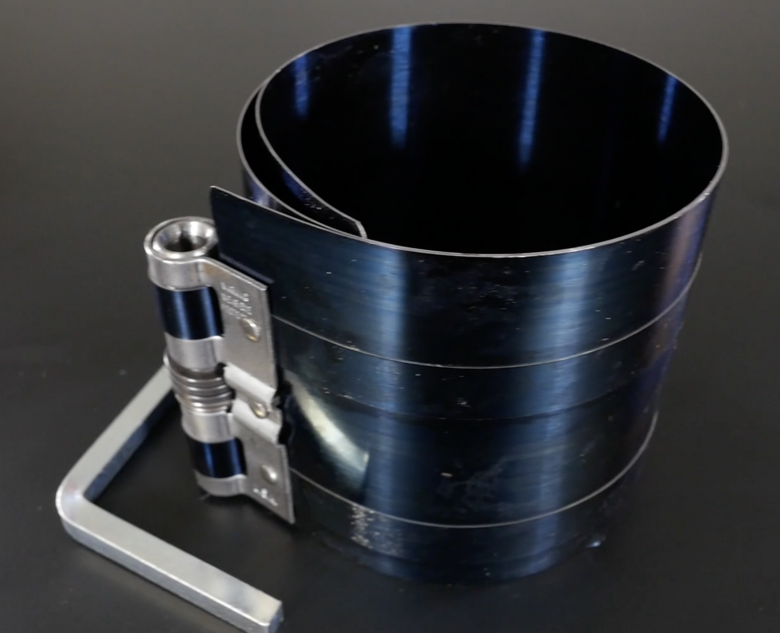
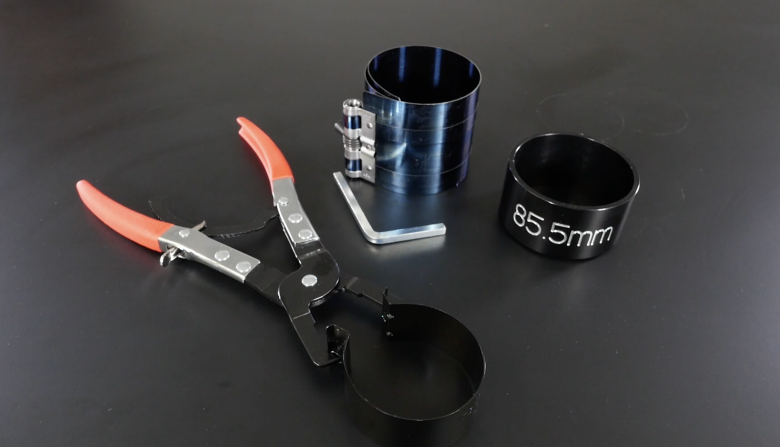
You have a couple of options when it comes to ring compressors. Firstly a universal ratchet-style which you locate over the top of the piston on the rings and then tighten it to compress the rings into the ring grooves. You then locate it into the bore and tap the piston down into the bore. If used carefully, these can give good results however a ring can easily pop out and be damaged while you’re pushing the piston through the compressor which can also damage the bore.
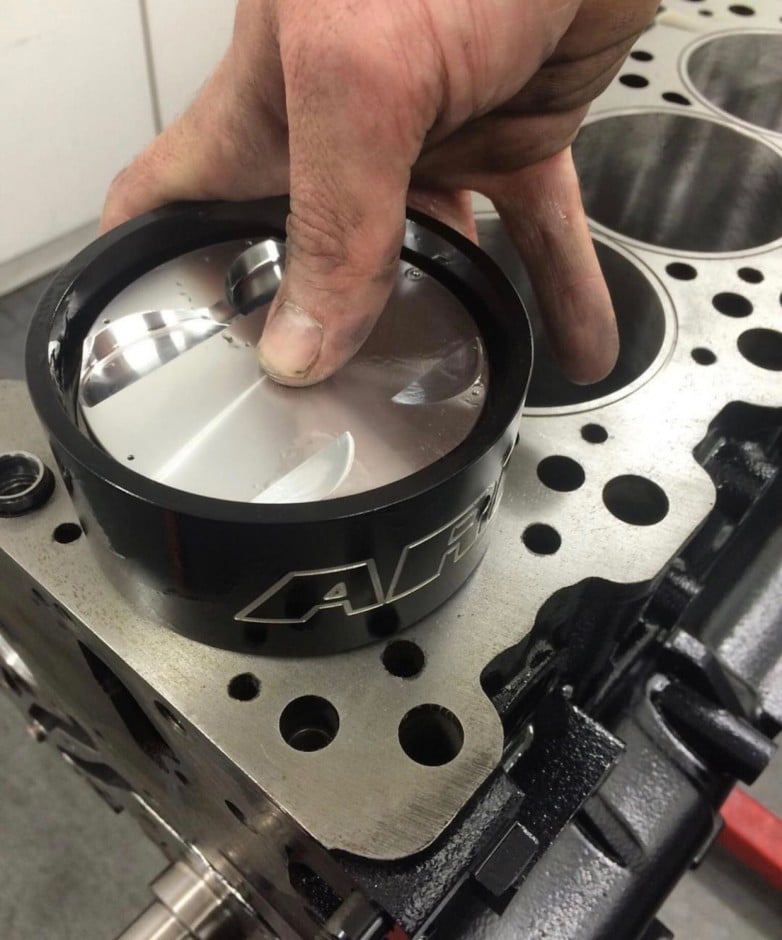
Your other more safe option is a tapered ring compressor which starts out large at the top and tapers down to the bore diameter making it difficult to damage a ring as you don’t need much force to install the piston into the bore. The downside is that you need a different one for each bore size which can get pricey at around USD$30-$40 if you are dealing with a lot of engines however much cheaper than damaging a ring set or a bore.
We recommend shopping at and supporting your local performance tool retailers, but you can also find ring compressors here.
Plastigauge
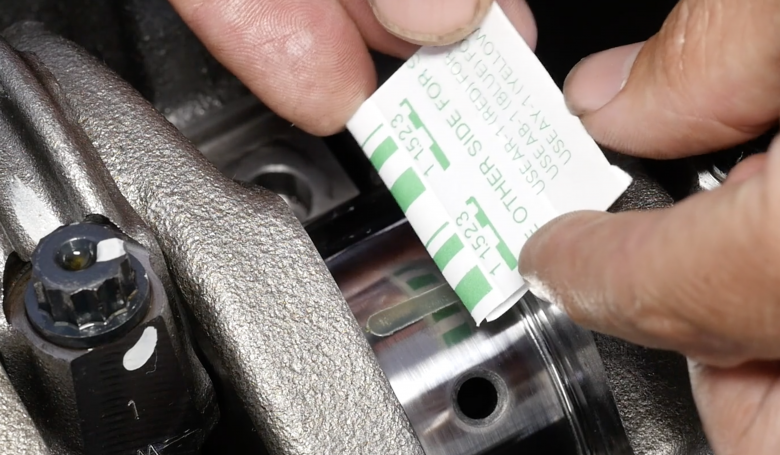
This is a thin wax strip which enables you to very cheaply measure bearing clearances. You lay it across the crankshaft journals, assemble everything without lubricating oil, torque down the bearing caps and then remove the plastigauge which will now be crushed. The width of this gives you a good indication of your bearing clearance. This is something that causes a lot of controversy with many professional engine builders having very negative reviews but we have found it to be very effective.
We recommend shopping at and supporting your local performance parts retailer, but you can also find Plastigauge here.
Micrometers
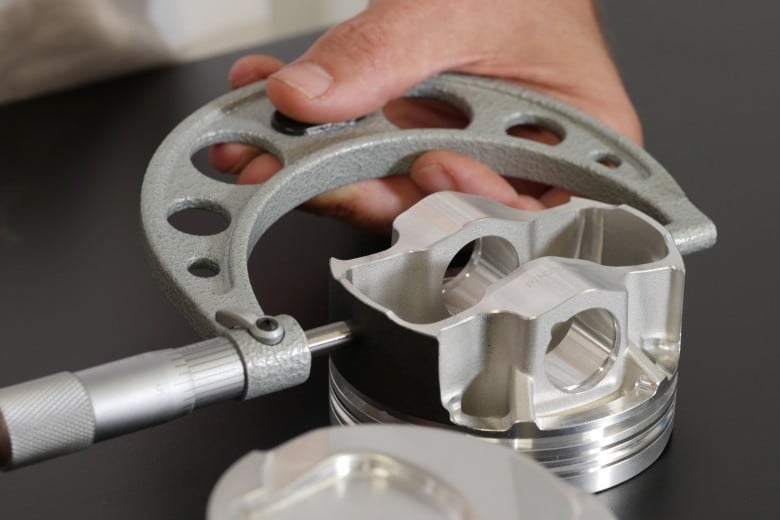
Although plastigauge is a great, cheap option, if you want to get serious about engine building and be pinpoint accurate you will need some specialist tools, starting with a set of micrometers. The reason that you will need a set is that each one can only measure a one-inch range. Micrometers are something that vary hugely in price from around USD$300 for a Chinese made set to upwards of USD$1000 for a name brand set.
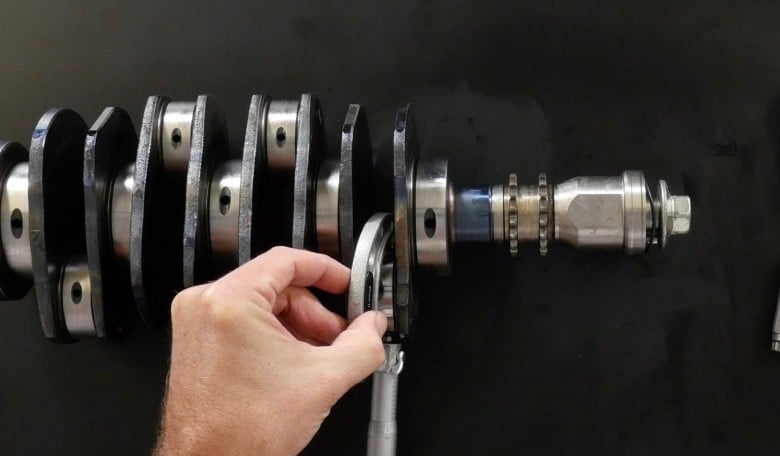
Most people’s instinct is if you want good quality, to steer well clear of Chinese products and while this is sometimes the case, you can get reasonable Chinese micrometers. You will also need to decide whether to purchase a metric or imperial set and either vernier or digital. Although reading a vernier micrometer scale may frighten people off, once you get the hang of it, it is not difficult and it will save you money as a digital set will be considerably more expensive.
While we use a set of micrometers that range from 0 to 6" in the course material, you might also get away with a 0-4" set depending on what you specifically work on often, or the metric equivalent of course.
We recommend shopping at and supporting your local performance tool retailers, but you can also find micrometers here. We also recommend you check out your local auction sites as you can get high quality (and sometimes barely used) micrometers secondhand.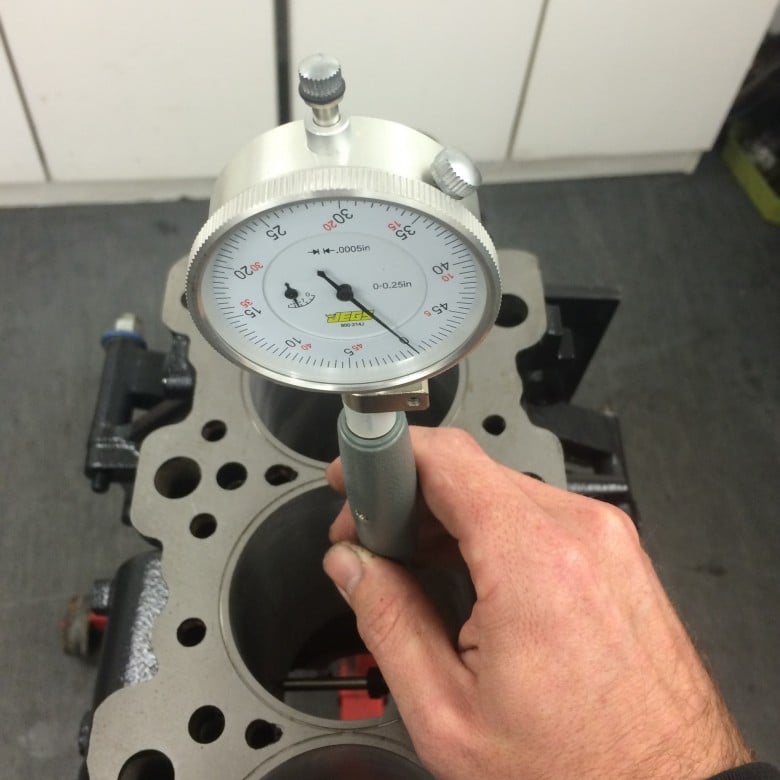 .
.
Bore Gauge
A bore gauge is used to measure the inside diameter of components and as the name suggests, this will often be your bore diameters. It can also confirm that you have no out-of-round if you measure in two plains and that the bore walls are parallel from top to bottom. The dial bore gauge doesn’t give you the measurement itself, you need to use it in conjunction with your micrometres. If you were measuring your bore, first you would measure the skirt diameter of your piston with your micrometre, then zero the dial bore gauge at this measurement and lastly you run the bore gauge down the bore to give you the difference between the piston skirt and bore diameters.
We recommend shopping at and supporting your local performance tool retailers, but you can also find bore gauges here.
Balancing Equipment
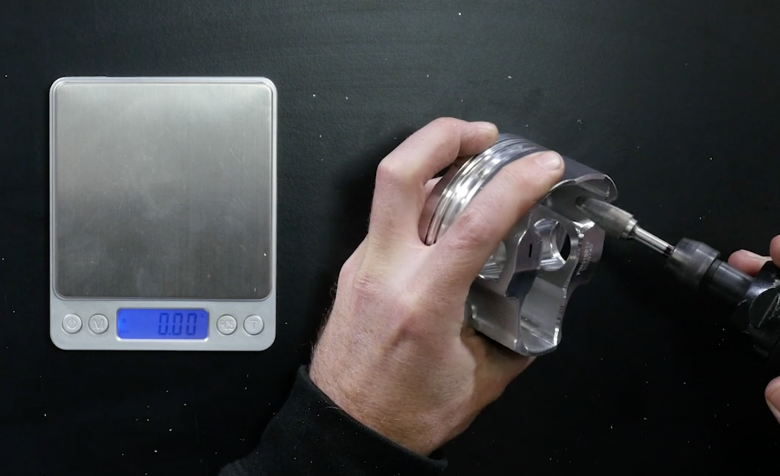
This is an optional part of your engine-building tool kit as you can have your machinist balance your pistons and connecting rods, however, it is a good skill to have. Firstly you will need a set of scales that measure up to about 2 kilograms with an accuracy of a 10th of a gram. Purchasing cheap scales is usually fine but just make sure you can get repeatable results by weighing a component multiple times.
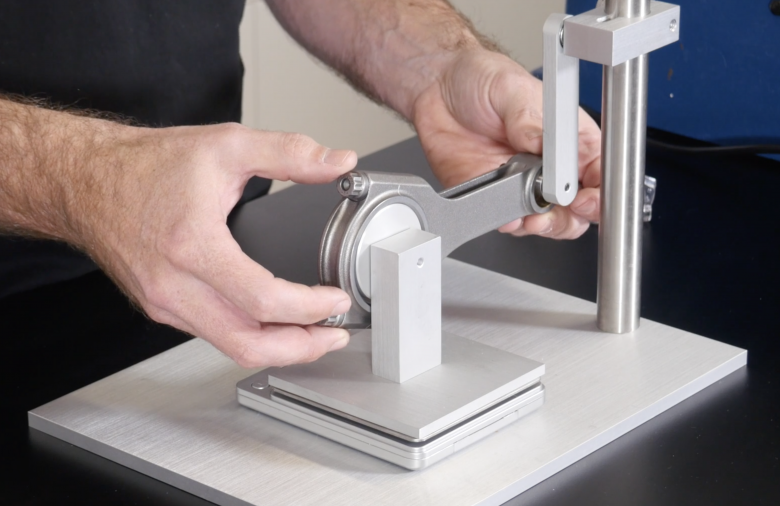
When it comes to balancing connecting rods, you will need to weigh each end independently of the other and to do this, you will need a specialist tool which supports the wrist pin end and then has another fixture that is placed on your scales to locate the big end upon.
You will need a way of removing material to balance your components which can be something like an air die grinder or a power file.
We recommend shopping at and supporting your local performance tool retailers, but you can also find connecting rod balancing stands here.
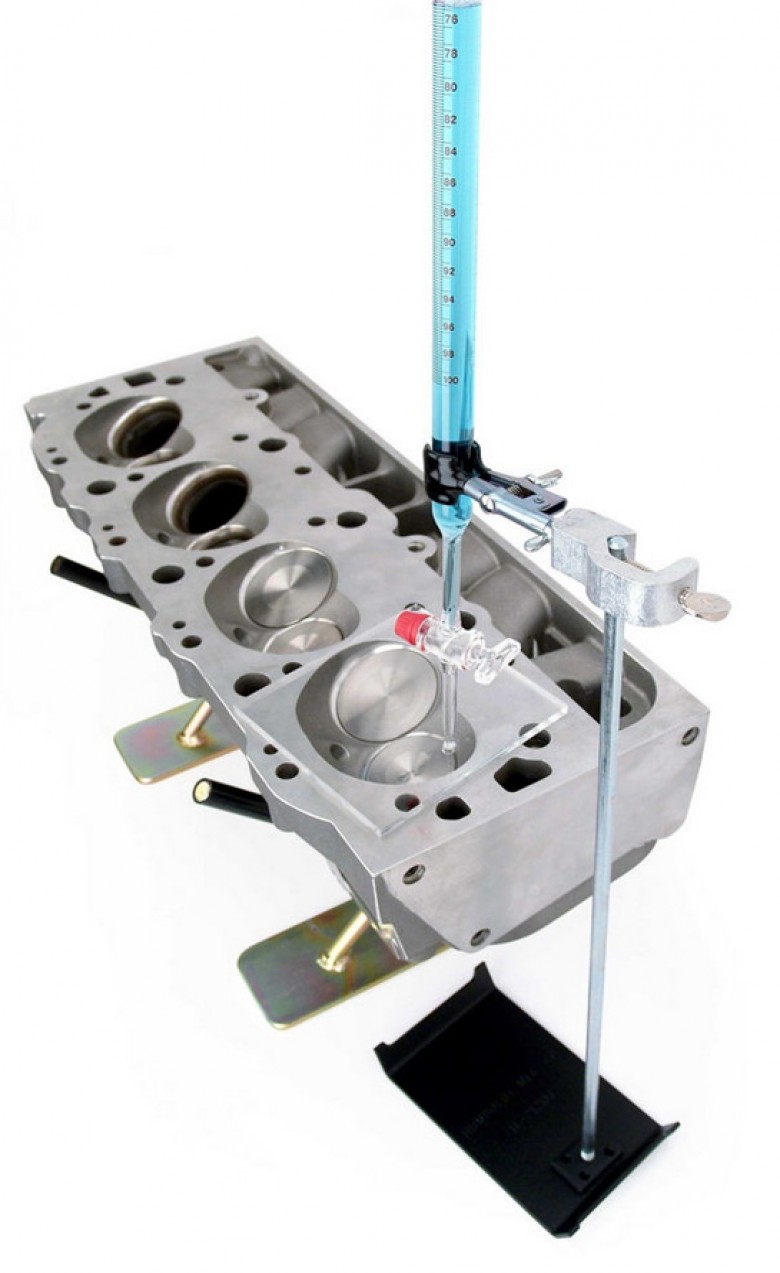
Burette
By using a burette in conjunction with a piece of clear plastic with a hole drilled in it (like the COMP Cams 4974 Pro Head CC Kit pictured), you can do what is referred to as “cc’ing” your combustion chamber which enables you to see the capacity of each combustion chamber and adjust the volumes to ensure they are all the same. You place the plastic on top of the combustion chamber sealed with grease and then fill the chamber with the burette, taking note of what volume of water goes into it.
Burettes are pretty fragile, we strongly recommend you try to find one locally before shopping online, but you can also find burettes here.
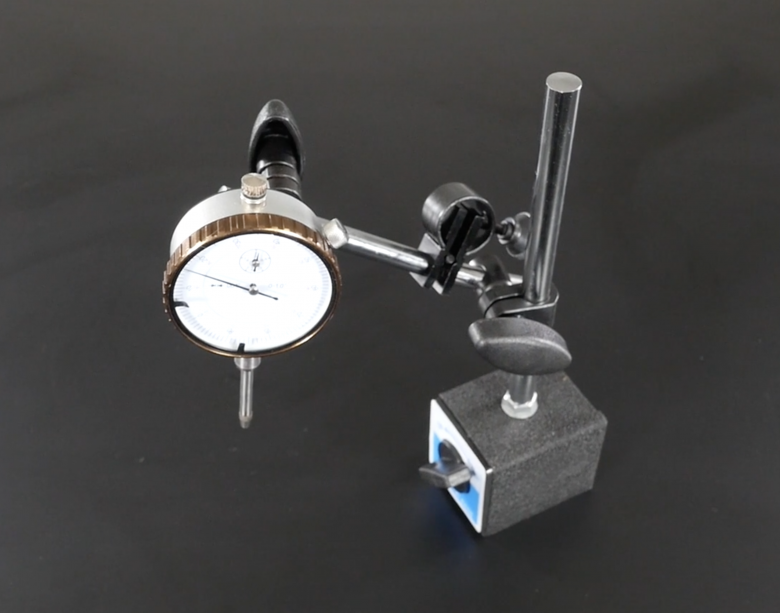
Dial Gauge and Magnetic Base
This is used in conjunction with your deck bridge and rod bolt stretch gauge and also for use when dialling in cams for example. The magnetic base allows you to have it positioned exactly where you want it.
We recommend shopping at and supporting your local performance tool retailers, but you can also find dial gauges and magnetic bases here.
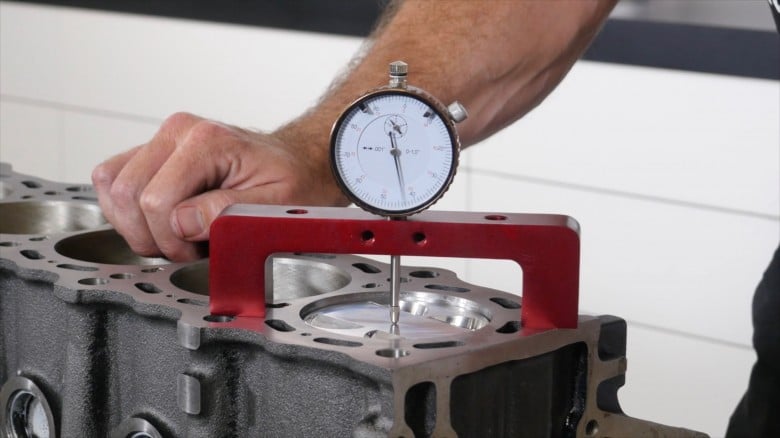
Deck Bridge
This can be used in conjunction with your dial gauge to check the piston to deck clearance or in other words, how close to the deck surface of the engine block the piston comes. You simply zero the dial gauge on the deck and then rotate the crankshaft through its full travel to see where your piston comes to in relation to the block.
We recommend shopping at and supporting your local performance tool retailers, but you can also find deck bridges here.
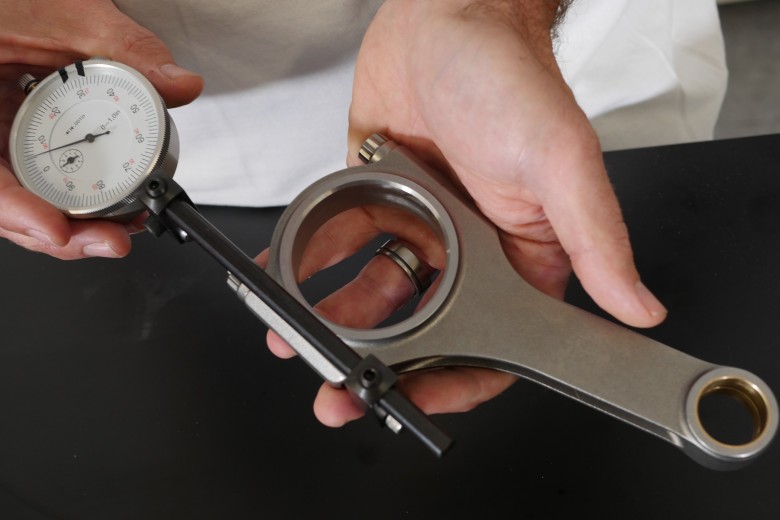
Rod Bolt Stretch Gauge
This is something you will only need if you are building a high-end performance engine. Most of the time you will tighten your connecting rod bolts using a torque wrench but the preferred technique is to measure the stretch, again with your dial gauge. The stretch gauge is located on either end of your connecting rod bolts and using the dial gauge, you can see how much the rod bolt has stretched. High-end fastener manufacturers will provide a recommended stretch reading.
We recommend shopping at and supporting your local performance tool retailers, but you can also find stretch gauges here.
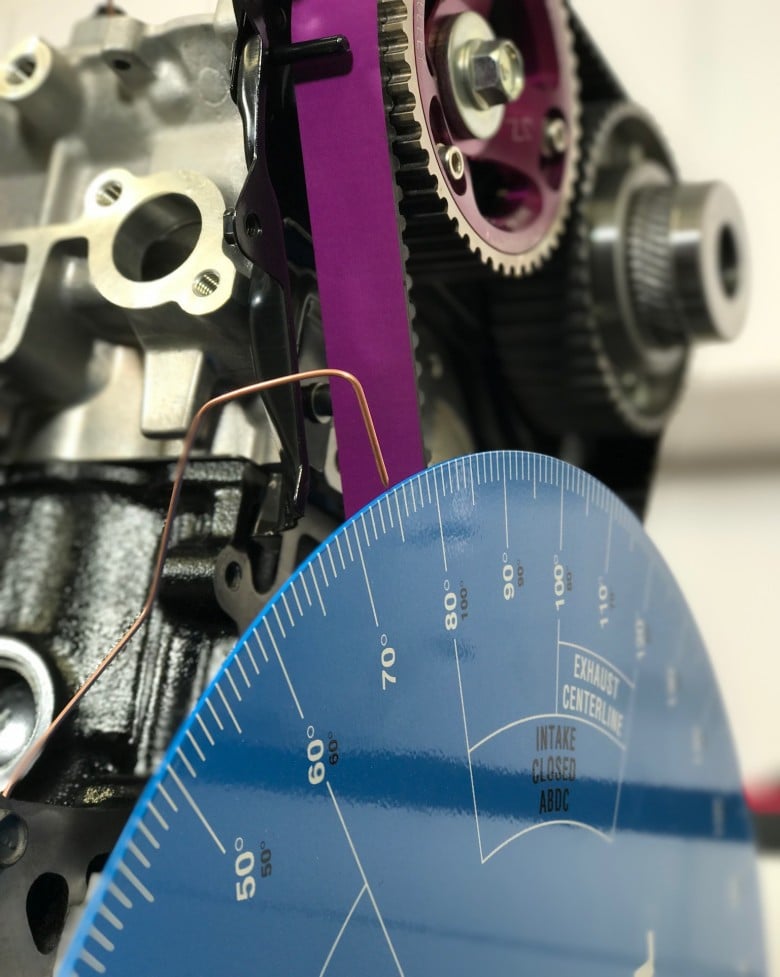
Degree Wheel
To degree a performance cam, you will need a degree wheel that fits the nose of the crankshaft and then using a pointer, you can see exactly where you are in the engine cycle. The bigger the wheel, the better the resolution you get as there will be a more significant gap between each degree.
We recommend shopping at and supporting your local performance tool retailers, but you can also find degree wheels here.

The Most Important Tool...
Plastigauge, torque wrenches, dial bore gauges, ring compressors and micrometres etc, are tools you will come across when building performance engines. Still, the most essential tool you need to use correctly is you. If you want great and reliable results from your efforts, you must take the correct approach to any task by ensuring your brain is filled with accurate knowledge. As such, these tools and many others are all covered in our engine building course material.
You can find these and other tools in the Engine Building Fundamentals course, including a ring file, stretch gauge, feeler blades, ring compressor, torque wrench, angle gauge, dial gauge, and more. Other topics include fasteners, engine machining basics (how to check your machinist's good work), engine anatomy, rod-to-stroke and compression ratios, long block assembly, clearances and tolerances, and engine break-in.

In the follow-up course, Practical Engine Building, you can see all of these tools and techniques used on actual engine builds from 1200hp turbocharged six cylinders, 650hp four cylinders to 550hp naturally aspirated V8s.
Whether your build is 20hp or 2000hp, the knowledge, tools and techniques you start with are all the same. Make sure you ensure the most essential tool in your toolkit, yourself, is being used correctly by filling it with knowledge and enrol today in the package deal that includes both the courses just mentioned.
NOTE: We are a participant in the Amazon Services LLC Associates Program, an affiliate advertising program designed to provide a means for us to earn fees by linking to Amazon.com and affiliated sites. You can find the same tools linked above without using our affiliate links, they're just there for your convenience.
