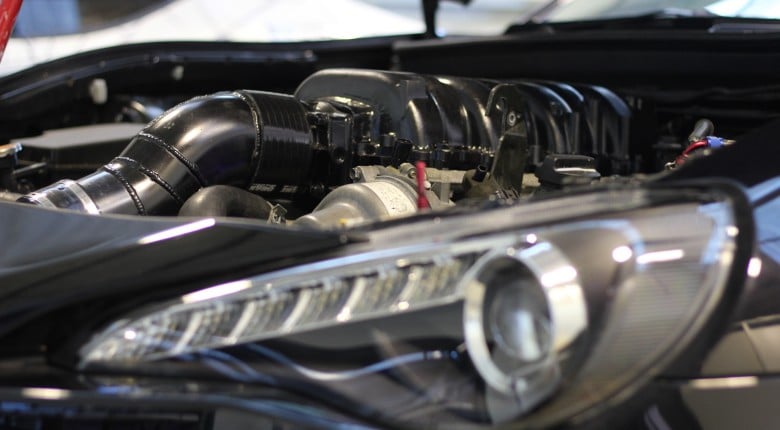
The correct break-in procedure can have a big impact on the performance of your freshly built engine. However, when it comes to the right technique and the dos and don’ts, there’s still a lot of confusion and misinformation out there.
The moment your fresh engine fires, a clock starts running. You have a narrow window to bed the rings into that hone pattern, and if you spend it idling in the workshop, you don't get it back.
Some people will tell you to baby the engine for thousands of kilometres. Others say the bearings need to bed in, the engine needs repeated heat cycles or it should be left idling for half an hour before any load is applied, but none of that is what we’re trying to achieve.
What Are You Actually Breaking In?
The main goal is to bed the new piston rings against the freshly honed cylinder walls.
That hone pattern leaves a controlled roughness on the bore surface. It retains oil, but it also acts a little like a very fine file and helps the rings wear into the correct shape. Once that happens, you get a better seal between the rings and the bores.
Better ring seal keeps more combustion pressure above the piston, which helps the engine produce power and torque. It also reduces blow-by, oil consumption and the amount of oil vapour being pushed through the breather system.
The important point is that there’s a limited window to get this right. Even with a modern plateau hone, which removes much of the initial peak roughness during machining, there is still an early window for the rings and bores to establish their final running surfaces. If you waste that time idling or driving with almost no load, the rings may never bed in as well as they could have.
What Doesn’t Need to Be Bedded In?
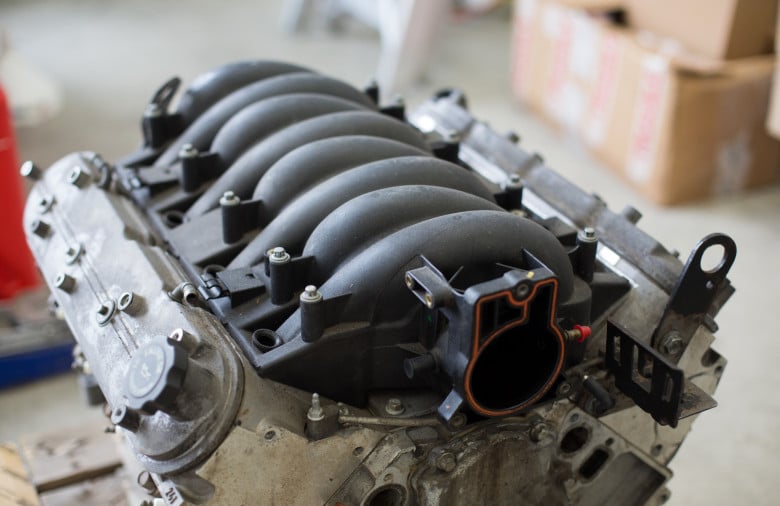
First up, the bearings don’t need to bed into the crankshaft. The bearing shells and crankshaft journals should always be separated by a pressurised film of oil. If you have metal-to-metal contact between them, something is wrong with the clearances, oil supply or assembly. No amount of gentle running will fix that.
Heat cycling is another common one. There’s some confusion between heat cycling and heat treatment, but they’re completely different processes. The engine will never reach the temperatures or controlled heating and cooling conditions used to heat-treat its components.
Some gasket and fastener combinations may require inspection or retorque after the first heat cycle, but that has nothing to do with bedding in the rings. Always follow the gasket and fastener manufacturers’ instructions.
Extended idling doesn’t help either. At idle there is very little cylinder pressure pushing the rings out against the bores. The engine is still wearing down the fresh hone pattern, but you aren’t doing much useful work to seat the rings.
Your 10-Step HPA Engine Break-In Process
STEP 1: Check all fluids.
Make sure the oil and coolant levels are correct and the fuel system is ready. You want the engine to start cleanly without wasting time fixing basic problems.
STEP 2: Build oil pressure.
Remove the spark plugs, disable the fuel and ignition systems, then crank the engine until you have stable oil pressure. With the plugs removed, there’s less load on the bearings and the engine will crank faster.
STEP 3: Check the base ignition timing.
It doesn’t need to be perfect at this stage, but it does need to be close enough for the engine to start and run properly.
STEP 4: Start the engine and bring it off idle.
Once it starts, don’t leave it idling unnecessarily. Bring the engine up to around 2000 to 2500 RPM and, if it is on a dyno, use only enough load to hold the engine speed steady.
STEP 5: Bring it up to operating temperature.
While the engine warms up, check for oil, fuel and coolant leaks. This is also your chance to bleed the cooling system and make sure everything is mechanically sound before starting the deliberate load cycles.
STEP 6: Cycle between load and overrun.
Start between roughly 2000 and 3000 RPM with light to moderate throttle. Apply load for a short period, then back off the throttle. The load pushes the rings against the bores, while overrun lets them cool and helps draw oil up the cylinder walls.
STEP 7: Increase the RPM and load.
Gradually build both over the next hour. You want enough cylinder pressure to bed the rings, but not sustained high load that could overheat them against the fresh hone pattern.
STEP 8: Keep an eye on the engine.
Watch the oil pressure and coolant temperature throughout the process. A fresh hone creates more friction and heat than normal, so stop and investigate anything that doesn’t look right.
STEP 9: Change the oil and filter.
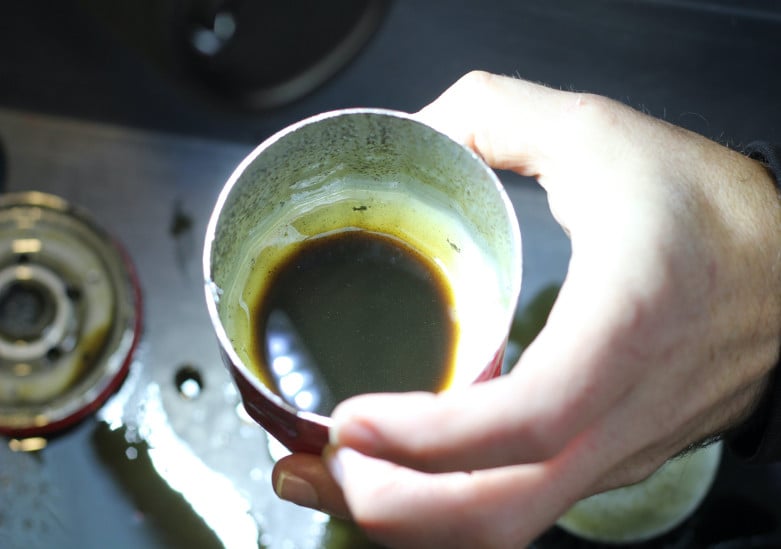
Once the initial session is complete, drain the oil and replace the filter. If you want a better look at what’s happening inside the engine, cut the filter open and inspect it. Some fine material from the rings and hone pattern is normal, but obvious metallic debris needs further investigation. The likely source will depend on the materials used throughout the engine, so filter inspection should be treated as a warning rather than a complete diagnosis.
STEP 10: Move onto tuning.
Refill the engine with fresh oil and start the full-power tuning process. Steady-state tuning and short ramp runs will continue the final part of the bedding process without holding the engine at high load for too long.
Break-In Oil, Synthetic Oil and ZDDP
There is some debate around this, and many modern production engines use synthetic oil from new. For an aftermarket performance build, HPA’s conservative approach is to use a good-quality mineral oil with the correct viscosity during the initial break-in. It removes one more variable and will only be in the engine for a short time.
You don’t necessarily need a dedicated running-in oil. Some are very thin and intended for relatively low-output production engines, which might not give a high-output race engine the protection it needs. The important part is choosing an oil with the right viscosity and enough protection for your application.
Flat-tappet camshafts are the main exception. The contact between the cam lobe and lifter places a lot of load on a small sliding surface, particularly with heavy valve springs. These engines may need a molybdenum-based assembly lubricant, oil with a suitable zinc dialkyldithiophosphate (ZDDP) content out of the bottle (we don't recommend additives, as Lake Speed Jr addresses in the video above) and a specific camshaft break-in procedure.
Depending on the manufacturer, that procedure commonly involves bringing the engine straight up to roughly 1500 to 2500 RPM and varying the speed for 15 to 30 minutes. It isn’t ideal for ring bedding, but protecting the camshaft and lifters takes priority. Always follow the camshaft manufacturer’s recommendations.
Dyno or Road?
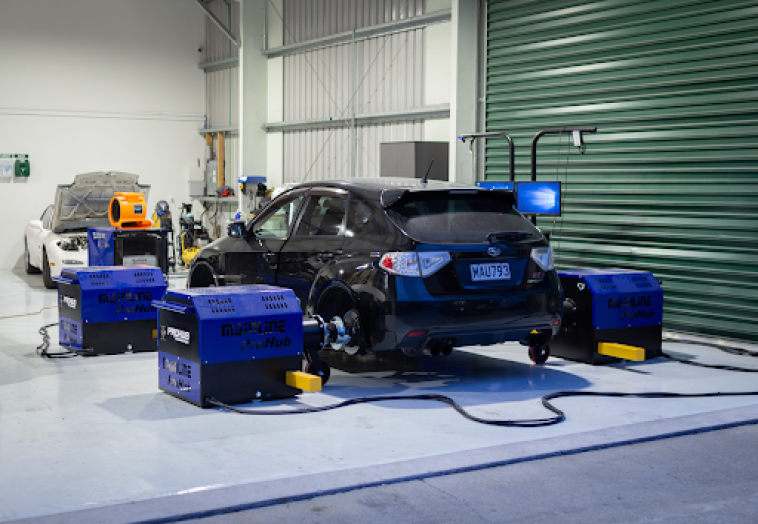
A dyno isn’t essential, but it does make the job easier. You can control the RPM and load accurately, monitor the engine closely and move straight into tuning once the initial break-in is complete.
You can also do the same job on the road in a safe and legal environment. In fact, the road or race track gives you a useful advantage because the car’s momentum keeps driving the engine when you close the throttle. This gives you a strong overrun condition to cool the rings and draw oil up the bores.
The downside is that it’s harder to spot an oil, fuel or coolant leak while you’re driving, so make sure everything is sound before heading out.
When You Don’t Need a Full Break-In
If the original piston rings are being reused and the bores haven’t been honed, there’s no new ring-to-bore interface to bed in.
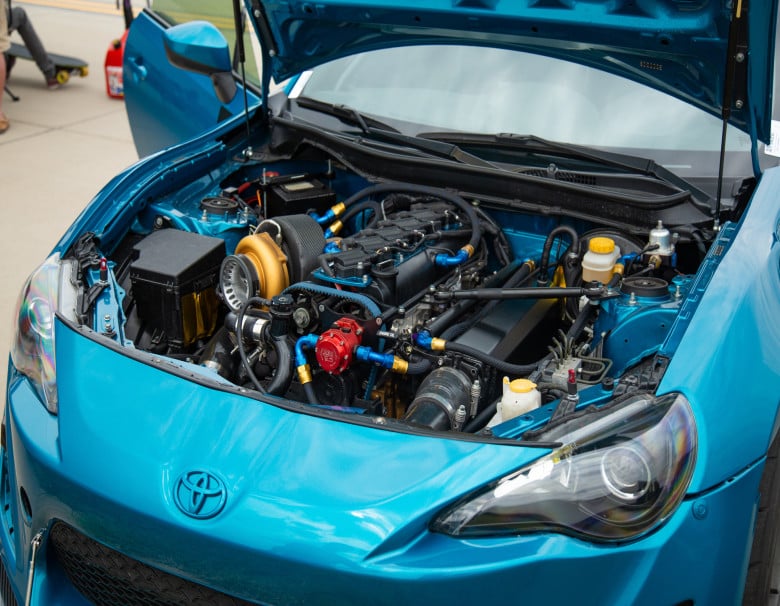
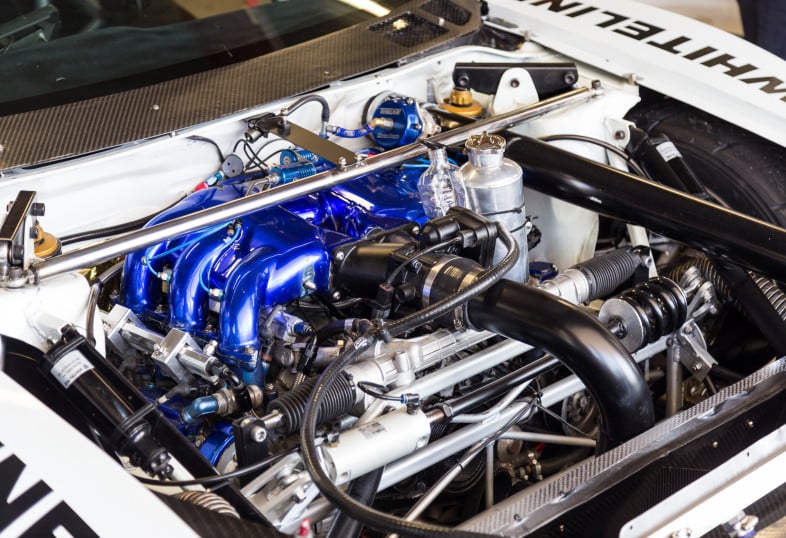
That was the case with the 400 HP FA20 in our Toyota 86. We replaced the connecting rods and big-end bearings, but the rings and bores were left untouched. The bearings didn’t need to be bedded in and there was no reason to put the engine through a full ring break-in procedure.
We still started it on a cheaper mineral oil, brought the engine up to operating temperature and then dumped the oil. This flushed out the assembly lubricant used during the build. From there, it was refilled with the Motul 300V full-synthetic oil normally used in the car, and it was ready to go back onto the dyno.
A Few Other Things to Keep in Mind
The same basic process applies to naturally aspirated, forced-induction and diesel engines. With a turbocharged or supercharged engine, keep boost as low as practical, usually on wastegate spring pressure, and build the load gradually.
Closed-loop fuel control can help correct small fuelling errors during the process, but it isn’t a substitute for getting the base fuel map somewhere close. Cylinder-wall wash is unlikely unless the engine is extremely rich for an extended period or there’s a mechanical problem such as a leaking injector.
After dumping the first fill of oil, it’s also worth changing the next fill after another 200 kilometres or one race weekend. From there you can move onto your normal oil change schedule. If the engine has external oil lines or a cooler, draining these during the change will reduce the amount of break-in oil left in the system.
With modern honing techniques and ring materials, the process doesn’t take thousands of kilometres. Most of the work is done within the first 100 to 200 kilometres. After that, the engine is about as run in as it’s going to get, so you may as well start using it the way it was intended.