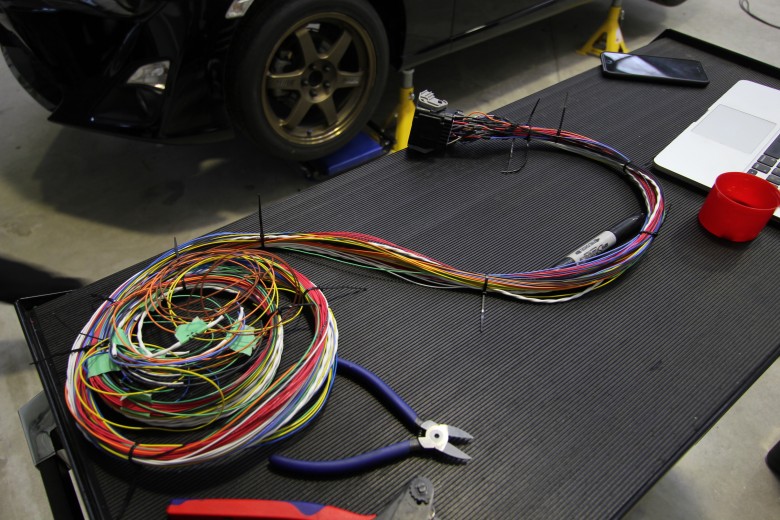
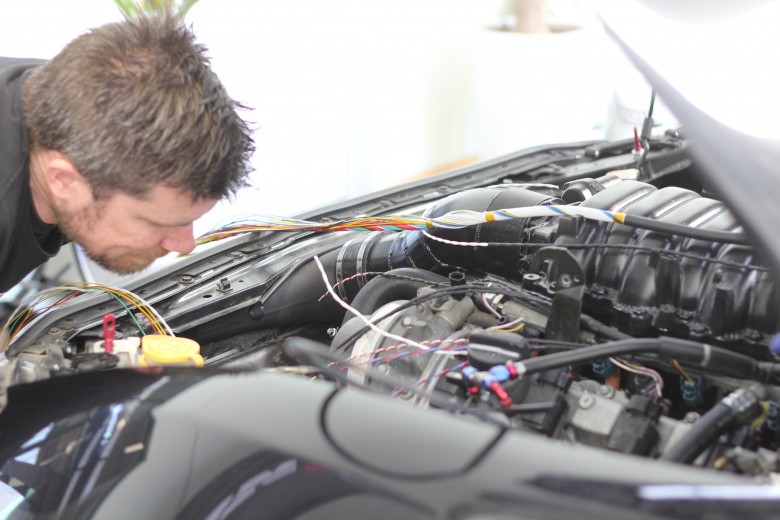
Wiring is one of those areas that a lot of people put off, ignore or simply hate doing when it comes to modifying cars. There’s no doubt that wiring problems are responsible for a large part of the problems we see with poor running, poor tuneability and general reliability issues, yet approached correctly it’s actually pretty simple for an average enthusiast to do a great job wiring an ECU without spending a fortune in specialist tools. This is the third part of our Project Panhard series detailing the planning, wiring, configuration and tuning of a Toyota 86 that’s been fitted with a 1UZFE VVTi Toyota v8 engine.
In the past two instalments we’ve covered the planning and parts installation and if you’ve missed those you can see them here Project Panhard Part 1 & Project Panhard Part 2. In this post you’re going to learn how we approached building the wiring harness and what products we chose to use.
Thanks in part to social media, the term ‘mil spec’ is one we hear a lot, yet it’s also often misused and misunderstood. This term has unsurprisingly been passed down from the military where military specifications were used to achieve standardisation and design objectives. Since reliability and lightweight are design objectives shared with the motorsport industry, these military specifications have made their way into our industry too.
That’s a brief history of the term mil-spec, however it’s not essential for every project you’re working on to use expensive autosport connectors to achieve a reliable and effective solution. The products we choose to use as well as the techniques we employ need to be selected based on the budget for the job, and this needs to be matched to how the car will be used. For example the sort of wiring harness that’s suitable for our Project Panhard here wouldn’t necessarily be the sort of solution we would choose for professional motorsport use. At the same time the harness we are creating will offer long term reliability, a professional look and easy serviceability in our installation.
The wire is one of the most important components to consider when building a loom. The entire harness is constructed with 20 gauge Raychem Spec 55 wire which is a true mil-spec wire. One of the most obvious differences between a milspec wire and the normal automotive wire used by OE manufacturers is its size. For a given current handling capacity, milspec wire is much smaller in diameter and this is primarily due to the much thinner and tougher insulation it uses. The actual conductor strands are also either tin plated or silver plated which offers superior corrosion protection compared to bare copper wire.
A mil-spec wire offers superior heat protection with a temperature range between -65 and 200 degrees centigrade. Just as importantly for motorsport use, the thin insulation reduces the size and weight of the wiring harness.
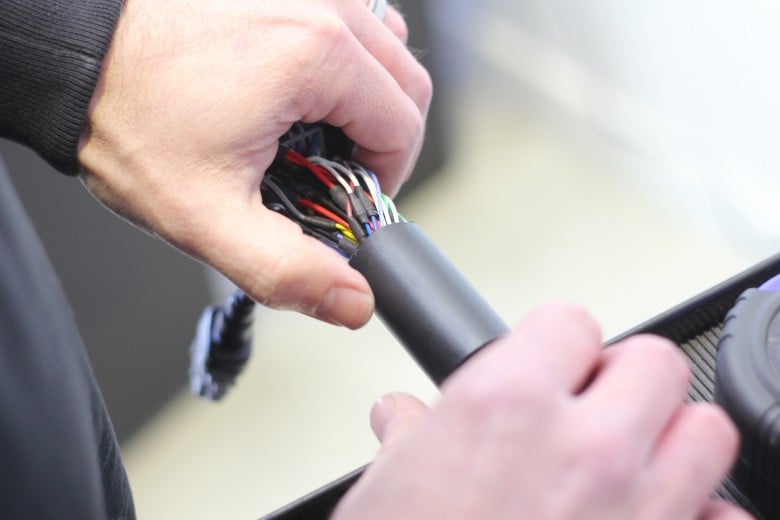
In our last video I mentioned that we were going to construct our harness from the factory bulkhead connector. This gave us a nice cost effective solution but added a little complexity because we couldn’t source new terminals for the plug. We chose to crimp our harness to the existing wire stubs using barrel crimps protected with heat shrink.
This is a good time to discuss the techniques for joining or terminating wires in order to achieve good reliability. Many people mistakenly believe that solder is the best way to form a reliable connection. A soldered joint actually has some serious drawbacks that can cause long term reliability problems. While the actual soldered joint may be sound and reliable, we end up with a brittle junction where the solder joint finishes. When subjected to movement or vibration, often the solder joint will fail at the edges. This is why you will almost never see solder used in a professional wiring harness.
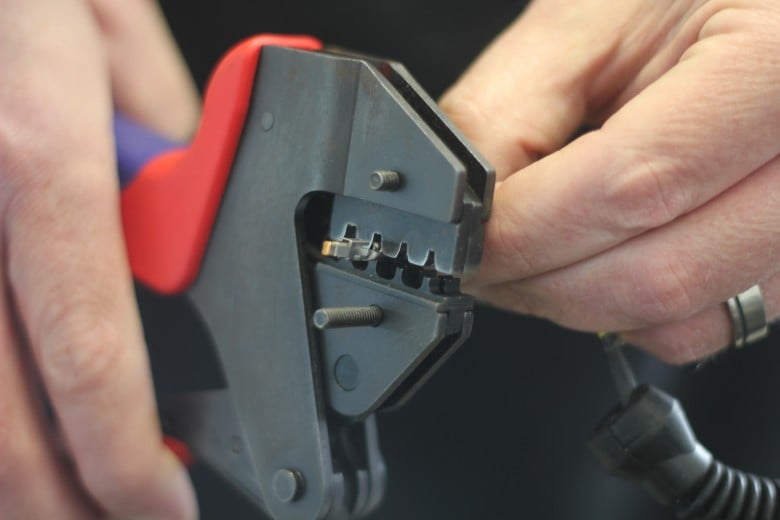
Crimping on the other hand relies on mechanical force to join the wires together. Getting a good result with this technique does require the correct crimp tool for the terminal being used, however when done correctly the crimp will actually be stronger than the parent wire.
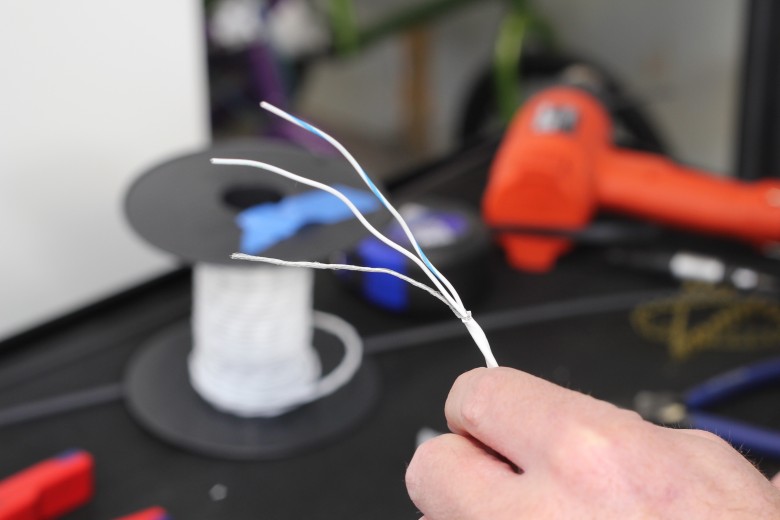
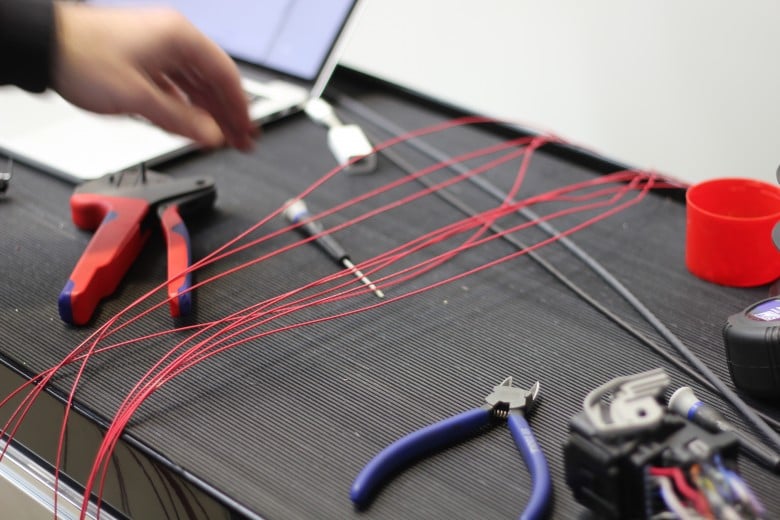
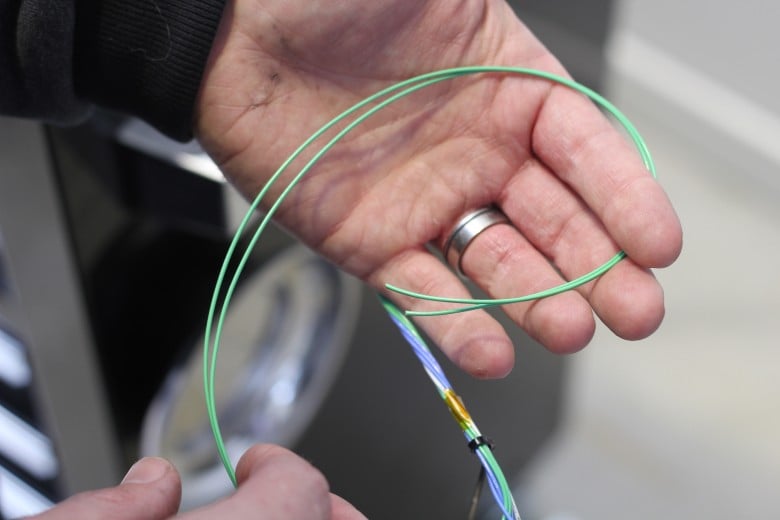
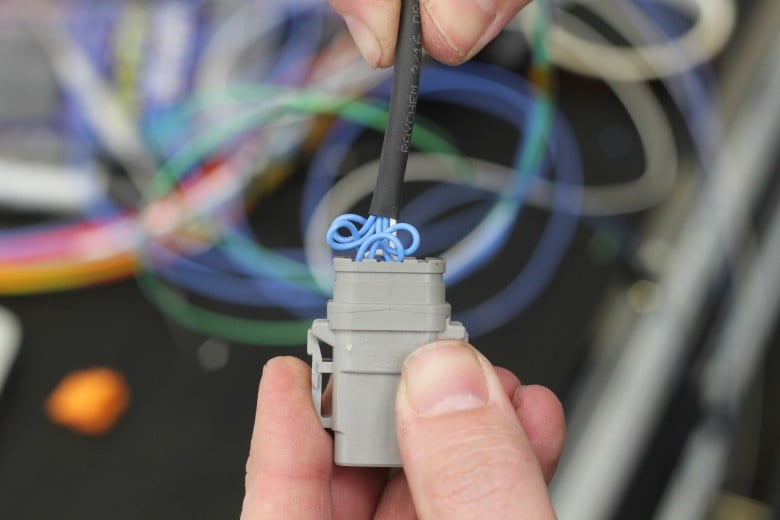
Before cutting any wires we had already created a wiring spreadsheet describing what wires are required, which terminal they are connected to, and how long they needed to be. The first step of construction is to cut the required wires and crimp them to our bulkhead connector. While most of the inputs and outputs to the ECU can be pinned out using normal milspec wire, we use a shielded cable for critical inputs such as the engine speed and position inputs. The engine bay is a very electrically noisy environment and using shielded cable can help eliminate the chance of this electrical noise affecting the signal the ECU sees. These cables use a shield that surrounds the inner signal wires. The shield picks up any electrical interference and drains it to ground, preventing it reaching the signal wires.
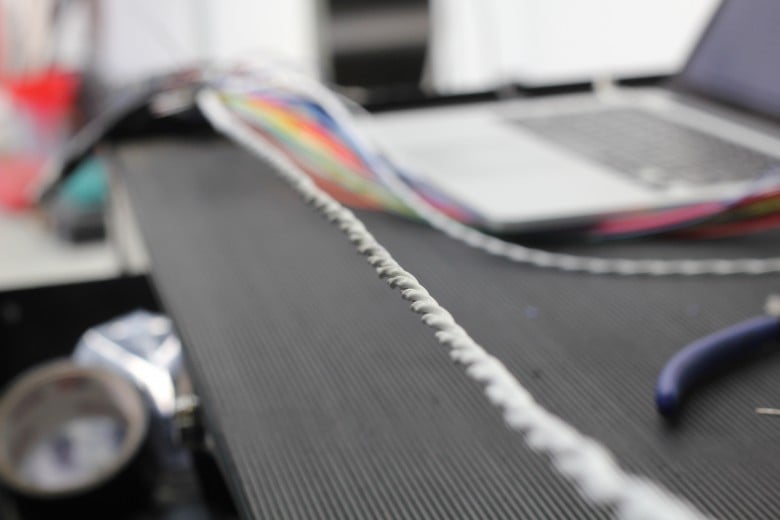
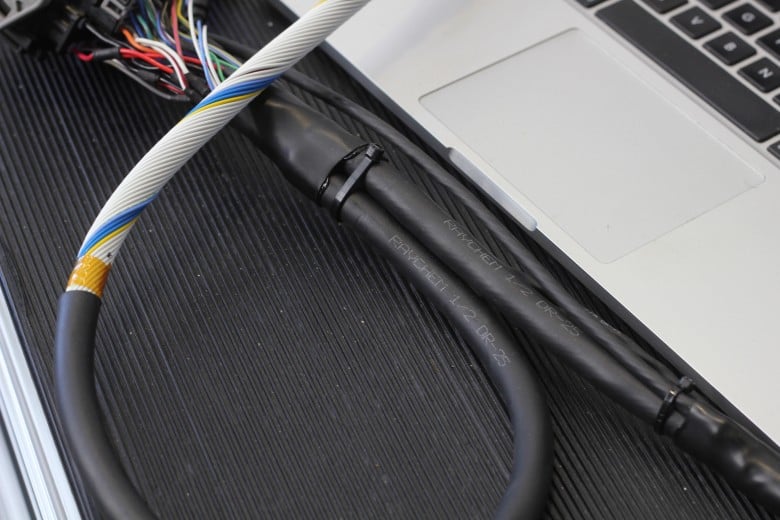
Once we have the wires cut and crimped we can begin laying out the harness. The technique we are using is called concentric twisting where the harness is built up in twisted layers around a central core. Each layer or wires is twisted in the opposite direction to the layer beneath, and as move up the layers the number of wires increases by 6.

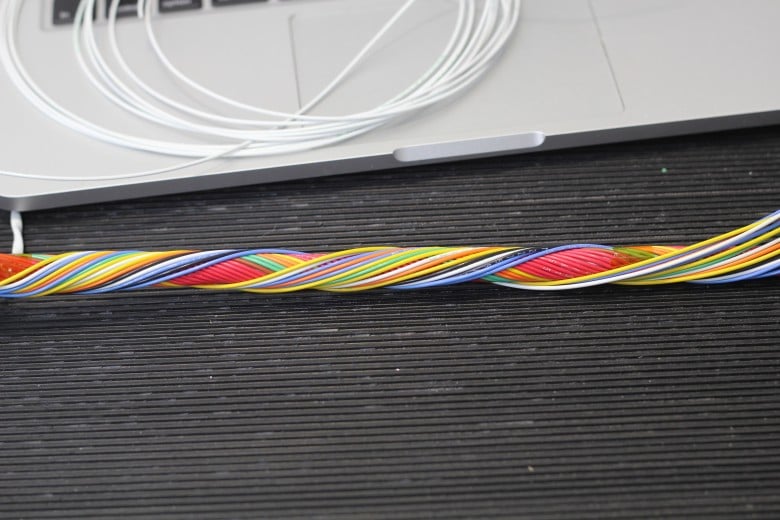
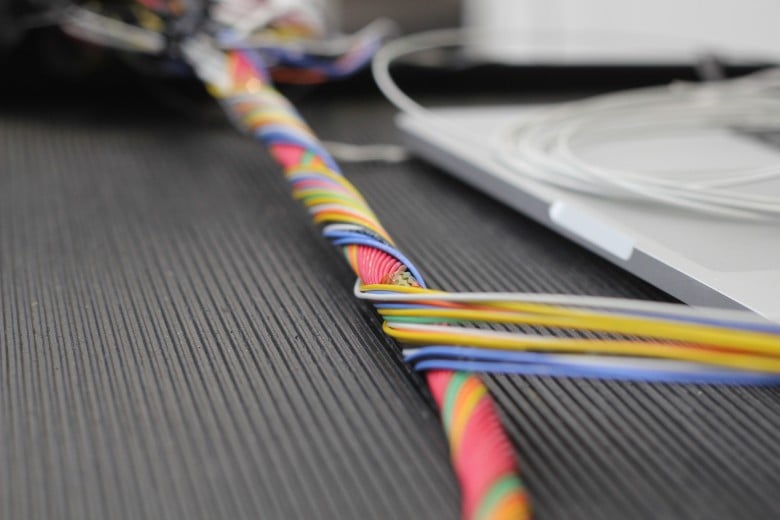
This technique is time consuming and requires a lot of planning to make the transitions and junctions in the harness easy to manage. The reason we concentric twist the harness is that it creates a harness with a very small cross sectional areas and also provides exceptional flexibility to the finished harness.

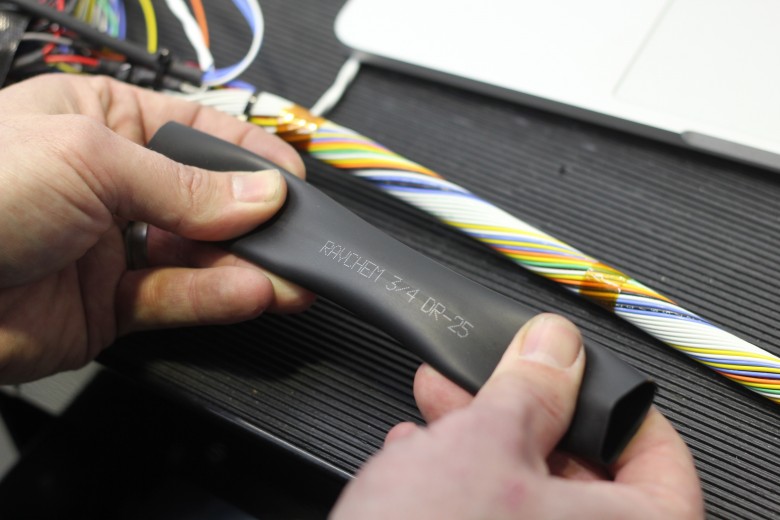
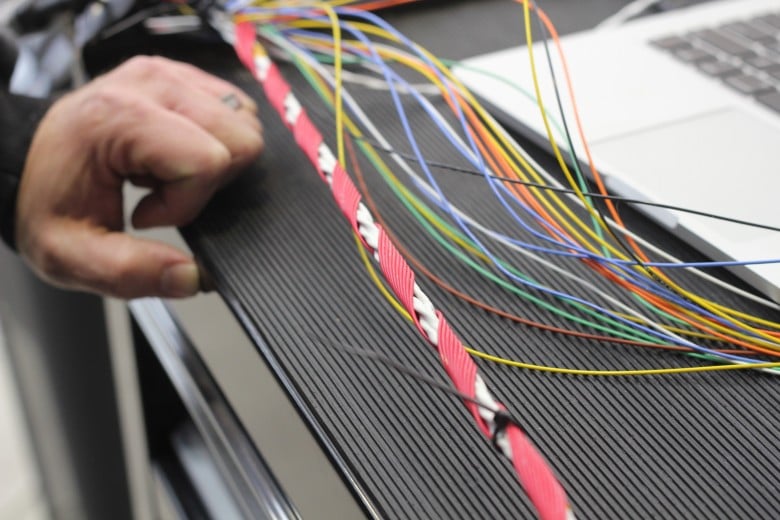
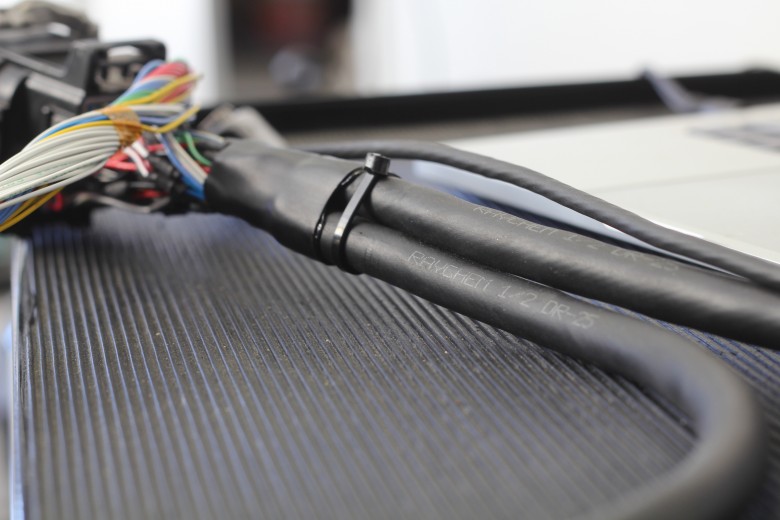
To protect the completed harness we are using raychem dr25 which is a heat shrink tubing that offers great flexibility and abrasion resistance.
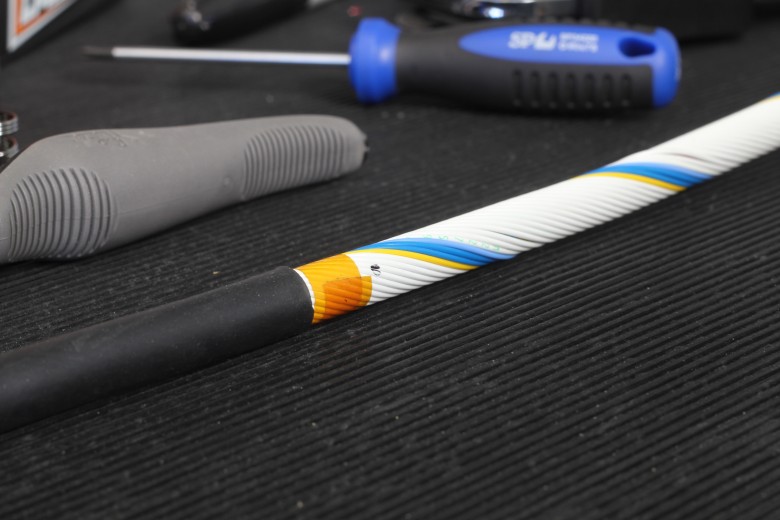
Sealing the junctions in the harness is best done with moulded boots sealed with epoxy for a complete weather tight finish however this is also an expensive process when we have a lot of transitions to seal. In our harness we are using another type of heatshrink tubing called SCL. This is a semi rigid glued heatshrink that helps environmentally seal the transition, and the semi rigid finish provides strain relief for the wires underneath.
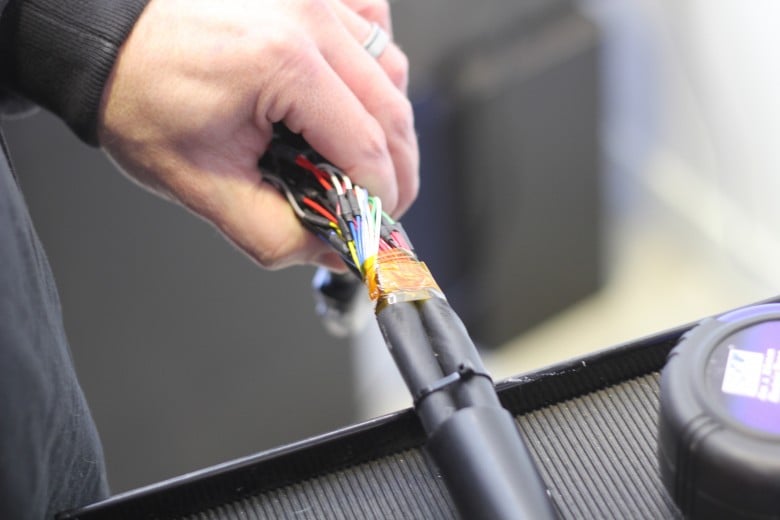
Before applying this product, we wrap the transition in Kapton tape which is a very thin tape which is able to handle high temperature. Wrapping the underlying wires with Kapton before shrinking SCL or a moulded boot onto them makes it easier to perform work on the harness later if required.
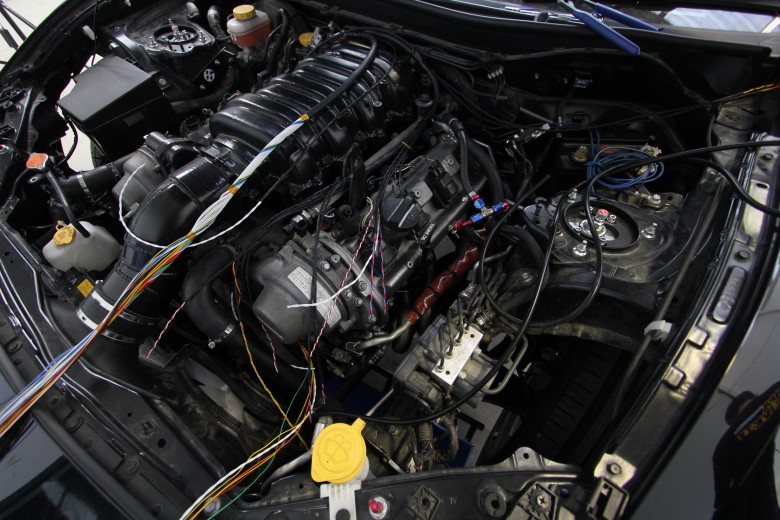
During construction we perform a number of test fits on the engine to ensure everything is the correct length. It’s always easier to measure twice and cut once as it’s very difficult with this sort of harness construction to fix a mistake.
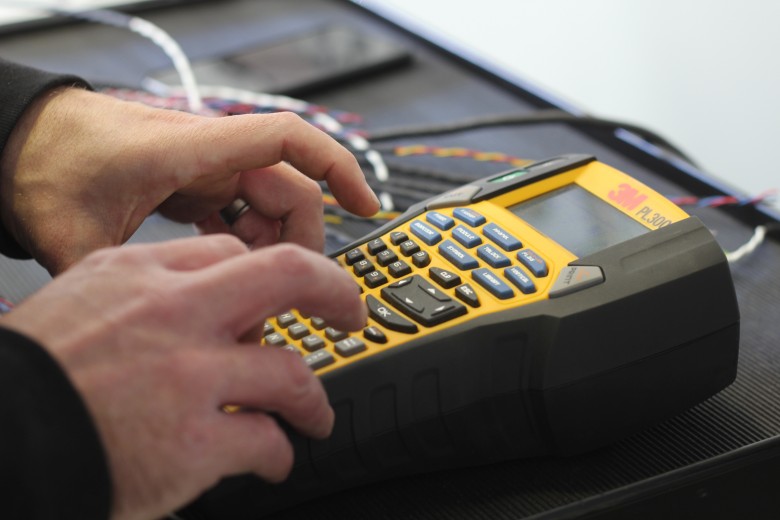
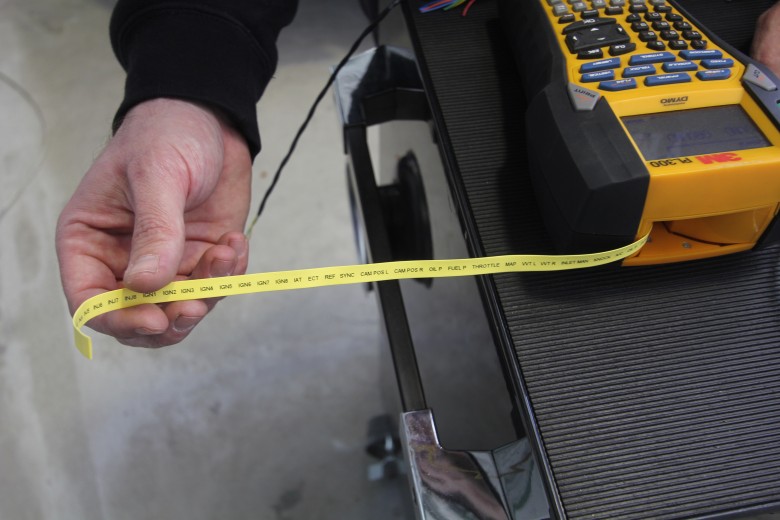
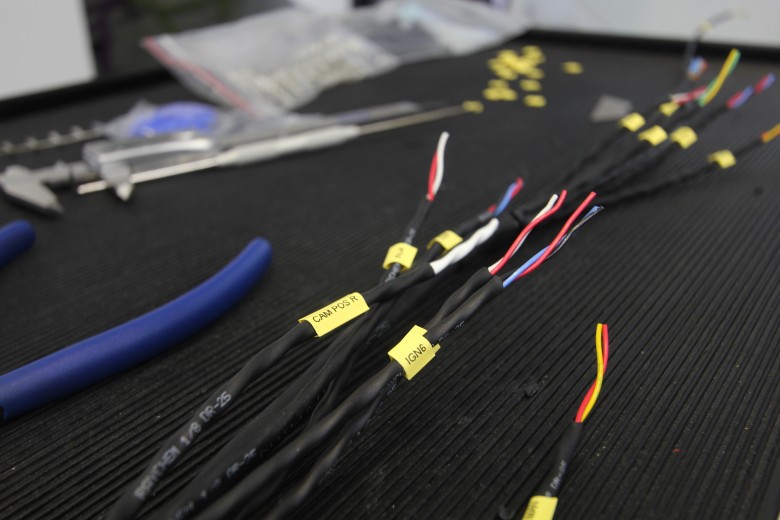
The last step before terminating the harness in the individual connectors is to add labels so that we know where each connector goes. We use a yellow heatshrink tube that is printed to using a 3M PL300 thermal label printer. Once printed, cut and shrunk in place, we then add a piece of clear heatshrink over the label to protect.
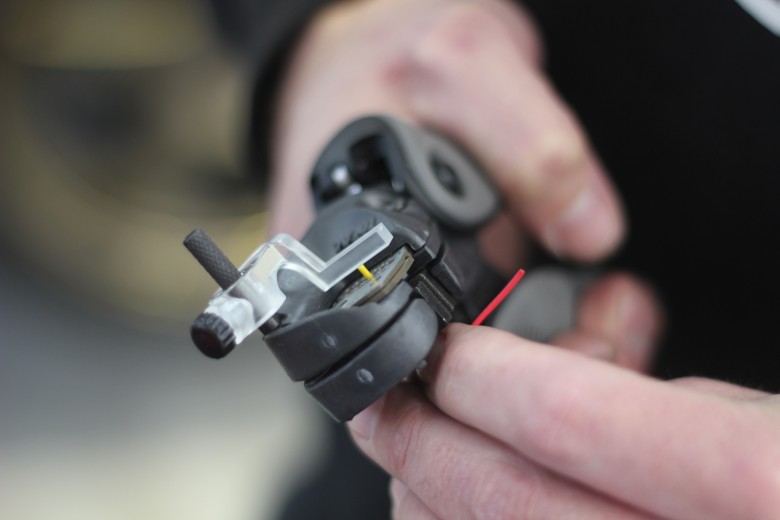

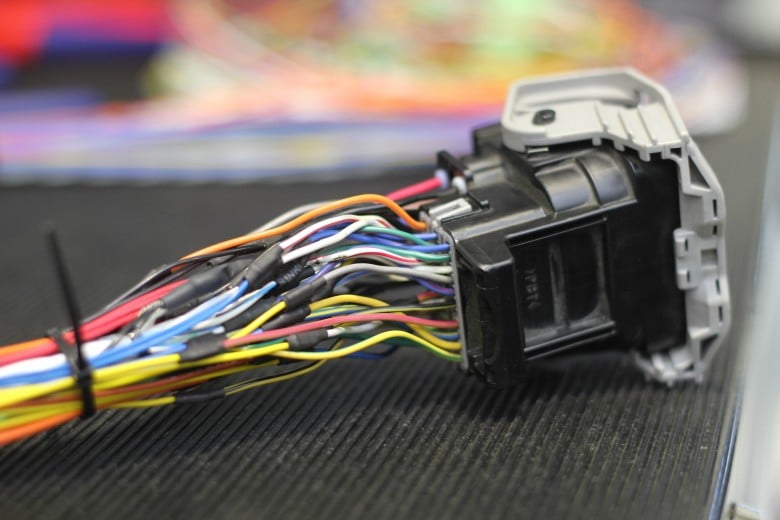
The final step is terminating the harness to the connectors. Here we are using a mixture of new connectors where possible, along with reusing some of the existing connector bodies that were difficult to source. In this case we are only reusing the body of the connector and repinning them with new terminals. It can be challenging with some manufacturers to find brand new connectors and terminals, so often this will affect the techniques you can use. If you are reusing the existing connectors it pays to examine them carefully as often they will have become brittle from heat and may crack or break rendering them useless. We struck this issue with the coil connectors that we had originally planned to reuse. With the final connector crimped and installed, we finally have a complete harness that’s ready for installation and testing.
In this article you’ve learnt some of the techniques that can be used in creating a tough wiring harness that will offer great reliability and a long service life, all while looking great. I’ve covered a few of the products we’ve used to create this harness and why we’ve chosen them. This definitely isn’t a harness you’re likely to find in the F1 paddock, however as I said at the start, it’s important to match the products and techniques used to the application and budget.
In our next part we will finally be ready to configure the MoTeC ECU to suit our 1UZFE VVTi engine and we will finally be able to hear this thing roar, plus hit the dyno to see what it makes.
If you are new to wiring, take a look at the Wiring Fundamentals Course, it's a great place to start learning about wiring in engine management systems.


Comments
- Taz.Quinn-Walshe New Zealand
8 years ago
Thank you guys!
- zivkovics Australia
11 years ago
To me?
- dada
11 years ago
- HS Engineering Jamaica
11 years ago
- Ben.Silcock New Zealand
11 years ago
- Godspeed Australia
11 years ago
No one has commented on this page yet.