This 7-step checklist will take you two hours to complete and could save you thousands in engine damage, wasted dyno time, and return visits. Every professional tuner follows these steps - now you can too.
Getting the best results from a tuning session requires proper preparation. Based on our experience with over 15 years in the dyno tuning industry, approximately four out of every five cars that arrive for tuning present some level of problems that could have been prevented with proper pre-tune checks. These issues range from minor inconveniences to major problems that can waste expensive dyno time or even risk engine damage.
Whether you're a car owner preparing for a tune or a workshop operator, following this comprehensive checklist will save time, money, and potentially your engine. Let's go through the critical checks that every car should undergo before loading onto the dyno.
In this article: Fuel System Preparation | Ignition System Checks | Engine Health Assessment | Boost Control Systems | Electrical System Verification | Mechanical Components | Final Pre-Dyno Checks
Step 1: Fuel System Preparation
The fuel system is fundamental to successful tuning. Start by ensuring your tank has at least half a tank of fuel, preferably full. A significant tune from scratch can consume substantial fuel volume, and running low during tuning can cause fuel pressure drops that risk engine damage during high RPM pulls.
Critical fuel checks include:
- Fill with the exact fuel type you plan to run post-tune. If you're tuning on 98 octane, don't expect to safely run 95 octane afterward
- Verify fuel pump and injector sizing matches your power goals. Undersized components will limit power and waste dyno time
- Check base fuel pressure (40-50 psi for most applications)
- Install a fuel pressure gauge or sensor for monitoring
- For high-flow pumps (Walbro 400lph+, Bosch 044), upgrade from stock fuel pressure regulators
- Ensure vacuum lines to external regulators are secure and crack-free
Fuel pump voltage verification:
- Check voltage directly at fuel pump terminals using a digital voltmeter
- Even with adequate pump and injector sizing, voltage drop can dramatically reduce fuel flow
- If using a fuel pump voltage booster, verify the charging system is functioning first - boosters still require proper input voltage (13.8-14.2V) to operate correctly
Pro Tip: This might sound silly, but the number one fuel system issue we've seen over the years is the simplest: an empty tank. Even when tuning cars overseas, we've diagnosed "fuel problems" while owners insisted their tanks were full, only to find they weren't. Even if you have a working fuel gauge, double check your fuel level before starting a tune.
Step 2: Ignition System Checks
Ignition misfires are one of the most common causes of wasted dyno time. Before your appointment, remove and inspect all spark plugs. Look for worn or melted ground straps that could cause misfires under load.
Ignition preparation steps:
- Replace spark plugs if over 15,000 miles (iridium/platinum) or showing wear
- Use at least one step colder plugs for performance applications
- Gap plugs correctly: 0.025-0.030" for forced induction applications
- Ensure coils are properly connected and functioning
Base ignition timing calibration:
- This critical configuration step ensures ECU timing matches actual engine timing
- Required even if previous tuner claims it's set - always verify personally
- For engines with only TDC markers, use a dial-back timing light to set timing at idle-friendly advance (10-18 degrees)
- Waste spark systems can mislead dial-back timing lights - use a basic timing light if unsure
- For coil-on-plug systems, use an extension lead between coil and plug for timing light attachment
- Process can take 15-60 minutes if timing marks need to be created using a positive stop
Pro Tip: We have observed plugs with completely worn ground straps that idle fine but misfire immediately under load. This simple check (at least if you're not a Subaru guy 😅) can save hours of diagnostic time.
Step 3: Engine Health Assessment
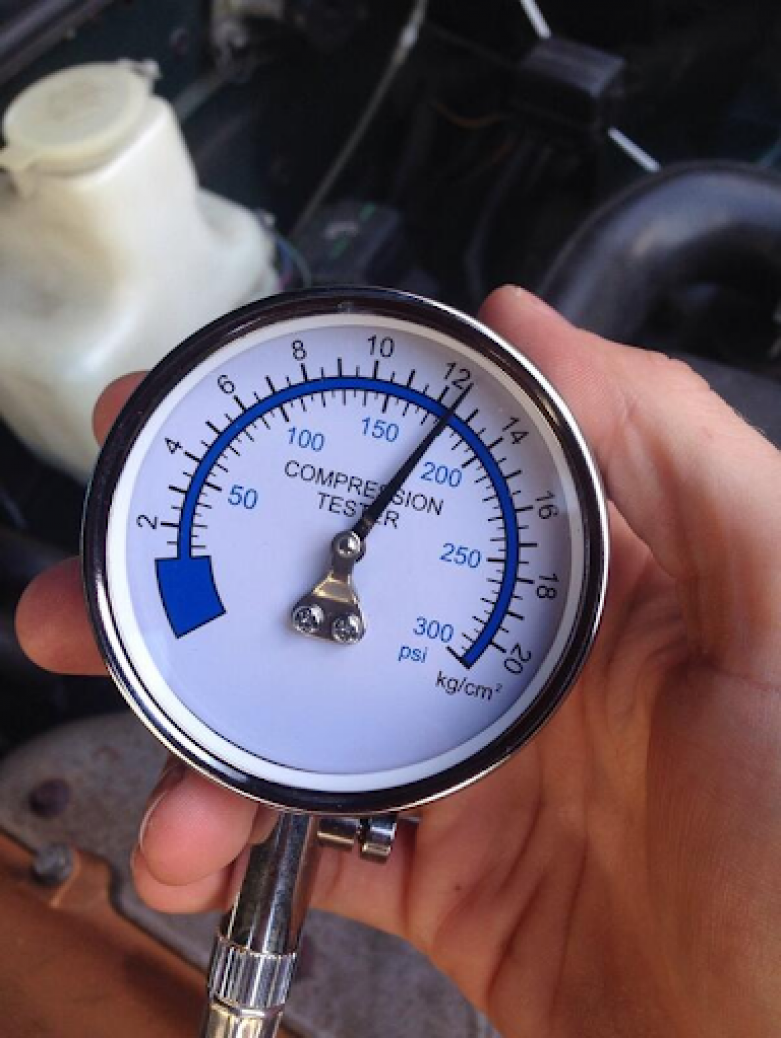
A mechanically sound engine is essential for safe tuning. Perform compression and leak-down tests before your appointment to verify engine health.
Compression testing procedure:
- Test with engine at operating temperature
- All cylinders should be within a few PSI of each other - consistency matters more than absolute numbers
- Actual compression values vary widely (120-180 PSI can both be healthy) depending on cam profile and cranking speed
- If low compression is found, perform a "wet" test with oil to diagnose ring vs valve issues
Leak down testing standards:
- Perform at TDC on compression stroke
- Acceptable leakage: under 7%
- Listen to identify leak source (intake valves, exhaust valves, or rings)
Preventive maintenance through oil analysis:
- Regular oil analysis can detect bearing wear before failure occurs
- Send samples to specialized labs for metal contamination analysis (parts per million)
- Monitors fuel dilution, coolant contamination, and bearing material levels
- Establishes baseline for engine health tracking over time
- Particularly valuable for high-stress race engines to prevent catastrophic failures
Pro Tip: Most automotive engines use 100 psi input air pressure for the leakdown test; this standard ensures consistent readings across testers and engine types.
Additional health checks:
- Verify oil level is full
- Ensure coolant system is full and properly bled (can take 1-2 hours)
- Check for oil, coolant, or other fluid leaks
- Set valve lash to manufacturer specifications (where applicable)
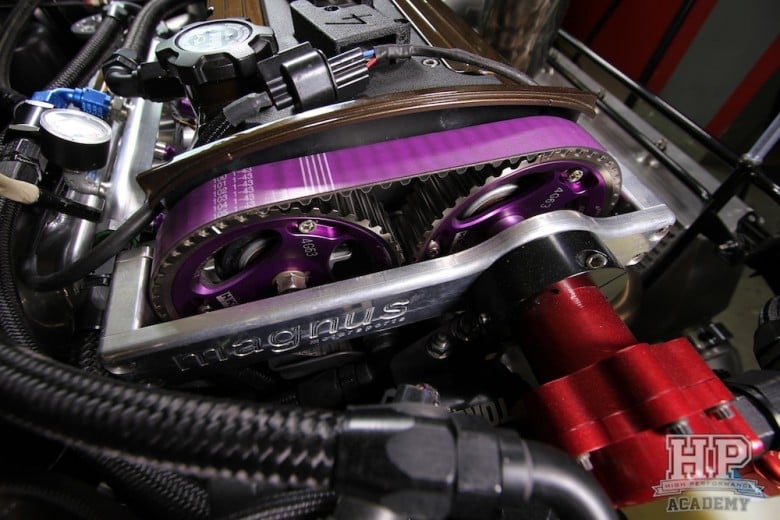
- Confirm timing belt/chain installation is correct
Pro Tip: Bring extra oil, especially if the engine is new and your tuner is also breaking it in.
Step 4: Boost Control System Verification (Turbocharged Engines)
Incorrect boost control plumbing is a frequent and potentially dangerous issue. Improper setup can cause excessive boost that risks engine damage during initial tuning.
Boost system checklist:
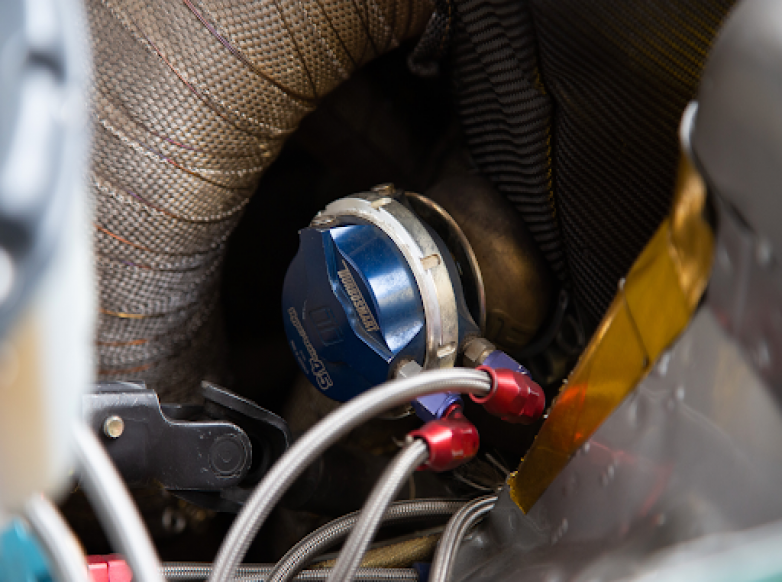
- Verify wastegate plumbing matches manufacturer specifications
- For 3-port MAC solenoids: COM port to wastegate, NO to boost source, NC to atmosphere or pre-turbo intake
- Perform boost leak test on all charge piping and intercooler connections
- Check wastegate spring pressure matches tuning goals
- Ensure all vacuum ports on aftermarket wastegates are properly plugged if unused
- Verify turbo shaft play is within acceptable limits
Pro Tip: If you're unsure, we recommend reviewing the boost control plumbing diagrams in your Boost Control Tuning course to ensure correct setup before dyno day.
Step 5: Electrical System Verification
Electrical issues can cause major tuning problems. A properly functioning charging system is critical for consistent fuel pump voltage and stable engine operation.
Electrical checks:
- Verify alternator charging (13.8-14.2V with engine running).
- Some motorsport focused alternators might need 3,000-4,000 RPM to show charge
- Dropping voltage often indicates charging system failure
- Check battery ground cable is same gauge or larger than power cable
- Ensure all chassis grounds are clean bare metal connections
- Inspect for exposed wires that could short
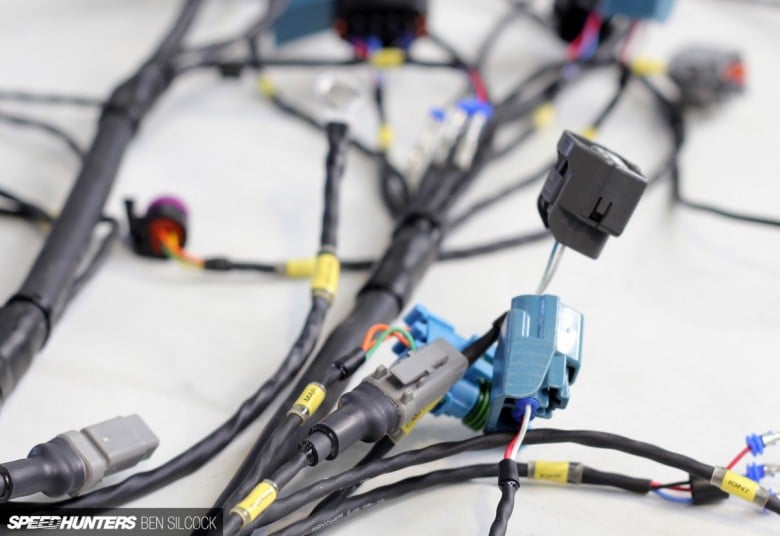
- Verify all connections are properly crimped or soldered (never just twisted)
- Check fuel pump voltage under load
Pro Tip: 80% of wiring issues are ground/earth related. It's one of the first things we double-check after putting a car back together, also ensuring the star point earthing practice is followed. From there, we follow a simple wiring fault-finding process. In our experience, most issues on the dyno end up being wiring-related.
Step 6: Mechanical Component Inspection
Several mechanical components need verification to prevent dyno session interruptions.
Clutch system:
- Ensure clutch is rated for target torque levels
- If possible/safe, test for slippage under load before appointment
- If possible/safe complete any required break-in procedures for new clutches. If it's not, advise tuner
Wheels and tyres:
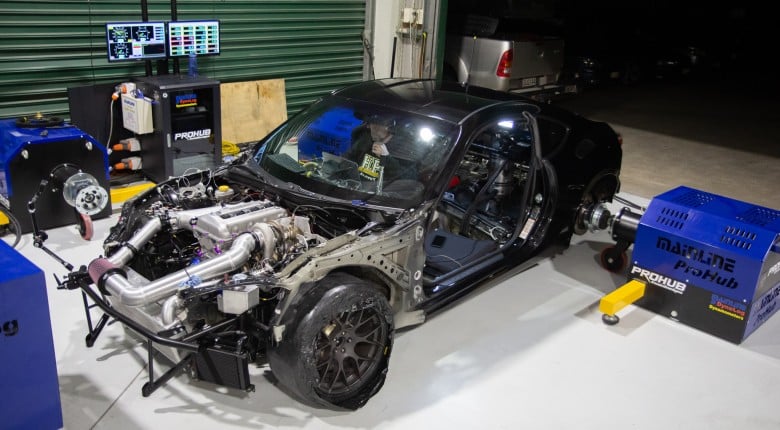
- For hub dynos: bring wheel lock keys (surprisingly common to forget!)
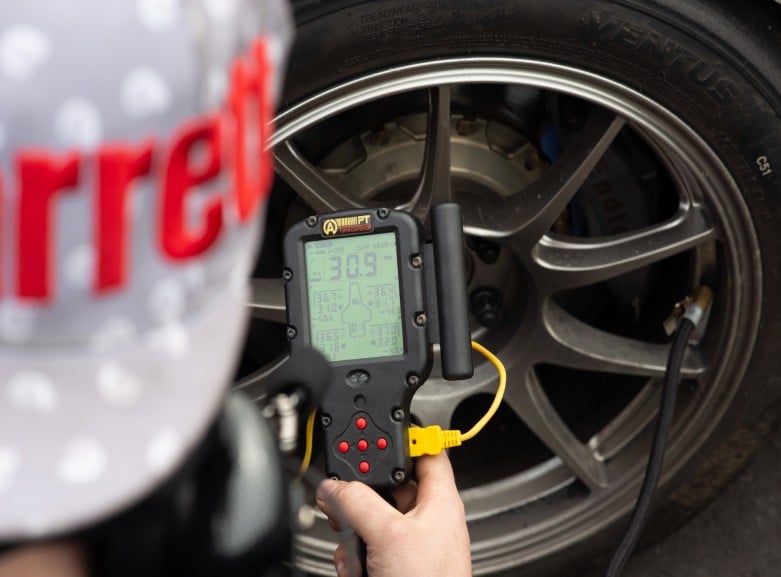
- For rolling road dynos: check tyre condition (no canvas or metal showing)
- Inspect inside edges of tyres on lowered vehicles
Exhaust system:
- Check for leaks from manifold to tailpipe
- Use 3" or larger exhaust from turbo for optimal performance
- Ensure no oil contamination on heat wrap that could cause fires
Pro Tip: If you are road tuning the car yourself, make sure you also fit (and bed) a fresh set of brake pads, and ideally bleed your brake system with fresh fluid before and after. Simulating steady state tuning using the left foot braking technique will see some extra wear. If your car is a track car, we also recommend you swap out your race pads for something less aggressive (and cheaper!).
Step 7: Final Pre-Dyno Preparation
Complete these final checks before your appointment:
Base timing setup:
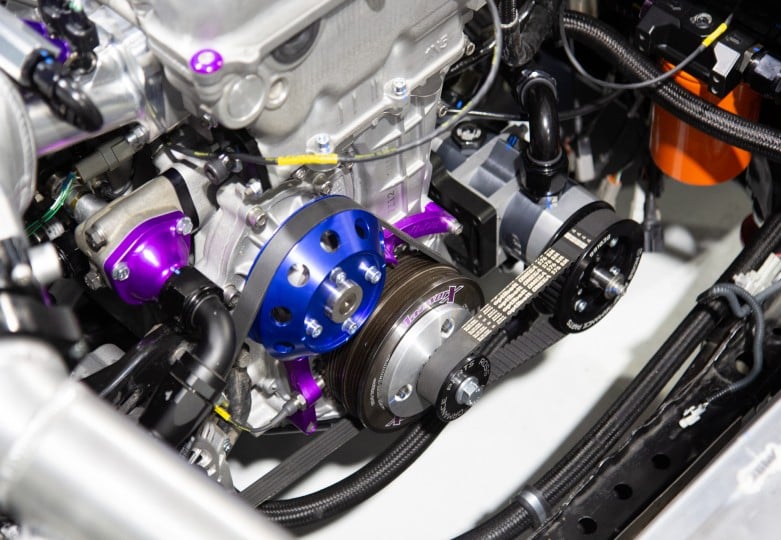
- Ensure timing marks are visible on crank pulley
- If no marks exist, plan time to create them using a positive stop
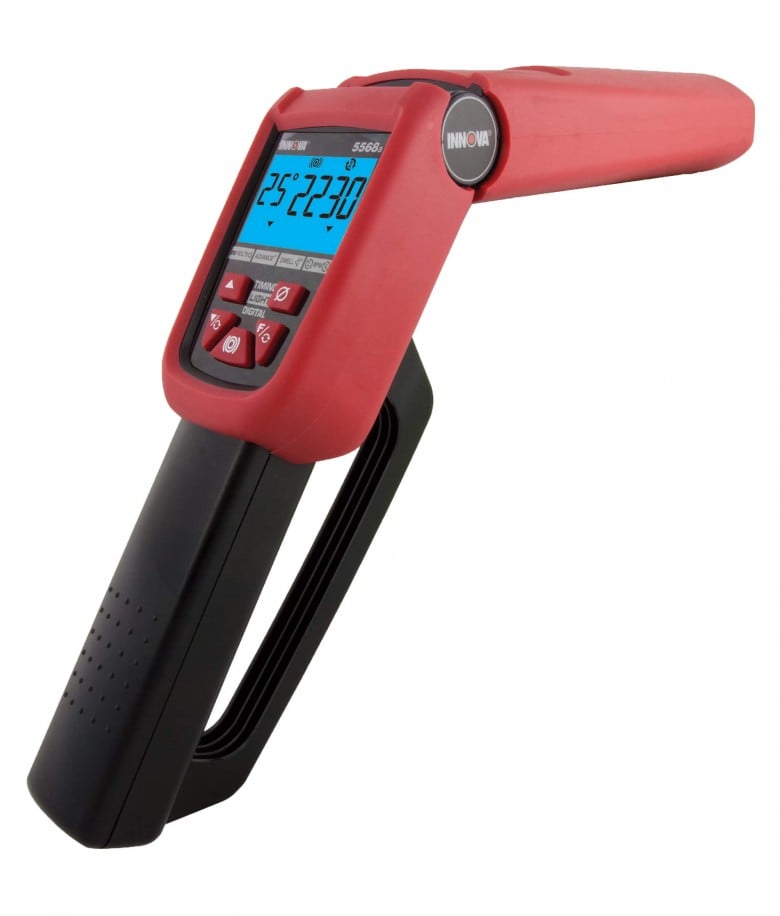
- Have timing light compatible with your ignition system
Additional preparations:
- Clear any check engine lights
- For automatics: ensure transmission can lock in gear
- Replace fuel filter if service interval exceeded
- Clean MAF sensor and intake filter
- Verify vehicle drives straight and brakes function properly
Pro Tip: Even on an untouched OEM engine, base timing can be out for a few degrees. It's easy to check and correct in an aftermarket ECU. If you don't have your own timing light a local garage or car club will likely rent you one.
Conclusion
Remember that dyno time is expensive - tuners charge by the hour whether your car is running or diagnosing problems. Taking two hours to complete these checks can save you from multiple return visits and significantly higher bills. More importantly, these checks can prevent the kind of engine damage that occurs when underlying issues are exposed under the high loads of dyno tuning. On the other hand, if you're learning to tune yourself, following this checklist ensures you'll spend your time actually tuning without wondering if you're doing something wrong or if there's a mechanical issue when things don't go to plan.
For those wanting to develop their tuning skills and understand these systems in greater depth, the EFI Tuning Fundamentals course covers all these topics and more, providing the knowledge needed to properly prepare and tune any vehicle.
